
To build an eco-friendly paver walkway, start with a clear layout and excavate the path to the proper depth. Then install a permeable gravel base, add a bedding layer of sand, set the pavers in place, secure the edges with restraints, and sweep joint sand into the gaps so water can move through the surface instead of running off it.
A well-built walkway can improve a yard without turning the landscape into one more hard, water-shedding surface. That balance matters. Many homeowners want a path that looks finished and functions well, but they also want to avoid creating drainage problems or relying on materials that work against the site itself.
That is where pavers can make sense, especially when the design and base layers are handled carefully. The project is practical, yes, but it also asks for restraint: the goal is not simply to install a path, but to do so in a way that works with the yard’s existing slope, soil, and drainage patterns. This guide on how to make a backyard eco-friendly walks through the process from planning to upkeep and keeps the focus on choices that appear to support both durability and environmental performance.
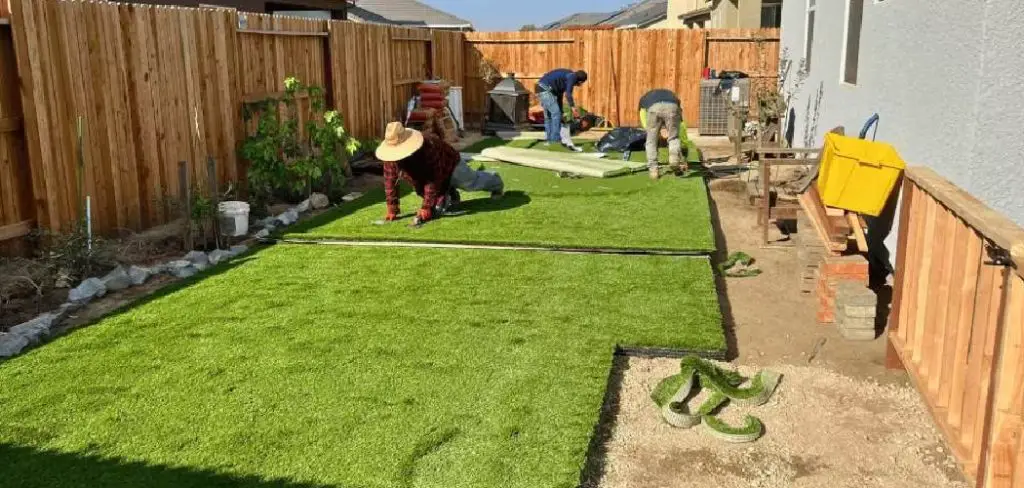
How Should You Plan Your Walkway Design?
Before any digging begins, map the route of the walkway with marking paint, stakes, or string. It sounds basic, and it is, but this stage tends to determine whether the finished path feels natural or awkward. A good walkway usually follows the way people already move through the yard rather than forcing a route that only looks neat on paper. For instance, a path from a patio to a shed should connect those spaces directly enough to be useful, while still respecting garden beds, trees, and other fixed features.
It also helps to study the slope of the site. Even a subtle grade can affect how water moves after rain, and that movement should not be ignored. If the walkway is placed without regard for drainage, it may encourage water to collect near the foundation or in low spots nearby. Careful measuring is equally important. It reduces overbuying, cuts down on waste, and makes the whole project easier to budget.
7 Simple Step-By-Step Guidelines on How to make a backyard eco-friendly
Step 1: Excavate the Walkway Path
The first physical step is excavation. In practical terms, that means removing enough soil to make room for the gravel base, the bedding sand, and the pavers themselves. For a typical pedestrian path, that depth is often around seven to nine inches.
The trench does not need to be perfect, but it should be fairly even, with a slight slope away from nearby structures where possible. That small detail may seem minor at the start. Later, it is not minor at all. Poor excavation often shows up after the first heavy rain or a season of freeze-thaw movement, when pavers begin to sink or drift out of level.
There is also a modest sustainability benefit here: removed soil can sometimes be reused elsewhere in the yard, depending on its quality and the site’s needs. At the very least, thoughtful excavation tends to prevent wasteful rework later.
Step 2: Lay a Permeable Gravel Base
Once the trench is prepared, the next layer is the gravel sub-base. This is the part of the project that carries most of the structural burden, and it is difficult to overstate its importance. If the base fails, the walkway usually fails with it.
Crushed stone or aggregate gravel is typically used because it allows water to pass through while still creating a stable foundation. Rather than dumping it all in at once, spread it in lifts of roughly two to three inches. After each lift, compact it with a hand tamper or plate compactor. That repeated process takes time. It is worth the time.
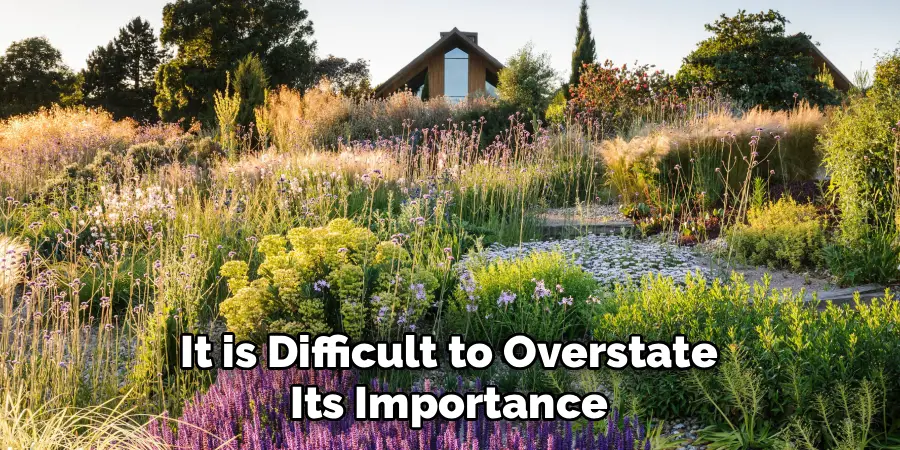
Skipping compaction, or rushing through it, is one of the more common DIY mistakes. The walkway may look fine on the day it is finished, then settle unevenly as the base compresses under use and weather. A dense, well-compacted gravel base gives the path its staying power.
Step 3: Install the Sand Bedding
After the base is compacted and leveled, add the bedding sand. This layer is usually about one inch thick and serves a fairly precise function: it cushions the pavers and allows for small leveling adjustments during installation.
A common method is to set two parallel PVC pipes on the base, pour sand between them, and drag a straight board across the top to screed the surface. The result should be flat and consistent, not deeply packed. In fact, this layer generally should not be compacted before the pavers go down. The pavers need to settle into it slightly during the final stages.
One caution matters here. Avoid walking on the screeded sand. Even a few footprints can telegraph through to the finished surface, creating low spots that are frustratingly visible once the path is complete.
Step 4: Place Your Eco-Friendly Pavers
This is the stage most people picture when they think about building a walkway: placing the pavers. Start from a fixed edge, such as a patio, driveway, or another straight reference point, and work outward according to the selected pattern.
Permeable pavers are especially useful in this kind of project because they are designed to allow water infiltration, either through wider joints or through the material itself. That does not make them environmentally perfect in every case, of course, but it does make them a more site-sensitive option than a fully sealed surface.
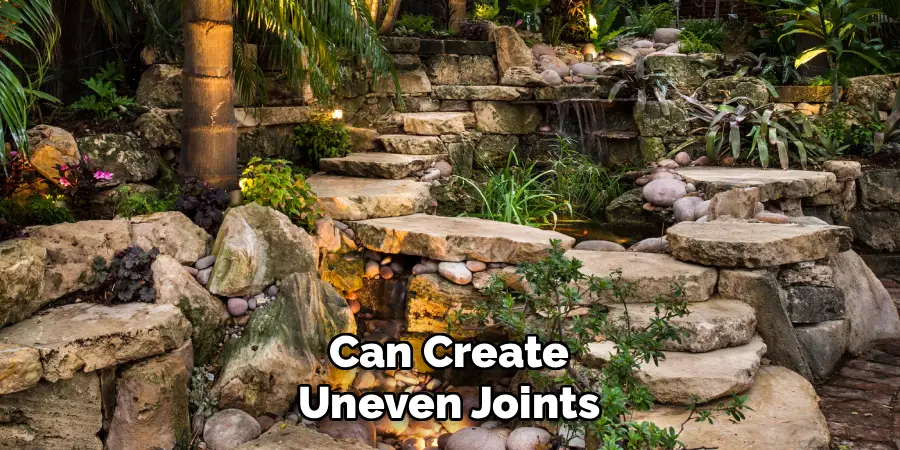
Set each paver down carefully rather than sliding it into place. Sliding tends to disturb the bedding layer and can create uneven joints. Check alignment often with string lines or another guide. This is slow work. Still, small corrections made early are much easier than lifting and relaying a whole section later.
Step 5: Cut Pavers to Fit the Edges
Unless the walkway dimensions happen to align exactly with the paver size—and they often do not—you will need to cut pieces for the ends, sides, or curves. Measure those gaps carefully, mark the cut lines clearly, and work with patience rather than speed.
A wet masonry saw is usually the most accurate option for this job, especially if you want clean edges. A hammer and chisel may be workable for smaller or less visible cuts, though the results are typically less precise. Safety matters here in a very ordinary, non-negotiable way: wear eye protection and a dust mask when cutting masonry materials.
There is a practical sustainability point as well. Accurate cuts reduce waste. That may sound obvious, but in small landscape projects, waste often comes not from bad materials but from hurried measuring.
Step 6: Install Edge Restraints
Once the pavers are laid and the cuts are complete, install edge restraints around the perimeter. They are not particularly glamorous, and because they are usually hidden, they are easy to underestimate. That would be a mistake.
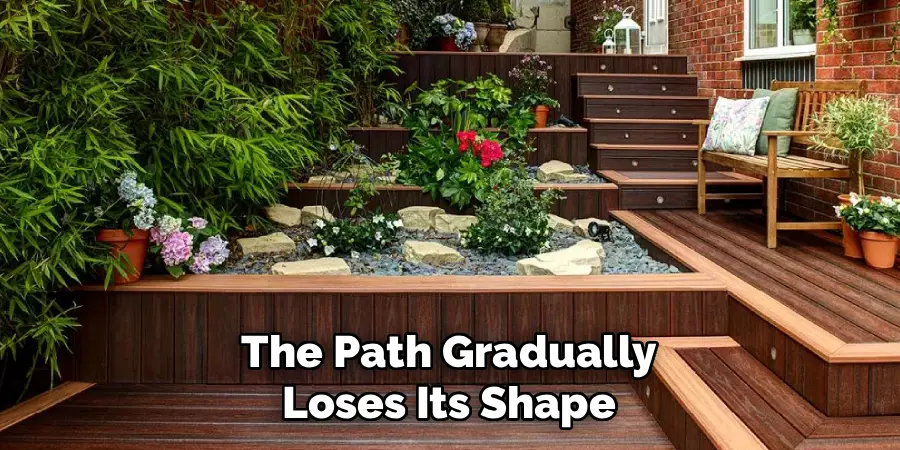
Edge restraints keep the pavers from spreading outward over time. Without them, the outer rows can begin to separate, joints widen, and the path gradually loses its shape under foot traffic and seasonal ground movement. Plastic or metal restraints are commonly used and are typically fastened to the compacted base with long spikes.
If sustainability is part of the project’s logic, recycled plastic or aluminum edging may be worth considering. It is a small choice, admittedly, but one that fits the larger aim of reducing unnecessary environmental impact where possible.
Step 7: Fill the Joints with Sand
The final construction step is to sweep joint sand into the spaces between the pavers. This sand helps lock the system together while still allowing water movement if a permeable product is used. Coarse, angular, permeable joint sand is generally the better choice here; very fine sand does not perform the same way.
Pour the sand over the surface and sweep it diagonally across the pavers until the joints are full. After that, run a plate compactor over the walkway so the sand settles more deeply into the gaps. In many cases, a second pass of sand is needed because the first application drops lower after compaction.
At this point, the walkway begins to behave like a single surface rather than a collection of individual units. It also becomes usable almost immediately, which is one reason paver systems remain so popular. Following these steps on how to make a backyard eco-friendly walkway is a great way to add both functionality and sustainability to your outdoor space.
What Are the Best Maintenance Tips for Paver Walkways?
Maintenance is usually straightforward, and that is part of the appeal. Sweep leaves, dirt, and other debris off the surface regularly so organic material does not sit long enough to stain or break down into the joints. Every few years, inspect the walkway to see whether joint sand has washed out or settled. If it has, add more before the pavers begin to loosen.
Weeds may appear from time to time, especially if windblown seeds settle into the joints. Hand-pulling is often the simplest response. Some homeowners also use vinegar-based solutions, though results can vary. In any case, avoiding harsh herbicides is generally the better move if the aim is to limit harm to surrounding soil and planting areas.
What Are the Common Mistakes to Avoid?
Several errors show up again and again. Not digging deep enough is one of them. A shallow trench leaves too little room for the base, which often leads to movement and uneven settling. Skipping proper compaction is another. The path may look stable at first, then start to dip as the base compresses under load.
Missing edge restraints creates a different problem: slow lateral spread. It is less dramatic, but over time, it can compromise the entire walkway. There is also the issue of sand selection. Fine play sand may seem interchangeable with joint sand, but it is not. It does not lock the pavers together as effectively and may wash out more easily.
How Much Does Cost and Time Factor In?
For many homeowners, cost is what turns this from an abstract landscaping idea into a realistic weekend project—or stops it there. A DIY paver walkway often falls in the range of $10 to $25 per square foot, depending on the paver type, base materials, and any tools that need to be rented.
Permeable pavers can cost more upfront than standard concrete units. Even so, that higher initial price may be easier to justify if the walkway helps reduce minor drainage issues in the yard. A simple path of around 20 feet often takes a full weekend for one committed homeowner to complete, assuming the site is not unusually difficult. Tool rental, especially for a plate compactor or wet saw, adds to the budget but can save substantial time and effort.
What Are Some Design Ideas and Variations?
Design choices can shift the feel of the walkway quite a bit. A herringbone pattern is a common favorite because it provides strong interlock and a classic appearance. If the setting is more informal—a garden path, for example—a looser layout may work better.
Some homeowners space pavers farther apart and plant low-water groundcovers such as creeping thyme between them. That approach can soften the look of the path, though it may also require more upkeep depending on the site. Another option is to use contrasting paver colors for a border, which can define the walkway without changing its basic footprint. These are small design moves, but they often make the path feel more considered and less generic.
Frequently Asked Questions
Q1: How Deep Should You Dig For A Paver Walkway?
In most cases, a pedestrian walkway requires excavation of about seven to nine inches. That depth usually allows for four to six inches of compacted gravel, roughly one inch of bedding sand, and the thickness of the pavers, which is often around 2 3/8 inches.
Q2: Can You Lay Pavers Directly On Dirt?
For a permanent walkway, laying pavers directly on bare soil is generally not advisable. Without a gravel base and bedding layer, the pavers are likely to shift, sink, and become uneven as the soil expands and contracts with changing moisture and temperature.
Q3: What Is The Most Eco-Friendly Paver Material?
A permeable concrete paver is often one of the more environmentally responsible options because it is designed to let water infiltrate the ground rather than run off the surface. Reclaimed brick or salvaged natural stone may be even better in some cases, since those materials avoid the impacts associated with manufacturing new products.
Conclusion: Your Next Steps for a Greener Yard
Building an eco-friendly paver walkway can be a satisfying project because the results are immediate and useful. The path changes how a yard works. It can also change how water moves through that space, which is why the construction details matter more than the finished surface alone might suggest.
If you focus on base preparation, drainage, and material choice, you are more likely to end up with a walkway that lasts and fits the site rather than fighting it. So begin with the layout, measure carefully, and buy only what you need. Done well, this is not just a cosmetic upgrade. It is a modest but meaningful improvement to how the landscape functions. Thanks for reading this guide on how to make a backyard eco-friendly.

About
Outdoor Fixes is a distinguished figure in the world of Diy design, with a decade of expertise creating innovative and sustainable Diy solutions.
His professional focus lies in merging traditional craftsmanship with modern manufacturing techniques,
fostering designs that are both practical and environmentally conscious. As the author of diy,
outdoorfixes delves into the art and science of outdoorfixes-making, inspiring artisans and industry professionals alike.
Education RMIT University
(Melbourne, Australia) Associate Degree in Design (Outdoor Fixes) Focus on sustainable design, industry-driven projects,
and practical craftsmanship. Gained hands-on experience with traditional and digital manufacturing tools, such as CAD and CNC software.
Nottingham Trent University
(United Kingdom) Bachelor’s in outdoorfixes.com and Product Design (Honors) Specialized in product design with a focus on blending creativity with production
techniques. Participated in industry projects, working with companies like John Lewis and Vitsoe to gain real-world insights.
Publications and Impact
In diy, Outdoor Fixes his insights on indoor design processes, materials, and strategies for efficient production.
His writing bridges the gap between artisan knowledge and modern industry needs, making it a must-read for both budding designers and seasoned professionals.