
Buying a new hose, fitting, or nozzle seems straightforward. Then you bring it home, twist it onto your existing setup, and nothing lines up. Nine times out of ten, the diameter is to blame. Garden hoses come in a handful of sizes, and picking the wrong one leaves you with leaks, a sad trickle of water, and yet another return slip in your pocket.
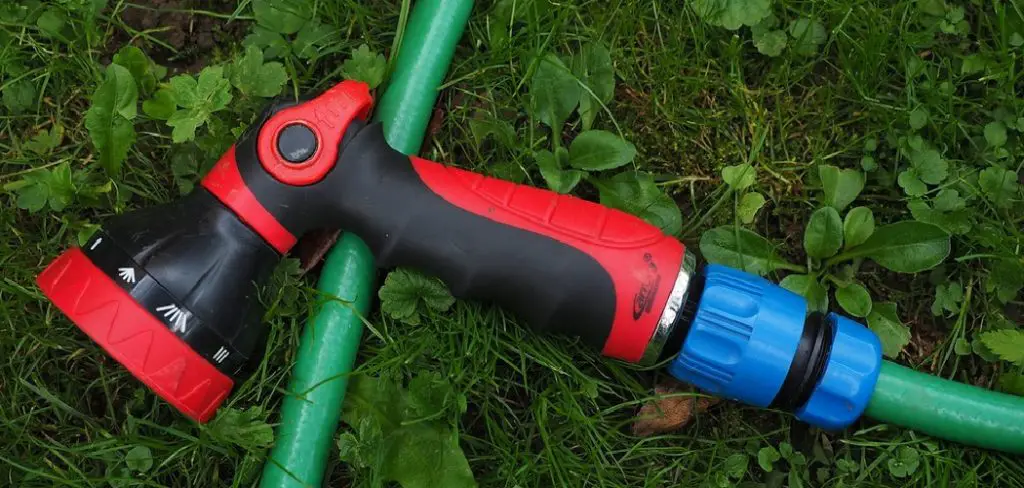
Here’s the reassuring part. Working out your hose diameter takes a few minutes and tools you probably already own. This guide on how to measure garden hose diameter walks through eight clear steps, flags the slip-ups people make most, and tackles the questions homeowners tend to ask. By the time you finish reading, you should know precisely what size hose you have—and how to shop without second-guessing yourself.
Understanding Garden Hose Diameter
Garden hose diameter refers to the width of the inside of the hose, also called the inner diameter, or ID for short. That number matters because it governs how much water moves through the hose at any moment. For most homes, you’ll run into three sizes: 1/2 inch, 5/8 inch, and 3/4 inch.
A wider inner diameter carries more water. That’s a real advantage for big yards, long runs, or jobs that lean on strong pressure. A narrower one weighs less and handles more easily, which suits small gardens, patios, and a row of balcony plants just fine. The catch? The outside of a hose looks nearly identical across sizes, so your eyes alone won’t settle the question.
People mix up inner diameter with outer diameter all the time, and it’s an easy trap to fall into. Fittings and connectors are sized to the inner diameter, so that’s the number you actually need when you shop. Measure it right the first time, and you spare yourself the mismatched parts and the irritating drive back to the store.
8 Simple Step-By-Step Guidelines on How to Measure Garden Hose Diameter
Step 1: Gather Your Tools
Round up a few basics before you start so nothing slows you down midway. A ruler or tape measure will do the job, and one marked in both inches and millimeters helps. If you plan to work out the diameter from the circumference, a flexible tailor’s tape is worth grabbing too.
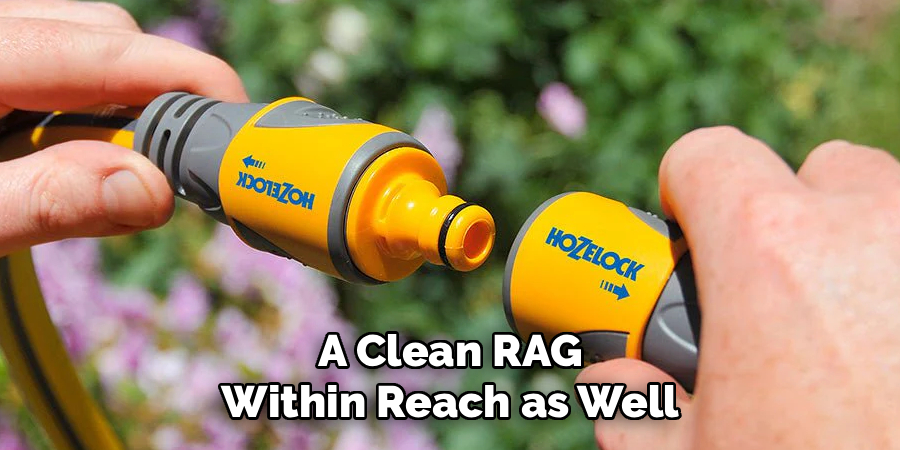
Keep a pen, some paper, and a clean rag within reach as well. Wipe down the end of the hose first, since dirt and grit can nudge your reading off. Has the hose been baking in the sun? Let it cool and soften for a few minutes. A warm, stiff hose may distort a touch, and that can throw off your numbers.
Step 2: Detach the Hose and Empty It
Unscrew the hose from the spigot, then pull off any nozzles or sprinklers still hanging on. Lay it flat on something hard and even—a driveway or garage floor works perfectly. A flat surface stops the hose from curling, which makes the opening far easier to read.
Now drain whatever water is trapped inside. Lift one end and walk it toward the other to chase the water out. A full hose flexes and rounds out in odd ways, and that changes how the opening looks when you measure. An empty, relaxed hose gives you the cleanest reading you’ll get.
Step 3: Locate the Open End
Find the cut end where water normally exits, not the threaded fitting. The fitting sits wider than the hose itself, so measuring there hands you the wrong number every time. You’re after the actual tube—the rubber or vinyl—not the brass or plastic connector.
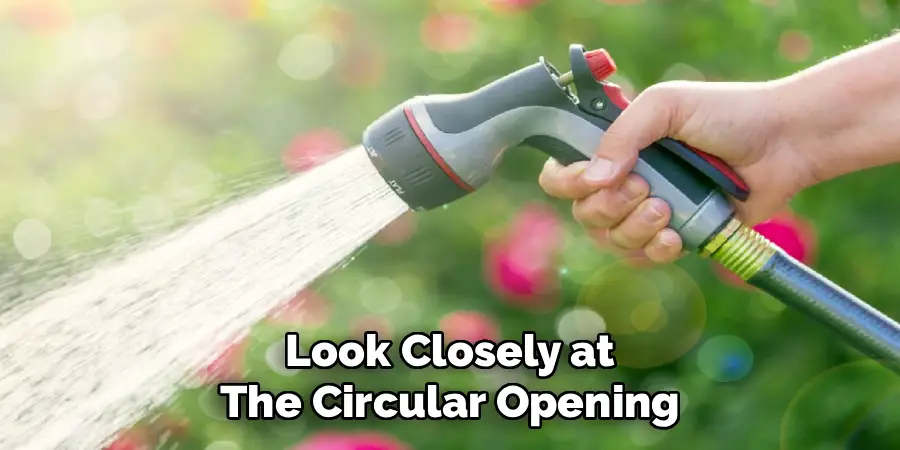
Look closely at the circular opening. You should spot the hole in the center, ringed by the hose wall. That opening is what you’ll measure for the inner diameter. If storage has squashed the end into an oval, gently coax it back into a round shape with your fingers before you go any further.
Step 4: Measure the Inner Diameter
Lay your ruler across the center of the open end. Line up the zero mark with one inside edge, then read the number at the opposite inside edge. The gap between those two points is your inner diameter.
One thing to watch: measure across the widest part of the circle, which always passes through the center. An off-center measurement reads smaller than the truth. Most results land near 1/2 inch, 5/8 inch, or 3/4 inch. If yours falls slightly between marks, round to the nearest standard size, because hoses are built to those set numbers anyway.
Step 5: Double-Check With the Circumference Method
When the opening is too small to measure cleanly, the outside of the hose offers a workaround. Wrap a flexible tape snugly around the hose and note the circumference. The tape should sit flat, with no overlap or twist.
Take that circumference and divide it by 3.14 (pi) to get the outer diameter. Remember, this gives you the outside measurement rather than the inside one. To estimate the inner diameter, subtract the thickness of both hose walls. It’s a handy backup, particularly when the hose end is damaged or tucked somewhere a ruler can’t reach.
Step 6: Confirm the Thread Size
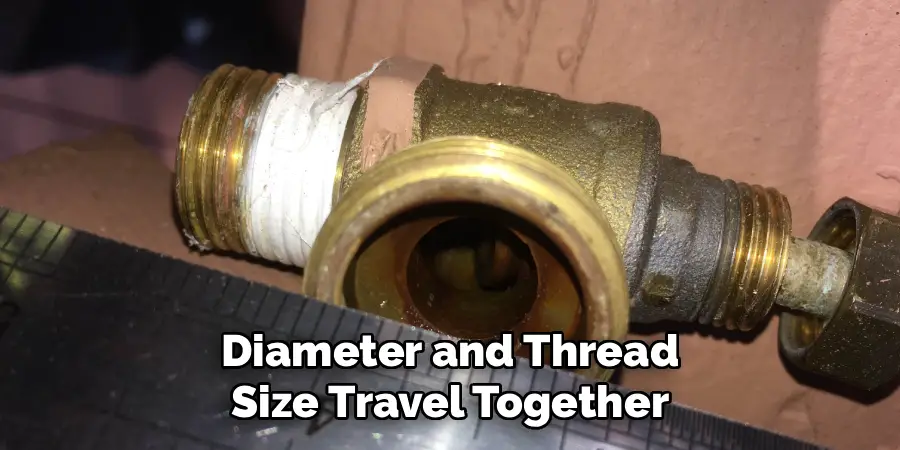
Diameter and thread size travel together, but they aren’t the same thing. Most U.S. garden hoses use a standard called GHT, short for Garden Hose Thread, which measures 3/4 inch at the fitting no matter the hose’s inner diameter. That’s exactly why a 1/2-inch hose still screws onto a standard spigot.
Inspect the threaded end and count the ridges if you want a little extra reassurance. Planning to buy adapters or specialty fittings? Jot down both the hose diameter and the thread type. Recording both now saves a fair bit of head-scratching later, when you’re comparing products online or standing in an aisle.
Step 7: Record Your Measurements
Write it all down: the inner diameter, the outer diameter if you calculated it, and the thread size. Having those numbers in one spot takes the stress out of shopping. No leaning on memory, no guessing while you stand in the garden aisle.
Snap a quick photo of the hose end next to your ruler reading as a backup. A clear picture can help a store associate confirm the size when you’re unsure. Saving that info on your phone pays off the next time a replacement part or new attachment is on your list, too.
Step 8: Verify Against the Hose Label
Plenty of hoses print their diameter right on the casing, often near the fitting or along the body. Hunt for text like “5/8 in.” or “16 mm” stamped into the rubber. If it’s still legible, it’s a fast way to confirm what your hands already told you.
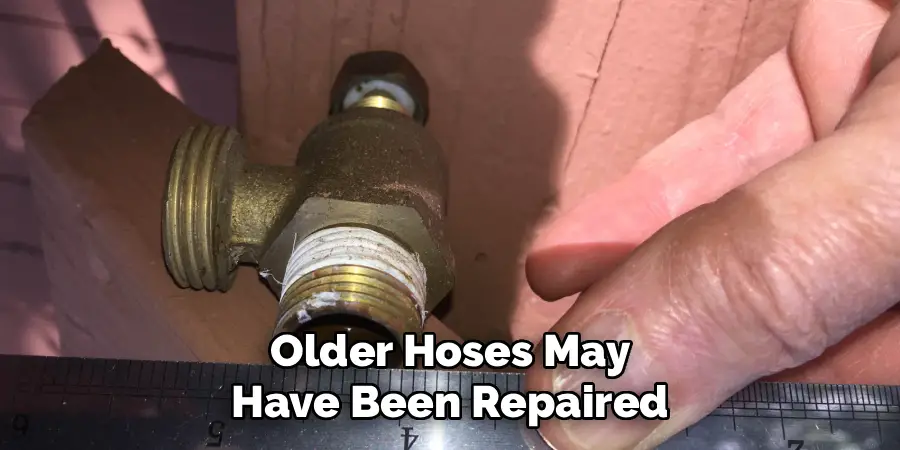
A matching label and measurement means you can trust the size with confidence. When they disagree, side with your measurement. Labels fade or rub away over the years, and older hoses may have been repaired or swapped at some point. Using both methods together gives you the most reliable final answer before you spend a cent.
Following these steps on how to measure garden hose diameter will ensure that you get the right fit for your needs.
Common Mistakes to Avoid
The error that trips up the most people? Measuring the outer diameter instead of the inner one leads straight to fittings that won’t seal. Close behind is measuring across the threaded connector rather than the hose tube, since the fitting always runs wider. Forgetting to drain the hose causes problems too, as trapped water distorts the opening.
A hot, sun-stiffened hose can skew your reading as well. And then there’s thread size—plenty of shoppers overlook it entirely, only to wonder why a correctly sized hose still refuses to connect to their nozzle or spigot.
Frequently Asked Questions
What Is the Most Common Garden Hose Diameter?
The most common residential garden hose diameter in the United States is 5/8 inch. This size strikes a comfortable balance between water flow and weight, which makes it easy to handle for everyday tasks. Larger 3/4-inch hoses tend to suit big properties or commercial work, while lighter 1/2-inch hoses fit small gardens and light watering. When you’re unsure, 5/8 inch is the safest all-around pick for typical home use.
Does Hose Diameter Affect Water Pressure?
Yes, hose diameter has a direct effect on water flow and pressure. A wider inner diameter lets more water through, which helps keep pressure strong over longer distances. A narrower hose restricts the flow, so the water can feel weaker, especially once the hose stretches far from the spigot. If low pressure plagues a large yard, moving up to a larger diameter often improves things noticeably.
Can I Connect Hoses With Different Diameters?
Yes, you can connect hoses of different diameters as long as the threaded fittings match. Most U.S. hoses share the same standard Garden Hose Thread, so a 1/2-inch hose can attach to a 5/8-inch hose without an adapter. Just bear in mind that the narrowest hose in the chain caps your water flow. For the best pressure, try to stick with hoses that share the same inner diameter where you can.
Final Thoughts on Measuring Your Garden Hose
Measuring your garden hose diameter is a small task that saves real money and a good deal of frustration. Armed with a ruler, a flat surface, and a few minutes of attention, you can pin down the exact size you own and dodge mismatched fittings. Focus on the inner diameter, drain the hose first, and check your number against the label or thread size before you commit.
So next time you’re shopping for a nozzle, sprinkler, or replacement hose, bring those recorded measurements along. That small bit of prep turns a guessing game into a confident purchase—and keeps your garden watered without a single leak. Thanks for reading this guide on how to measure garden hose diameter.

About
Outdoor Fixes is a distinguished figure in the world of Diy design, with a decade of expertise creating innovative and sustainable Diy solutions.
His professional focus lies in merging traditional craftsmanship with modern manufacturing techniques,
fostering designs that are both practical and environmentally conscious. As the author of diy,
outdoorfixes delves into the art and science of outdoorfixes-making, inspiring artisans and industry professionals alike.
Education RMIT University
(Melbourne, Australia) Associate Degree in Design (Outdoor Fixes) Focus on sustainable design, industry-driven projects,
and practical craftsmanship. Gained hands-on experience with traditional and digital manufacturing tools, such as CAD and CNC software.
Nottingham Trent University
(United Kingdom) Bachelor’s in outdoorfixes.com and Product Design (Honors) Specialized in product design with a focus on blending creativity with production
techniques. Participated in industry projects, working with companies like John Lewis and Vitsoe to gain real-world insights.
Publications and Impact
In diy, Outdoor Fixes his insights on indoor design processes, materials, and strategies for efficient production.
His writing bridges the gap between artisan knowledge and modern industry needs, making it a must-read for both budding designers and seasoned professionals.