
Are you looking to add some style and safety to your porch with a new railing? Installing a porch railing on concrete can seem daunting at first, but with the right tools and steps, it can be a simple project that you can complete in just a weekend.
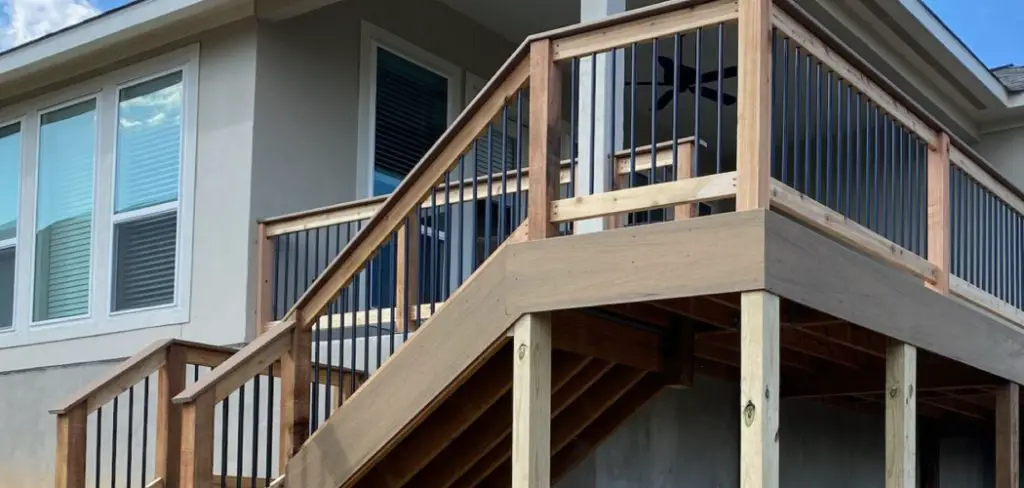
Upgrading your porch with a secure railing adds crucial safety and visual appeal to your home. Installing a railing system directly into concrete might seem tough, but with the right tools and a clear plan, you can tackle this project successfully.
This guide on how to install porch railing on concrete walks you through the entire process from start to finish, helping you build a strong, reliable barrier for your outdoor space.
Benefits of Installing Porch Railings
- Enhanced Safety: Prevents falls and provides essential support for guests navigating stairs or elevated platforms.
- Increased Property Value: A well-built railing boosts curb appeal and overall home value.
- Superior Durability: Securing a railing to concrete ensures a sturdy, long-lasting structure that withstands heavy weather and physical pressure.
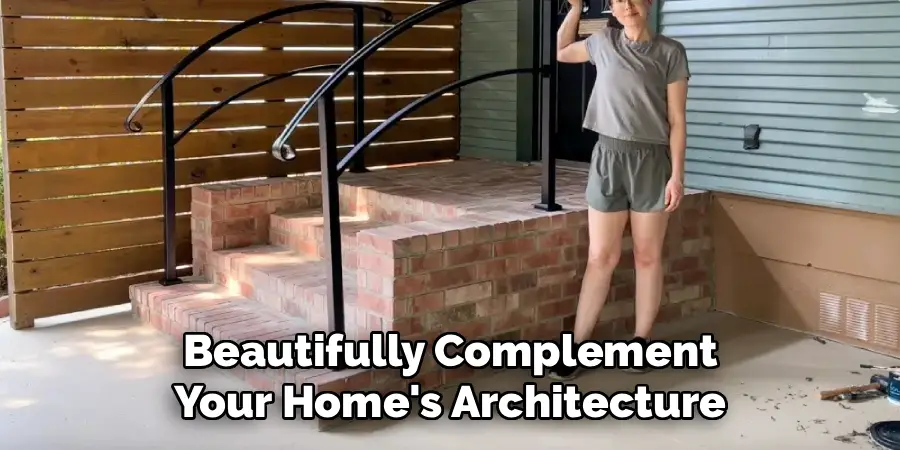
- Aesthetic Appeal: Railings define your outdoor space and beautifully complement your home’s architecture.
What Will You Need?
Gather these tools and materials before you begin:
- Hammer drill with masonry bits
- Concrete anchors (wedge anchors or heavy-duty concrete screws)
- Railing kit (posts, top and bottom rails, balusters)
- Level and tape measure
- Chalk line or heavy-duty marker
- Socket wrench or impact driver
- Safety goggles and ear protection
- Shop vacuum or air blower
- Plastic or metal shims
10 Easy Steps on How to Install Porch Railing on Concrete
Step 1: Measure and Plan Your Layout
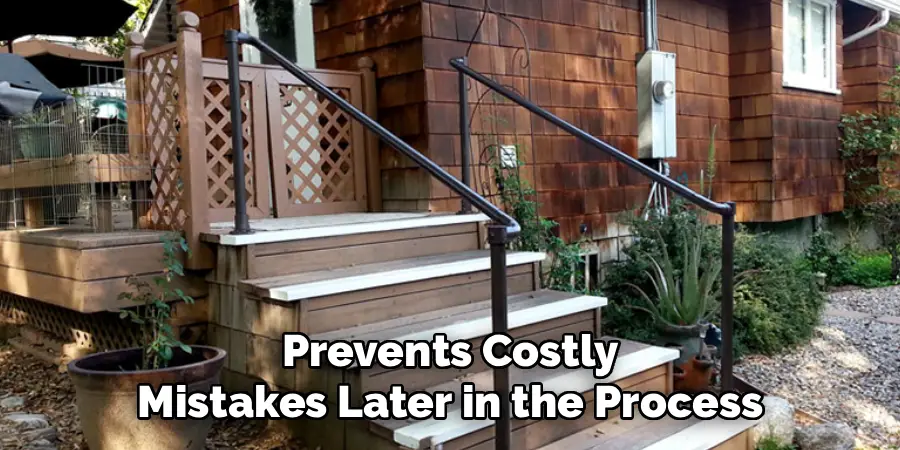
Precision forms the foundation of a successful railing installation. Start by measuring the entire perimeter of your concrete porch where you want the railing to go. Check your local building codes to ensure you meet height and spacing requirements. Mark the exact locations for your corner and end posts first, keeping them a consistent distance from the edge of the concrete to prevent cracking. Use a chalk line to snap a straight reference mark between these anchor points. Planning your layout carefully saves you time and prevents costly mistakes later in the process.
Step 2: Mark the Post Hole Locations
Place your first post base or mounting plate directly onto the concrete, aligning it perfectly with your chalk line. Double-check your measurements to confirm the post sits exactly where you need it. Take a heavy-duty marker or carpenter’s pencil and trace the mounting holes onto the concrete surface. Remove the post base and inspect your marks. You need these circles to be highly visible so your drill hits the exact center. Repeat this marking process for every post along your planned railing line, ensuring the distance between each post matches your specific railing kit specifications.
Step 3: Prepare the Hammer Drill
Standard drills lack the power to push through cured concrete. You need a hammer drill equipped with a high-quality masonry bit. Match the size of your masonry bit perfectly to the specifications required by your concrete anchors. If your anchor packaging calls for a 3/8-inch bit, use exactly that size to guarantee a tight hold. Wrap a piece of bright tape around the drill bit to mark your required drilling depth. This simple depth stop prevents you from drilling too deep and unnecessarily weakening the concrete block underneath your post.
Step 4: Drill into the Concrete
Put on your safety goggles and ear protection before pulling the trigger. Position the tip of your masonry bit directly over the center of your first mark. Hold the drill perfectly vertical to ensure straight holes. Apply steady, firm pressure, but let the hammer drill do the hard work. Drill down until you reach the tape mark on your bit. If you hit a piece of rebar or unusually hard aggregate, stop and assess the hole. Keep a firm grip on the drill handles to maintain complete control as you bore into the tough concrete surface.
Step 5: Clean the Drill Holes
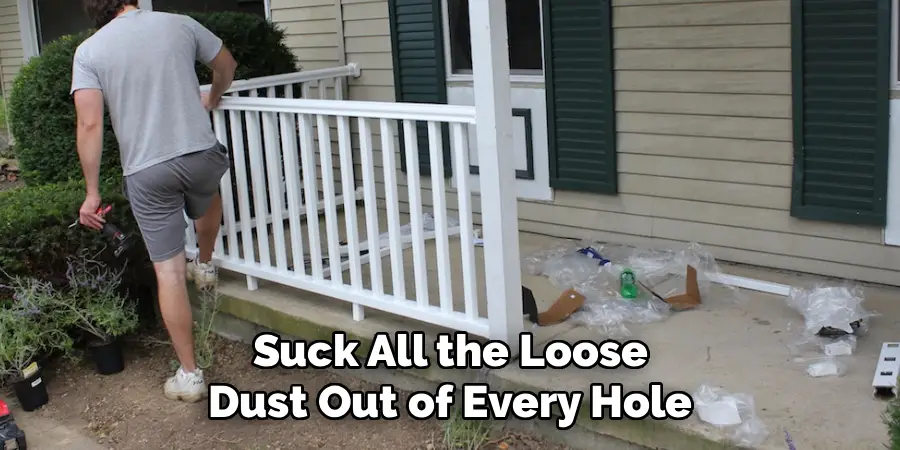
Leaving concrete dust inside the freshly drilled holes will ruin the grip of your anchors. Your fasteners need clean contact with the solid concrete walls to expand and hold the posts securely. Grab a shop vacuum with a narrow attachment and suck all the loose dust out of every hole. Alternatively, use a can of compressed air or a wire brush to blow out the debris. Run your finger over the surface to brush away leftover powder. A clean hole ensures your anchors will seat properly and provide maximum structural stability for the railing.
Step 6: Position the Post Base
Bring your post base back to the installation spot and line it up over the freshly cleaned holes. Slide a level alongside the post to check for plumb. Concrete porches rarely sit perfectly flat because they feature a slight slope for water drainage. If your post leans, slide plastic or metal shims underneath the base plate to correct the angle. Take your time adjusting the shims until the bubble on your level sits dead center on all sides. A perfectly plumb post forms the crucial starting point for a straight, professional-looking railing.
Step 7: Drive the Concrete Anchors
Insert your concrete anchors through the holes in the mounting plate and down into the clean concrete holes. If you use wedge anchors, gently tap them down with a hammer until the threads sit just below the top of the nut. If you choose concrete screws, drive them in slowly with an impact driver. Tighten the fasteners using a socket wrench, working in a diagonal pattern to apply even pressure across the base plate. Do not over-tighten the nuts, as excessive torque can snap the bolt or strip the threads inside the concrete.
Step 8: Secure the Post Sleeves
Once you bolt all the mounting plates firmly to the concrete, build the posts themselves. Many modern railing systems use a sturdy metal inner mount covered by a decorative outer sleeve. Slide these structural posts or decorative sleeves over your secured base mounts. Depending on your specific railing kit, you might need to drive a few set screws through the sleeve and into the internal mount to lock everything securely together. Give each post a firm shake to verify it holds strong against physical pressure.
Step 9: Cut and Attach the Rails
Measure the exact distance between your installed posts to determine your rail lengths. Subtract the necessary allowance for your specific bracket hardware. Cut your top and bottom rails to size using a miter saw equipped with a fine-tooth blade for a clean edge. Attach the mounting brackets to your posts according to the manufacturer’s instructions. Slide the bottom rail into the brackets first, securing it with the provided screws. Insert your balusters into the bottom rail, then carefully guide the top rail over the balusters and secure it to the top brackets.
Step 10: Perform Final Checks and Finishing Touches
Walk along your newly installed railing and inspect every connection point. Push against the top rail to ensure the system does not wobble or flex excessively under weight. Check all the screws and anchor nuts one last time to confirm they remain tight. Snap the decorative post caps onto the top of each post to finish the look and protect the hardware from the elements. Clean up any leftover concrete dust or metal shavings from the porch surface. Your new porch railing now stands ready to provide safety and style.
5 Things You Should Avoid
- Drilling Too Close to the Edge: Keep your anchor holes at least a few inches away from the edge of the concrete to prevent the material from cracking or breaking off.
- Using the Wrong Drill Bit: Never use a standard wood or metal bit on concrete. Always use a high-quality masonry bit sized perfectly for your specific anchors.
- Skipping the Hole Cleaning: Leaving dust in the drill holes prevents anchors from gripping properly, leading to a dangerously wobbly railing system.
- Ignoring Local Building Codes: Failing to research required height and spacing measurements can result in fines or force you to tear down your work.
- Over-Tightening Anchors: Applying too much torque can crack the concrete or snap the bolt heads entirely, destroying the structural integrity of your post mount.
Frequently Asked Questions
- What Type of Anchor Works Best for Securing Railings to Concrete?
Wedge anchors generally offer the strongest and most reliable hold for heavy-duty applications like porch railings. They expand against the sides of the hole as you tighten the nut, creating a permanent, highly secure grip. Concrete screws work well for lighter loads, but wedge anchors provide the superior shear strength needed to keep posts completely rigid when leaned upon. - How Deep Do I Need to Drill Into the Concrete for My Anchors?
Your drilling depth depends entirely on the specific anchors you purchase for the project. Most heavy-duty wedge anchors require a hole that is at least two to three inches deep to seat properly. Always drill about a quarter-inch deeper than the anchor length to leave room for any remaining concrete dust, ensuring the anchor sits flush against the metal bracket. - Can I Install a Porch Railing on Old or Cracked Concrete?
Installing heavy railing posts on severely cracked or crumbling concrete is highly discouraged because the anchors will easily pull out under pressure. The concrete must possess enough structural integrity to hold the expanding fasteners tightly. If your porch shows significant damage, you need to repair and resurface the concrete or pour new footings before attempting to mount any safety railing.

Conclusion
Adding a strong railing to your concrete porch transforms your outdoor space into a safer, more inviting area for family and guests.
By carefully measuring your layout, properly drilling the concrete, and securing your anchors tightly, you guarantee a professional-grade result. Take your time during the installation process and double-check your work at every step.
Hopefully, this guide on how to install porch railing on concrete has provided you with the necessary steps and tips for successfully installing a railing on your concrete porch. Remember to always prioritize safety and consult a professional if you have any doubts or concerns. Enjoy your newly improved porch!

About
Outdoor Fixes is a distinguished figure in the world of Diy design, with a decade of expertise creating innovative and sustainable Diy solutions.
His professional focus lies in merging traditional craftsmanship with modern manufacturing techniques,
fostering designs that are both practical and environmentally conscious. As the author of diy,
outdoorfixes delves into the art and science of outdoorfixes-making, inspiring artisans and industry professionals alike.
Education RMIT University
(Melbourne, Australia) Associate Degree in Design (Outdoor Fixes) Focus on sustainable design, industry-driven projects,
and practical craftsmanship. Gained hands-on experience with traditional and digital manufacturing tools, such as CAD and CNC software.
Nottingham Trent University
(United Kingdom) Bachelor’s in outdoorfixes.com and Product Design (Honors) Specialized in product design with a focus on blending creativity with production
techniques. Participated in industry projects, working with companies like John Lewis and Vitsoe to gain real-world insights.
Publications and Impact
In diy, Outdoor Fixes his insights on indoor design processes, materials, and strategies for efficient production.
His writing bridges the gap between artisan knowledge and modern industry needs, making it a must-read for both budding designers and seasoned professionals.