
A fresh coat of paint can transform a tired, weathered fence into the standout feature of your yard. Whether your fence has faded over the years or you simply want a new look, learning how to paint a wooden fence is a rewarding weekend project that almost anyone can tackle. The best part is that you don’t need professional skills to get great results, just a little patience and the right approach.
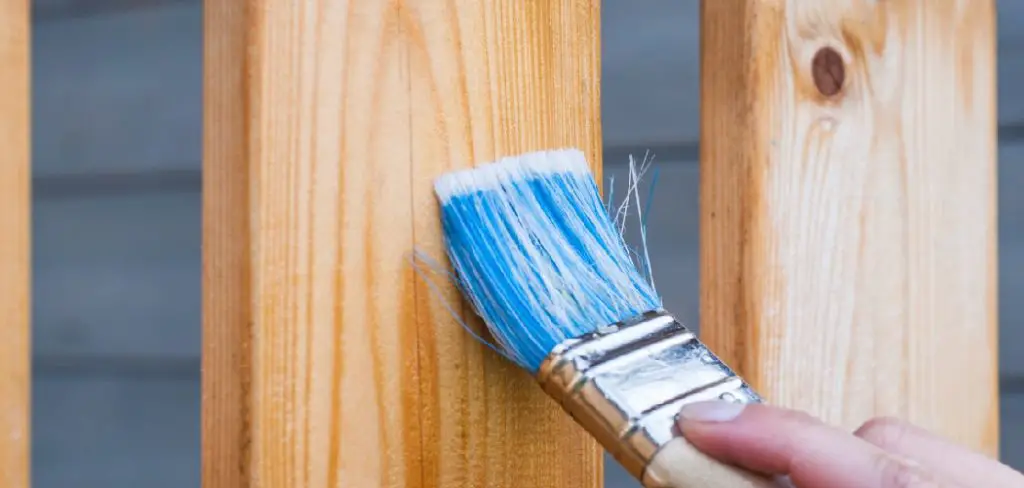
In this guide, we’ll walk you through everything from prep to the final coat, so you feel confident every step of the way. We’ll cover the tools you need, how to handle tricky spots, and the small details that make a big difference. By the end, you’ll know exactly what to do and why each step matters. Think of this as your friendly, no-stress roadmap to a beautiful, long-lasting finish that protects your wood and boosts your home’s curb appeal for years to come.
Why Painting Your Wooden Fence Matters
Painting isn’t only about looks, though a freshly painted fence certainly turns heads. The real value lies in protection. Wood is naturally vulnerable to moisture, sun damage, insects, and rot. A quality coat of paint acts like a shield, sealing out water and blocking harmful UV rays that cause cracking and warping.
This protection means your fence lasts longer, saving you money on repairs and replacements down the road. Paint also helps prevent mold and mildew, keeping your wood healthier overall. Beyond practicality, a well-painted fence raises your property’s value and gives your outdoor space a polished, cared-for feel. With minimal effort and the right materials, you gain years of durability and a yard you’ll be proud to show off.
Step-By-Step Guide To How To Paint A Wooden Fence
Step 1: Check The Weather And Plan Ahead
Before you open a single can, take a moment to check your local forecast. You want a stretch of two to three dry days with mild temperatures, ideally between 50 and 85 degrees Fahrenheit. Painting in direct, blazing sun can cause the paint to dry too fast and crack, while rain will ruin a fresh coat in minutes.

Planning ahead also gives you time to gather supplies and clear the area around your fence. Move planters, garden tools, and outdoor furniture out of the way. Lay down drop cloths to protect grass and pathways. A little prep here saves you from rushed mistakes later and sets you up for smooth, stress-free progress.
Step 2: Clean The Surface Thoroughly
A clean surface is the secret to paint that actually sticks. Over time, fences collect dirt, dust, mildew, and old flaking paint that prevent new coats from bonding properly. Start by scrubbing the wood with a stiff brush and a mix of warm water and mild detergent, or use a pressure washer on a gentle setting for faster results.
Pay close attention to shaded areas where mold and green algae tend to build up. If you spot mildew, a solution of water and oxygen bleach works wonders. Once you’ve washed everything down, rinse the fence well and let it dry completely. Damp wood traps moisture under the paint, leading to peeling and bubbling later on.
Step 3: Make Repairs And Sand Rough Spots
Now that your fence is clean, inspect every board closely. Look for loose nails, splintered wood, cracks, or rotting sections. Hammer in any popped nails, replace badly damaged boards, and fill small holes or gaps with exterior wood filler. Allow the filler to cure fully before moving forward.
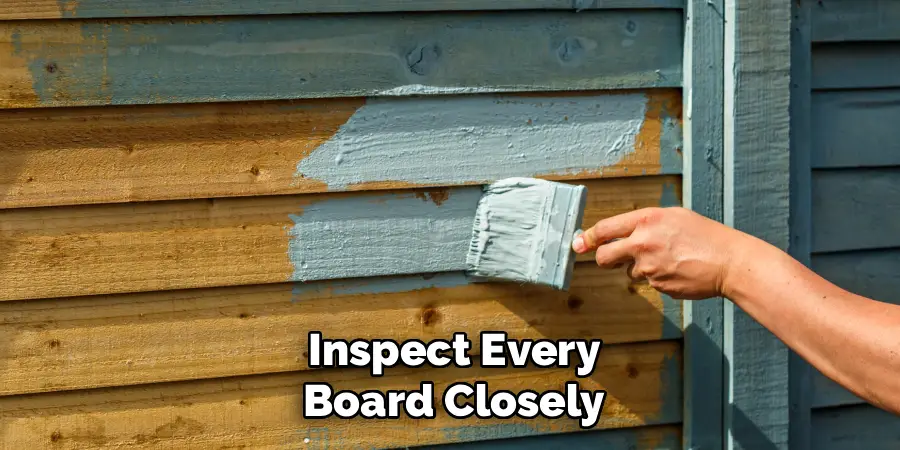
Next, grab some medium-grit sandpaper and smooth out rough patches, raised grain, and any flaky old paint. Sanding creates a slightly textured surface that helps new paint grip better. Wipe away the dust with a dry cloth when you finish. These small repairs may feel tedious, but they make a huge difference in the final look and longevity of your work.
Step 4: Apply A Quality Primer
Primer is the unsung hero of any great paint job, especially when figuring out how to paint a wooden fence that lasts. It seals the wood, blocks stains from bleeding through, and gives your topcoat something to cling to. Choose an exterior wood primer suited to your fence material and the type of paint you plan to use.
Apply the primer evenly with a brush or roller, working it into the grain and reaching every nook. Don’t forget the tops and bottoms of boards, where moisture loves to sneak in. Cover knots and dark spots especially well, since these can show through later. Let the primer dry fully according to the label before you add color.
Step 5: Choose The Right Paint And Tools
Picking the right products makes everything easier. For outdoor wood, an acrylic latex exterior paint is a reliable, beginner-friendly choice because it resists fading, breathes well, and cleans up with water. Decide on a finish too, since satin and semi-gloss options shed dirt and water more easily than flat finishes.
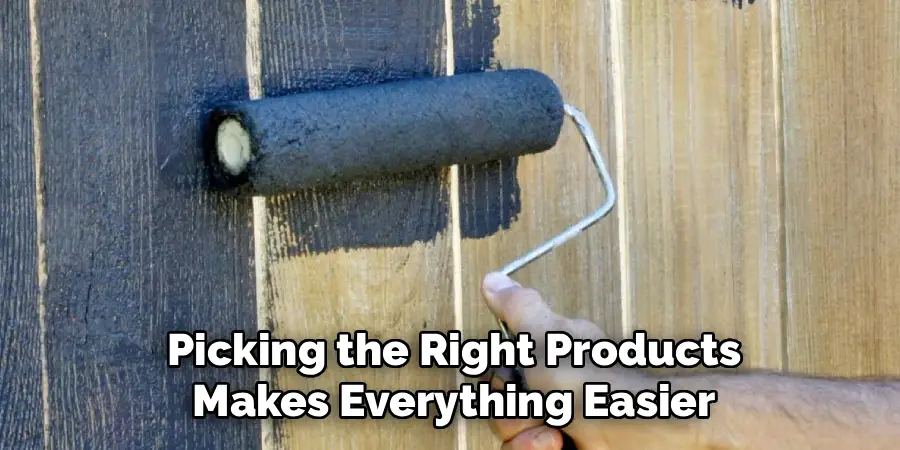
When it comes to tools, a combination works best. Use a wide brush for edges and detailed areas, a roller for large flat panels, and a small brush for tight corners and gaps between boards. Some people love using a paint sprayer for speed, but brushes and rollers give beginners more control. Gather everything before you start so you’re never scrambling mid-coat.
Step 6: Apply The First Coat Of Paint
With prep behind you, this is where the real transformation begins. Stir your paint well and pour some into a tray. Start at the top of the fence and work your way down, following the direction of the wood grain. This technique keeps your strokes looking natural and helps the paint settle into the texture evenly.
Knowing how to paint a wooden fence well means resisting the urge to rush. Apply thin, even coats rather than thick globs, which drip and dry unevenly. Cover one section completely before moving to the next so you don’t leave visible lap marks. Take your time around posts, rails, and corners, and check often for spots you may have missed.
Step 7: Add A Second Coat And Inspect
Most fences need two coats for full, even coverage and lasting protection. Wait the recommended drying time on your paint can, usually two to four hours, before starting the second layer. Rushing this step can smear your first coat and undo your hard work, so a little patience pays off here.
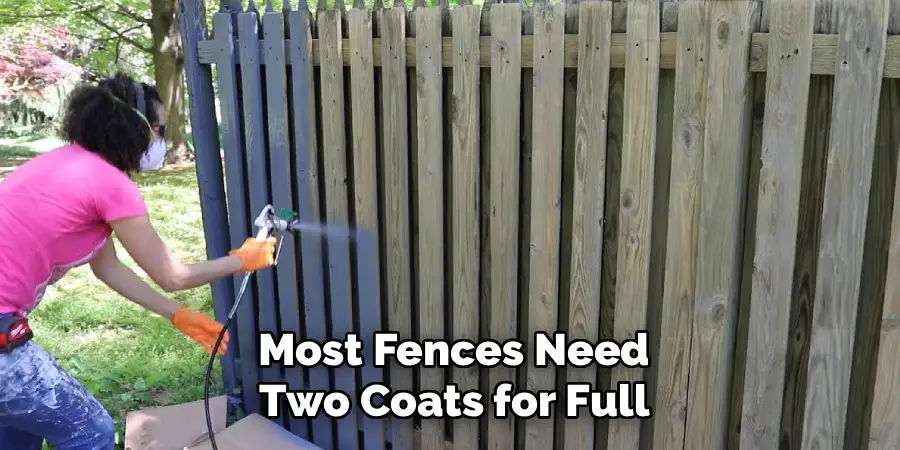
Apply the second coat using the same top-to-bottom, with-the-grain method you used before. Once it dries, step back and inspect your fence in good daylight. Look for thin areas, drips, or missed corners, and touch them up as needed. When everything looks crisp and uniform, clean your brushes, store leftover paint, and admire your beautiful new fence.
Frequently Asked Questions
How Long Should I Wait Before Painting A New Fence?
If your fence is brand new and made of pressure-treated wood, you’ll usually need to wait several weeks to a few months for it to dry out completely. Painting too soon traps moisture and causes peeling. A simple test is to sprinkle water on the wood. If it soaks in rather than beading up, the fence is ready for primer and paint.
How Many Coats Of Paint Does A Fence Need?
Most wooden fences look best and stay protected with two coats of paint applied over a solid primer layer. The first coat builds color and coverage, while the second seals everything and evens out the finish. If you’re switching from a dark color to a light one, you might need a third coat. Always let each layer dry fully before adding the next.
Should I Use Paint Or Stain On My Fence?
Both work well, so it comes down to your goals. Paint offers more color choices, hides imperfections, and creates a thick protective shell. Stain soaks into the wood, highlights the natural grain, and tends to fade more gracefully without peeling. If you want bold color and maximum coverage, choose paint. If you love a natural wood look with easy upkeep, stain may suit you better.
How Do I Keep My Painted Fence Looking Good?
Regular care keeps your fence vibrant for years. Rinse it gently once or twice a year to remove dirt, pollen, and cobwebs, and watch for early signs of peeling or fading. Trim back plants that press against the wood, since trapped moisture leads to damage. Touch up small chips as soon as you notice them to stop bigger problems before they start.
What Tools Make Painting A Fence Easier?
A good setup makes the job faster and more enjoyable. A wide brush handles edges and grain, a roller speeds up flat panels, and a smaller angled brush reaches tight gaps. Drop cloths protect your grass, while painter’s tape guards hardware and nearby surfaces. If you have a large fence, a sprayer covers ground quickly, though it takes a steadier hand to control.
Conclusion
Giving your fence a fresh, durable finish is one of the most satisfying outdoor projects you can take on, and now you have a clear plan to follow. From checking the weather and cleaning the surface to priming, painting, and adding that final coat, each step builds toward a result that looks great and stands up to the elements. The key takeaways are simple. Prep thoroughly, use quality materials, work with the grain, and never skip drying time between coats.
Knowing how to paint a wooden fence empowers you to protect your investment, boost your curb appeal, and enjoy a yard you’re proud of. So gather your tools, pick a sunny weekend, and dive in with confidence. Your beautifully refreshed fence is just a few brushstrokes away, and the satisfaction of doing it yourself makes the reward even sweeter.

About
Outdoor Fixes is a distinguished figure in the world of Diy design, with a decade of expertise creating innovative and sustainable Diy solutions.
His professional focus lies in merging traditional craftsmanship with modern manufacturing techniques,
fostering designs that are both practical and environmentally conscious. As the author of diy,
outdoorfixes delves into the art and science of outdoorfixes-making, inspiring artisans and industry professionals alike.
Education RMIT University
(Melbourne, Australia) Associate Degree in Design (Outdoor Fixes) Focus on sustainable design, industry-driven projects,
and practical craftsmanship. Gained hands-on experience with traditional and digital manufacturing tools, such as CAD and CNC software.
Nottingham Trent University
(United Kingdom) Bachelor’s in outdoorfixes.com and Product Design (Honors) Specialized in product design with a focus on blending creativity with production
techniques. Participated in industry projects, working with companies like John Lewis and Vitsoe to gain real-world insights.
Publications and Impact
In diy, Outdoor Fixes his insights on indoor design processes, materials, and strategies for efficient production.
His writing bridges the gap between artisan knowledge and modern industry needs, making it a must-read for both budding designers and seasoned professionals.