
Cement board siding gives your home a tough, weather-resistant exterior that can last for decades. But even the best siding eventually needs a fresh coat of paint to keep it looking sharp and to protect it from the elements. Whether your siding has faded over the years or you simply want a new color, painting cement board siding is a project you can tackle yourself with the right tools and a bit of patience.
The good news? Cement board, often called fiber cement, holds paint exceptionally well. When you prepare the surface properly and use quality products, the results can rival a professional finish. A well-painted exterior not only boosts your curb appeal but also adds a protective layer that shields the material from moisture, sun, and temperature swings.
In this guide on how to paint cement board siding, we’ll walk you through everything you need to know. By the end, you’ll feel confident enough to grab a brush and get started.
What are the Benefits?
Painting cement board siding offers more than just a pretty face for your home. Here are the key advantages that make this project worth your time and effort.
- Improved curb appeal. A fresh coat of paint instantly transforms the look of your home. You can update an outdated color, match a new design trend, or simply restore a faded finish. The visual upgrade is dramatic and immediate.
- Added protection. Paint acts as a barrier against moisture, UV rays, and dirt. While cement board is already durable, a quality paint job extends its lifespan and keeps the material in top condition for years.
- Higher home value. A well-maintained exterior signals to buyers that the home has been cared for. If you plan to sell, freshly painted siding can boost your property’s market value and help it stand out.
- Cost savings over replacement. Replacing siding is expensive. Painting is a far cheaper way to refresh your home’s appearance and protect your investment without tearing anything off the walls.
- Long-lasting results. Cement board holds paint better than wood or vinyl. With proper prep and the right products, your new finish can last 10 to 15 years before needing another coat.
- Resistance to fading. Modern acrylic paints are designed to resist fading and chalking. That means your color stays vibrant much longer, even in harsh sunlight.
What Will You Need?
Before you start, gather all your tools and materials. Having everything ready saves time and keeps the project running smoothly. Here’s your checklist:
Cleaning Supplies
- Pressure washer or garden hose with a spray nozzle
- Stiff-bristle scrub brush
- Mild detergent or siding cleaner
- Bucket
Repair Materials
- Exterior-grade caulk and caulk gun
- Patching compound for cracks or holes
- Putty knife
Painting Tools
- High-quality exterior acrylic primer (if siding is bare or repaired)
- 100% acrylic exterior paint
- Paint sprayer, roller, or brushes
- Extension pole for hard-to-reach areas
- Paint tray and liners
Safety and Protection Gear
- Painter’s tape
- Drop cloths or plastic sheeting
- Safety goggles
- Dust mask
- Work gloves
- Ladder or scaffolding
Optional Extras
- Sandpaper or sanding block
- Tarps to protect plants and landscaping
Having these items on hand before you begin will make the entire process easier and far less frustrating.
10 Easy Steps on How to Paint Cement Board Siding
Step 1: Inspect the Siding
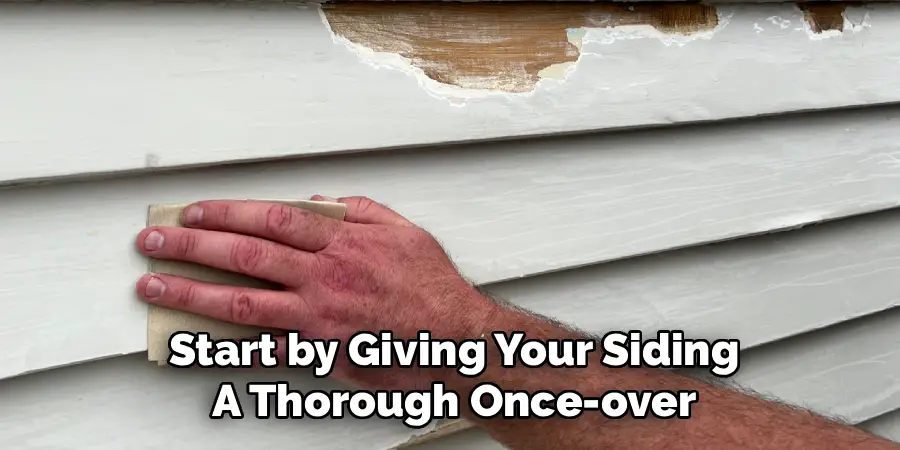
Start by giving your siding a thorough once-over. Walk around your home and look for cracks, chips, holes, or signs of moisture damage. Pay close attention to seams, corners, and areas near the ground where water tends to collect. Note any spots that need repair before you paint. Catching problems early prevents bigger headaches down the road. If you find soft or crumbling areas, address them now. A solid surface is the foundation of a long-lasting paint job, so don’t rush this first step.
Step 2: Clean the Surface
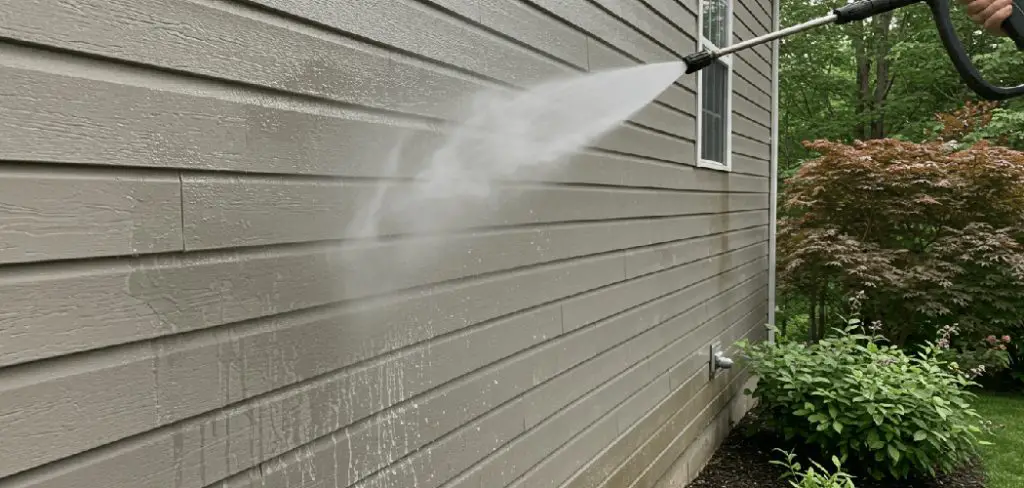
Cement board siding collects dirt, dust, mildew, and grime over time. Paint won’t stick to a dirty surface, so cleaning is essential. Use a pressure washer on a low setting or a garden hose with a scrub brush and mild detergent. Work from top to bottom to avoid streaks. For mildew or stubborn stains, use a cleaning solution made for exterior siding. Rinse thoroughly to remove all soap residue. Be careful not to force water behind the siding, as trapped moisture can cause problems later.
Step 3: Let It Dry Completely
After cleaning, give your siding plenty of time to dry. Painting over damp siding traps moisture and leads to peeling, bubbling, and poor adhesion. Wait at least 24 to 48 hours, depending on the weather. Choose a stretch of dry, mild days for this project. Avoid painting when rain is in the forecast or when humidity is high. Patience here pays off with a smoother, longer-lasting finish.
Step 4: Make Repairs
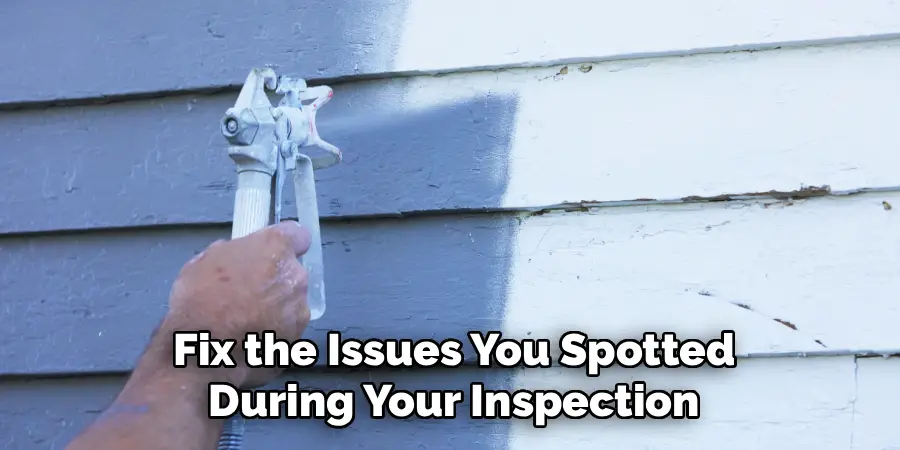
Now’s the time to fix the issues you spotted during your inspection. Fill cracks and holes with a patching compound and smooth them out with a putty knife. Apply exterior-grade caulk to seal gaps around windows, doors, and seams. Let all repairs cure fully according to the product instructions. Proper repairs keep moisture out and create a seamless surface for your paint. Skipping this step can leave weak points that fail quickly.
Step 5: Sand Rough Areas
Once repairs have cured, lightly sand any rough or uneven spots. This includes patched areas and any old paint that’s peeling or flaking. Sanding creates a smooth, even surface that helps the new paint adhere better. Use a fine-grit sandpaper or a sanding block. Wipe away the dust with a damp cloth when you’re done. You don’t need to sand the entire surface, just the areas that need it.
Step 6: Protect Surrounding Areas
Before you open a can of paint, protect everything you don’t want painted. Use painter’s tape along window frames, door trim, and any other edges. Lay drop cloths over walkways, decks, and landscaping. Cover nearby plants, light fixtures, and outdoor furniture with plastic sheeting. Taking a few minutes to mask off these areas saves you a lot of cleanup time and prevents accidental drips and overspray from ruining your hard work.
Step 7: Apply Primer
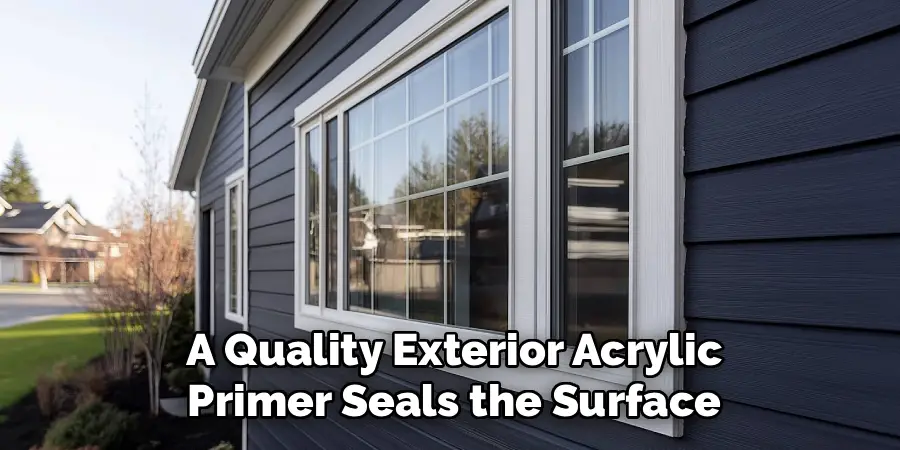
If your siding is bare, newly repaired, or has never been painted, primer is a must. A quality exterior acrylic primer seals the surface and helps the topcoat bond. Apply primer evenly using a brush, roller, or sprayer. Work in sections and cover every spot, including edges and seams. Let the primer dry completely before moving on. Even if your siding is already painted, priming repaired areas ensures a uniform finish.
Step 8: Choose the Right Paint
Selecting the right paint makes all the difference. Use a 100% acrylic exterior paint designed for masonry or fiber cement surfaces. These paints flex with the material as it expands and contracts, which prevents cracking. Pick a color that complements your home and neighborhood. Satin and semi-gloss finishes resist dirt and are easy to clean. Buy enough paint to cover your entire home with two coats, so you don’t run out mid-project.
Step 9: Apply the First Coat
Now for the fun part. Apply your first coat of paint, working from top to bottom. A sprayer covers large areas quickly, but a brush or roller gives you more control around edges and details. Use long, even strokes and maintain a wet edge to avoid lap marks. Don’t overload your brush or roller, as thick coats lead to drips. Cover the entire surface evenly and let the first coat dry fully before applying the next one.
Step 10: Apply the Second Coat and Clean Up
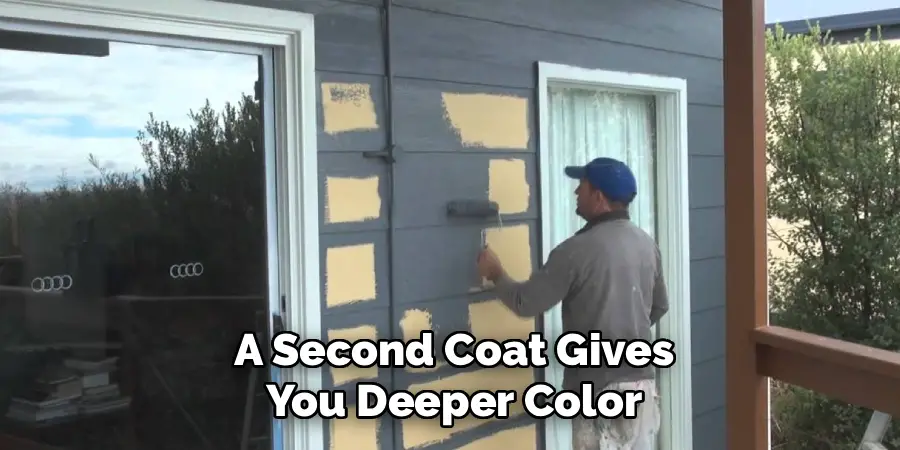
A second coat gives you deeper color, better coverage, and added protection. Wait for the recommended drying time between coats, usually two to four hours. Apply the second coat the same way you did the first, working top to bottom with even strokes. Once you’re finished, carefully remove the painter’s tape while the paint is still slightly tacky for clean edges. Clean your brushes, rollers, and trays, and pack away your supplies. Step back and admire your refreshed home.
5 Things You Should Avoid
Even with the best intentions, a few common mistakes can ruin your paint job. Here’s what to watch out for.
1. Skipping the cleaning step. Painting over dirt, dust, or mildew guarantees poor adhesion. Paint simply won’t bond to a grimy surface, and you’ll see peeling within months. Always clean thoroughly first.
2. Painting in bad weather. Avoid painting in direct sunlight, high humidity, or when rain is expected. Extreme heat causes paint to dry too fast, while moisture prevents proper curing. Aim for mild, dry conditions.
3. Using the wrong paint. Not all paints work on cement board. Oil-based or low-quality paints can crack and fail. Stick with 100% acrylic exterior paint made for masonry or fiber cement.
4. Skipping primer on bare areas. Bare or repaired spots need primer to seal the surface. Without it, the topcoat won’t adhere well and may peel or look uneven.
5. Applying coats too thick. Thick coats lead to drips, sags, and uneven drying. Two thin coats always beat one heavy coat. Take your time and build up the color gradually.
Conclusion
How to paint cement board siding is one of the most rewarding home improvement projects you can take on. It refreshes your home’s appearance, protects a valuable part of your house, and saves you the high cost of full siding replacement.
The key to success lies in preparation. Take the time to inspect, clean, repair, and prime before you ever pick up a paintbrush. Choose the right 100% acrylic exterior paint, work in good weather, and apply two thin, even coats. Avoid the common mistakes we covered, and you’ll sidestep the problems that trip up so many first-time painters.
So gather your supplies, follow these ten easy steps, and enjoy the satisfaction of a job well done. Your freshly painted cement board siding will boost your curb appeal and keep your home looking its best for many years to come.

About
Outdoor Fixes is a distinguished figure in the world of Diy design, with a decade of expertise creating innovative and sustainable Diy solutions.
His professional focus lies in merging traditional craftsmanship with modern manufacturing techniques,
fostering designs that are both practical and environmentally conscious. As the author of diy,
outdoorfixes delves into the art and science of outdoorfixes-making, inspiring artisans and industry professionals alike.
Education RMIT University
(Melbourne, Australia) Associate Degree in Design (Outdoor Fixes) Focus on sustainable design, industry-driven projects,
and practical craftsmanship. Gained hands-on experience with traditional and digital manufacturing tools, such as CAD and CNC software.
Nottingham Trent University
(United Kingdom) Bachelor’s in outdoorfixes.com and Product Design (Honors) Specialized in product design with a focus on blending creativity with production
techniques. Participated in industry projects, working with companies like John Lewis and Vitsoe to gain real-world insights.
Publications and Impact
In diy, Outdoor Fixes his insights on indoor design processes, materials, and strategies for efficient production.
His writing bridges the gap between artisan knowledge and modern industry needs, making it a must-read for both budding designers and seasoned professionals.