
Chicken wire is one of the handiest materials for gardeners, pet owners, and weekend builders. You can use it to protect plants, build animal enclosures, or even craft sculptures. But before any project begins, you need to handle the roll correctly, and that is where many beginners get stuck. Learning how to unroll chicken wire the right way saves you time, prevents painful scratches, and keeps the mesh flat and easy to work with.
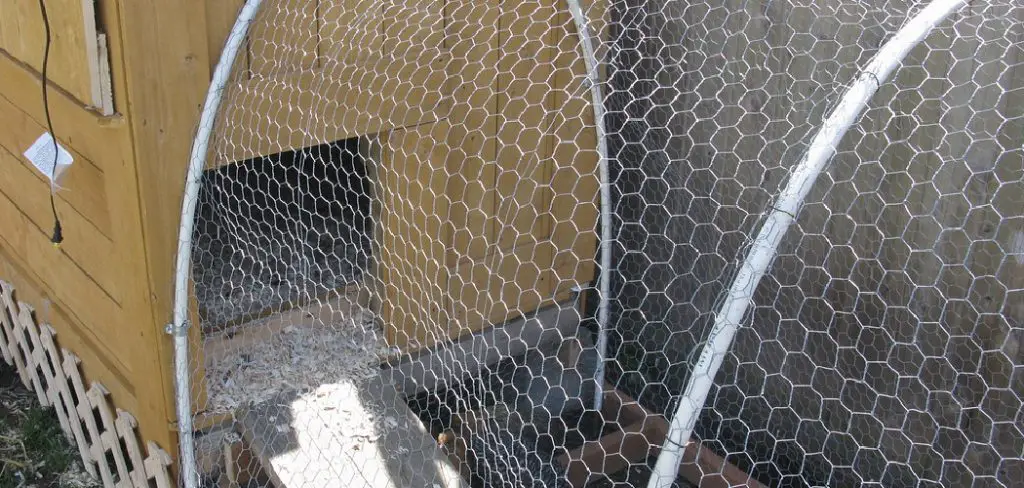
If you have ever fought with a springy roll that snaps back on itself, you already know the struggle. The good news is that the process is simple once you understand a few core techniques. This guide walks you through everything in clear, easy steps designed for all skill levels.
We will cover why proper unrolling matters, a detailed seven-step walkthrough, and answers to common questions. By the end, you will feel confident tackling your next fencing or crafting project. No prior experience is required, just a little patience and the right approach to get started safely and smoothly.
Why Unrolling Chicken Wire Matters
Getting the unrolling step right sets the tone for your entire project. When you handle the mesh carefully, you avoid kinks, tangles, and uneven sections that can ruin the final result. A flat, smooth roll is far easier to cut, shape, and attach to posts or frames.
Safety is another big reason this matters. Chicken wire has sharp, cut edges that can snap toward your hands or face if the roll springs loose. A controlled approach protects you from injury and reduces wasted material. You also save valuable time, since a properly managed roll lays out quickly without constant readjustment. Whether you are fencing a garden bed or building a coop, mastering this first step makes every later task smoother and far less frustrating.
Step-by-Step Guide to How To Unroll Chicken Wire
Step 1: Gather Your Tools And Safety Gear
Before you touch the roll, set yourself up for success. You will want a sturdy pair of work gloves, safety glasses, wire cutters, and a few zip ties or scrap wire to secure loose ends. Having everything within reach means you never have to stop mid-task with sharp wire in your hands.
Choose a flat, open work area too. A driveway, patio, or level patch of lawn gives you room to stretch the mesh out fully. Clear away rocks, tools, or anything that could snag the wire as it unwinds. This small bit of preparation reduces frustration later and helps the whole process feel calm and controlled rather than rushed and messy.
Step 2: Inspect The Roll Before You Begin
Take a moment to look over the entire roll. Check for damaged sections, rust, or bent areas that might affect your project. Knowing the condition of your material upfront helps you plan cuts and avoid weak spots in your finished fence or enclosure.
Locate the outer end of the roll, which is usually tucked under or wrapped with a small piece of wire to keep it from unwinding. Identify how the mesh is coiled so you understand which direction it naturally wants to spring. This quick inspection takes less than a minute, yet it gives you a clear mental map of what to expect and keeps surprises to a minimum once you begin.
Step 3: Learning Wire Flat On The Ground
Place the roll on its side at one end of your cleared space. Cut or untwist the wire holding the end in place, then press the loose edge firmly against the ground with your foot or a heavy object. This anchor point keeps the mesh from snapping back as you work.
Now walk the roll away from the anchored end, letting the mesh feed out behind you. Keep gentle, steady pressure so the wire stays flat rather than bunching up. Moving slowly here pays off, because a controlled pace prevents tangles and keeps the edges from curling. You will quickly see the mesh stretch into a neat, manageable strip ready for the next step.
Step 4: Weigh Down The Edges
Chicken wire loves to curl back into its original shape, so you need to fight that memory. As you roll out each section, place weights along both edges to hold the mesh flat. Bricks, sandbags, scrap lumber, or even garden pavers all work well for this job.
Spacing the weights evenly along the length keeps the entire strip stable. This step is especially helpful on windy days or when you are working alone. With the edges pinned down, you free up your hands to measure, mark, and cut without the wire springing loose. A flat surface also makes it far easier to spot any defects and ensures your measurements stay accurate from end to end.
Step 5: Measure And Mark Your Cuts
With the mesh laid flat, grab a tape measure and mark exactly where you need to cut. Use a permanent marker or a small strip of tape on the wire to flag each point. Measuring before cutting saves material and prevents the classic mistake of trimming too short.
Double-check your numbers against your project plan. If you are building a frame or fencing a bed, account for a little extra length to wrap around posts or fold over edges. Taking these measurements while the wire is weighted down means everything stays aligned. A few extra seconds of careful marking now will spare you wasted material and the hassle of starting a section over later.
Step 6: The Best Way On Vertical Posts
Sometimes you need the mesh upright rather than flat, such as when fencing around a garden or coop. Start by securing one end of the wire to your first post with staples, ties, or fencing clips. This anchor holds the mesh steady as you move along the line.
Slowly walk the roll to the next post, keeping light tension so the wire stays taut and even. Avoid pulling too hard, since overstretching can warp the mesh. Attach the wire at each post before moving on, checking that it sits level as you go. Working post by post keeps everything tidy and prevents sagging, giving you a clean, professional-looking barrier with far less effort.
Step 7: Secure And Trim The Ends
Once your mesh is fully laid out or mounted, finish by securing every loose end. Fold sharp edges back on themselves or cap them with protective trim so no one gets scratched later. Tuck stray wire ends neatly to keep your project both safe and attractive.
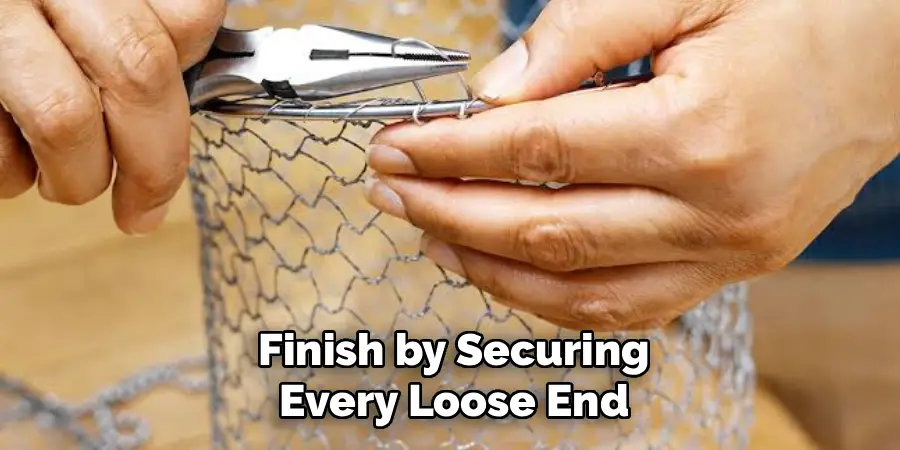
Trim away any excess with your wire cutters, cutting close to a horizontal strand for a clean finish. Collect the offcuts right away so they do not become a hazard underfoot. Step back and check your work, pressing down any spots that still want to curl. With the ends locked in place, your chicken wire is ready to do its job, whether that is protecting plants or housing animals.
Frequently Asked Questions
What Is The Easiest Way To Keep Chicken Wire From Curling?
The simplest trick is to lay the mesh flat and weigh down the edges with bricks, sandbags, or lumber. Leaving it pinned for a few hours, or even overnight, helps relax the wire’s natural coil. You can also gently bend small sections in the opposite direction to counteract the curl, making the mesh much easier to handle and attach.
Do I Really Need Gloves And Safety Glasses?
Yes, both are strongly recommended. Chicken wire has sharp, cut edges that can scratch your hands or snap toward your face when the roll springs loose. Sturdy work gloves protect your skin, while safety glasses guard your eyes from any sudden movement. These small precautions cost very little and dramatically reduce your risk of painful, avoidable injuries during the project.
Can I Unroll Chicken Wire By Myself?
Absolutely. Working solo is completely doable when you anchor one end firmly with your foot or a heavy weight. Take your time, move slowly, and use weights along the edges to keep the mesh flat. For taller fencing along posts, securing each section as you go lets you manage the roll comfortably without needing a second pair of hands.
How Do I Cut Chicken Wire Cleanly?
Use a quality pair of wire cutters or tin snips and cut as close to a vertical or horizontal strand as possible. This leaves a tidy edge and minimizes sharp pokes. Mark your cut line first with tape or a marker for accuracy. Cutting while the mesh is weighted down keeps it stable and helps you make straight, controlled cuts every time.
What Should I Do With Leftover Pieces?
Save usable offcuts for small repairs, plant supports, or craft projects, since chicken wire is wonderfully versatile. Store them flat or loosely rolled in a dry spot to prevent rust. For scraps too small to reuse, recycle them at a metal recycling center. Always collect offcuts promptly so sharp pieces do not become a tripping or injury hazard in your workspace.
Conclusion
Handling a roll of chicken wire does not have to be a battle. With the right tools, a clear space, and a steady pace, you can lay out smooth, flat mesh ready for any project. The key takeaways are simple. Prepare your gear, anchor the roll, weigh down the edges, and secure your cuts carefully for safe, professional results.
Now that you understand how to unroll chicken wire with confidence, you are ready to tackle garden fencing, animal enclosures, or creative builds without the usual frustration. Remember that patience and preparation make all the difference, and every step gets easier with practice. So grab your gloves, clear a workspace, and put these techniques to the test. Your next project is well within reach, and you have all the knowledge you need to do it right.

About
Outdoor Fixes is a distinguished figure in the world of Diy design, with a decade of expertise creating innovative and sustainable Diy solutions.
His professional focus lies in merging traditional craftsmanship with modern manufacturing techniques,
fostering designs that are both practical and environmentally conscious. As the author of diy,
outdoorfixes delves into the art and science of outdoorfixes-making, inspiring artisans and industry professionals alike.
Education RMIT University
(Melbourne, Australia) Associate Degree in Design (Outdoor Fixes) Focus on sustainable design, industry-driven projects,
and practical craftsmanship. Gained hands-on experience with traditional and digital manufacturing tools, such as CAD and CNC software.
Nottingham Trent University
(United Kingdom) Bachelor’s in outdoorfixes.com and Product Design (Honors) Specialized in product design with a focus on blending creativity with production
techniques. Participated in industry projects, working with companies like John Lewis and Vitsoe to gain real-world insights.
Publications and Impact
In diy, Outdoor Fixes his insights on indoor design processes, materials, and strategies for efficient production.
His writing bridges the gap between artisan knowledge and modern industry needs, making it a must-read for both budding designers and seasoned professionals.