
The birds are chirping, the days are getting longer, and the temperatures are finally climbing. For pool owners, this signals one of the most exciting times of the year: pool opening day. Peeling back the winter layer reveals the promise of summer fun, barbecues, and refreshing dips.
However, the process of taking off that heavy, dirty tarp or safety mesh can seem daunting, especially if you are doing it for the first time. It is not just about yanking the plastic off; improper removal can dump months of accumulated muck straight into your clean water, turning a day of joy into a week of cleaning. This guide is designed to transform that anxiety into confidence.
We will walk you through exactly how to remove a pool cover efficiently and cleanly, ensuring your swimming season starts on the right foot without any messy mishaps or damage to your expensive equipment.
Removing your pool cover doesn’t have to be a stressful or daunting task. With the right approach and a little preparation, the process can be smooth and hassle-free.
By taking the time to follow proper steps, you’ll not only protect your pool from unnecessary debris but also extend the life of your pool cover. Whether you’re a seasoned pool owner or tackling this for the first time, a bit of guidance can make all the difference in setting the stage for an enjoyable swim season.
Why is It Important to Remove Your Pool Cover Properly?
The way you handle this process directly impacts the cleanliness, safety, and longevity of your pool. Improper removal can introduce dirt, leaves, and other debris into the water, leading to unnecessary maintenance and potential damage to the pool’s filtration system.
Additionally, mishandling your pool cover can cause tears, warping, or other issues that may shorten its lifespan, resulting in costly replacements. Taking the time to remove your pool cover carefully ensures a smooth start to the swimming season and helps maintain the overall health of your pool.
Tools and Materials
Having the right tools and materials on hand can make removing your pool cover much easier and more efficient. Here are some items you may need:
- Pool Cover Reel: For those with a reel system, this tool simplifies the process of rolling up the cover evenly.
- Pool Cover Cleaner: A specialized cleaner helps remove dirt, mold, and grime before storing the cover.
- Soft-Bristled Broom or Brush: Useful for sweeping away debris like leaves or twigs on the surface of the cover.
- Garden Hose: Ideal for rinsing off any remaining dirt or debris.
- Cover Storage Bag: A durable bag keeps your pool cover safe and protected during the off-season.
- Protective Gloves: To ensure your hands are safe from sharp edges or debris while handling the cover.
Using these tools and materials will not only simplify the process but also help extend the lifespan of your pool cover.
Step-by-Step Guide on How to Remove a Pool Cover
Step 1: Remove Standing Water from the Cover
Before you even think about lifting the cover, you must deal with the heavy accumulation of melted snow and spring rain sitting on top. This water is likely stagnant and filled with decaying organic matter. Using a submersible cover pump is the most effective method for this task.
Place the pump in the deepest puddle, usually near the center or wherever the cover sags the most. Connect a garden hose to the pump and direct the discharge away from the pool area to prevent soggy soil around the deck.
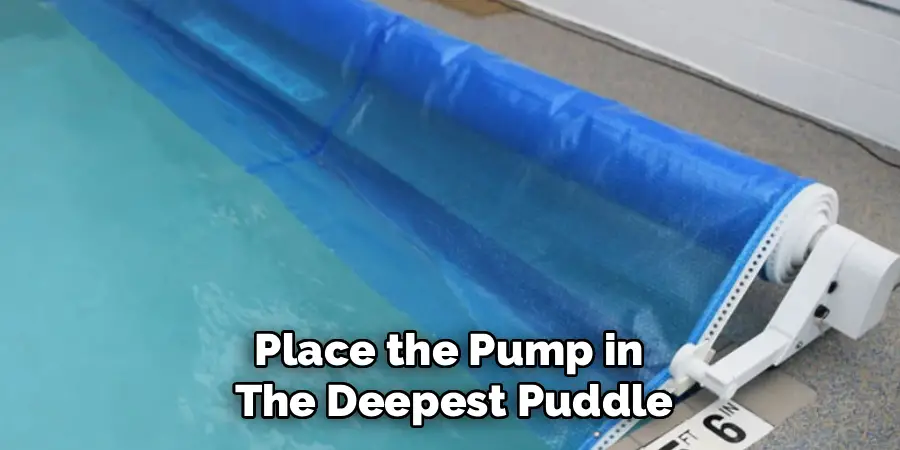
Be patient during this process, as it can take several hours depending on the volume of water. Removing this weight is critical because attempting to pull a water-laden cover is dangerous and can damage the material or the anchors.
Step 2: Clear Away Heavy Debris and Leaves
Once the standing water is pumped off, you will likely be left with a layer of wet leaves, twigs, and sludge. Do not try to hose this off into the yard while the cover is still on the pool, as the water pressure might push debris through mesh covers or cause solid covers to dip into the pool water.
Instead, use a soft-bristled pool broom or a specialized leaf rake with a rubber edge to gently gather the debris. Carefully scoop the piles into trash bags or a wheelbarrow.
Be extremely gentle to avoid tearing the cover material with sharp sticks or aggressive scrubbing. Getting the cover as clean and dry as possible at this stage is the secret to a mess-free removal process later on.
Step 3: Detach the Anchors or Water Bags
With the surface clean and dry, you can now begin unfastening the cover from the pool deck. If you have a safety cover, this involves using the installation rod to unscrew the springs from the brass anchors embedded in the concrete.
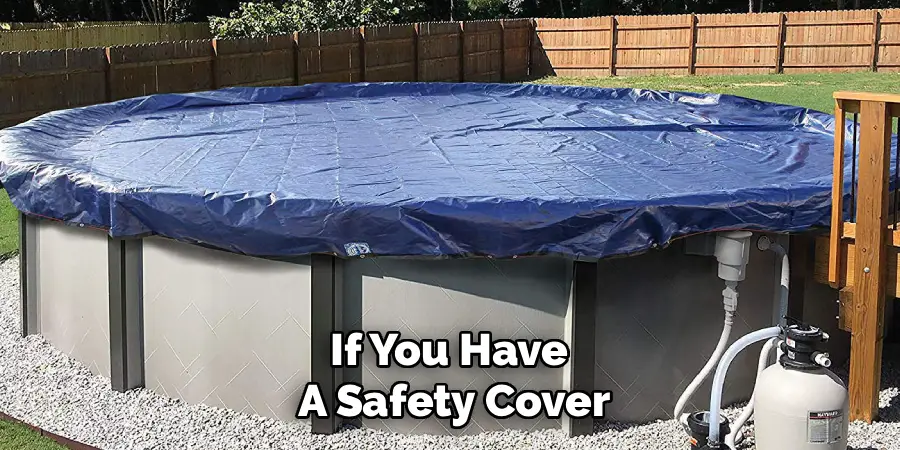
Go around the perimeter and release each spring, turning the anchors down flush with the deck so you do not trip over them. If you have a tarp held down by water bags, carefully drain the water from each bag into the grass or a drain—not into the pool.
Remove the empty bags, rinse them off, and set them aside to dry. Do not drag filled water bags, as they can tear easily. This step frees the cover completely, preparing it for the actual removal.
Step 4: Lift the Cover Carefully with a Helper
This is the moment where teamwork is absolutely essential. Do not attempt to pull the cover off alone, as it is heavy and awkward. With at least one other person, stand on opposite sides of the shallow end of the pool.
Grab the edge of the cover and lift it high into the air to create a pocket of air underneath, which prevents suction from holding it down to the water surface.
Walk slowly toward the deep end, folding the cover back onto itself like an accordion. The goal is to keep the dirty side of the cover from touching the clean pool water. Coordinate your movements to ensure the fold is even and manageable. If debris starts to slide toward the water, stop and remove it before proceeding.

Step 5: Fan Fold the Material on the Pool Deck
As you move toward the deep end, lay the folded sections flat on the pool deck. The most efficient technique is fan-folding, where you fold the cover in alternating directions (accordion style) rather than rolling it up like a carpet.
Fan-folding makes it significantly easier to clean the cover in the next steps and simplifies re-installation next winter. Each fold should be roughly three to four feet wide.
Keep the tension tight between you and your helper to prevent the center of the cover from dipping into the pool water. Once you reach the end of the pool, pull the entire bundled cover completely away from the water’s edge onto a clean, flat section of the lawn or driveway.
Step 6: Thoroughly Clean and Scrub the Cover
Now that the cover is off the pool, it needs a deep clean before it can be stored. Spread the cover out flat on a slanted driveway or a clean grassy area. Do not clean it on the lawn if you use harsh chemicals, as the runoff will kill your grass.
Use a mild car wash soap or a specialized pool cover cleaner and a soft push broom to scrub the entire surface. Pay special attention to areas with stuck-on algae or mud stains.
Rinse the cover thoroughly with a high-pressure nozzle on your garden hose. If you have a mesh cover, you might need to spray from the underside as well to dislodge particles trapped in the weave. A clean cover prevents mold growth and bad odors during summer storage.
Step 7: Dry the Cover Completely
Moisture is the enemy of stored pool covers. Storing a wet or damp cover is a guaranteed recipe for mold, mildew, and rotting fabric, which will destroy the material and create a health hazard. After cleaning, let the cover sit in the sun to dry completely.
You may need to leave it out for several hours or even a full day. Once the top side is dry, flip the cover over to ensure the underside is equally moisture-free.
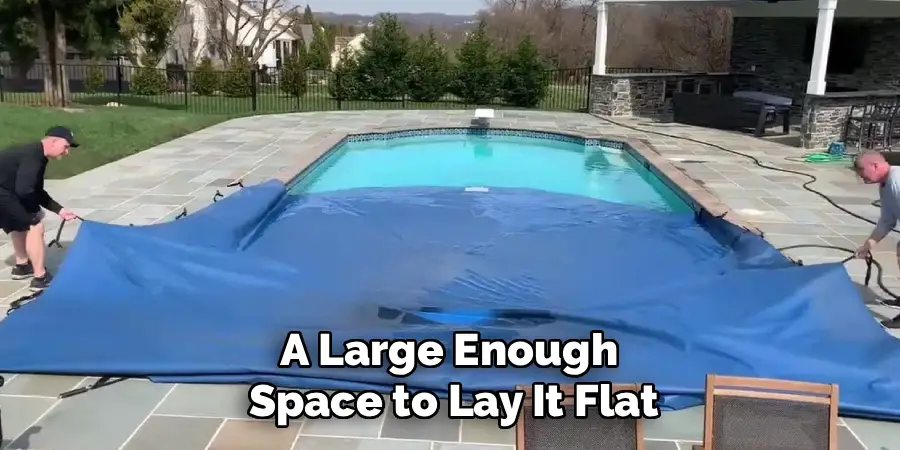
If you do not have a large enough space to lay it flat, you can drape it over a fence or hang it over a clothesline, but ensure it does not drag on the ground. Only proceed to the folding stage once you are certain every square inch is bone dry.
Step 8: Apply a Storage Preservative or Powder
To extend the lifespan of your pool cover, consider applying a storage preservative. For solid vinyl covers, sprinkling a generous amount of talcum powder or a specialized cover storage powder over the surface prevents the folds from sticking together in the heat of summer.
This sticking can cause the vinyl to tear or peel when you unfold it next autumn. For mesh covers, this step is less critical but still helpful. The powder also helps to absorb any tiny amounts of residual moisture you might have missed during the drying process.
Simply shake the powder over the dry cover before you begin the final folding process. It is a small step that adds years to the life of your investment.
Step 9: Fold or Roll for Compact Storage
With the cover clean, dry, and treated, you can now fold it into a tight, manageable bundle for storage. Using the same fan-folding technique as before, fold the cover lengthwise until you have a long, narrow strip about three feet wide.
Then, start from one end of the strip and roll it up tightly, like a sleeping bag, or continue fan-folding it into a square. Squeeze out as much air as possible as you go to make the bundle smaller.
Use heavy-duty twine or bungee cords to tie the bundle securely so it does not unravel. If your cover came with a storage bag, slide the bundle into the bag immediately. This keeps out rodents and insects that love to nest in folded pool covers.
Step 10: Store in a Cool, Dry, and Safe Location
The final step is finding the right home for your cover during the swimming season. The ideal storage location is a cool, dry place away from direct sunlight and extreme temperatures.
A shelf in the garage, a dedicated deck box, or a dry corner of a shed works perfectly. Avoid storing the cover directly on a concrete floor, as moisture can wick up into the bag.
Most importantly, protect the cover from pests. Mice and squirrels are notorious for chewing through canvas bags and nesting in the soft material, ruining the cover. Consider placing the storage bag inside a large plastic tote with a locking lid or hanging it from sturdy rafters to keep it out of reach of hungry critters.
Starting the Pool Filter
To start the pool filter, begin by ensuring that all valves are in the correct position for filtering. Double-check that the pump basket and skimmer baskets are free from debris, as blockages can impede water flow. Next, prime the pump by filling it with water if it has been previously drained.
Once primed, close the pump lid securely and turn on the system. Monitor the pressure gauge to ensure the reading falls within the recommended range for your filter type.
If you notice unusually high or low pressure, there may be an issue with the system that requires attention. Allow the filter to run for the specified amount of time necessary to keep your pool clean and maintain proper circulation.
Frequently Asked Questions
Can I Remove the Pool Cover by Myself?
It is physically possible to remove a pool cover alone, especially for smaller pools, but it is highly discouraged. Pool covers are heavy, bulky, and awkward to maneuver. Trying to do it solo increases the risk of dragging the cover into the water, tearing the material, or straining your back. Having at least one helper makes the process safer, faster, and much cleaner.
What If My Cover Falls Into the Pool While Removing It?
If the dirty cover dips into the water, do not panic. Immediately stop lifting and try to pull the submerged section back out carefully. If debris has fallen in, you will simply need to spend extra time vacuuming and shocking the pool later.
Ensure you retrieve as much solid debris as possible with a net before running your filtration system to prevent clogging the skimmer or pump basket.
Do I Really Need to Use Cover Cleaner?
While you can use mild dish soap or car wash soap, a dedicated pool cover cleaner offers specific benefits. These products are formulated to break down organic stains, grease, and grime without degrading the UV coatings on the cover material.
Some cleaners also include conditioning agents that keep vinyl covers supple and prevent cracking. Avoid harsh household detergents or bleach, which can damage the fabric.
How Do I Store Water Bags During the Summer?
After draining and rinsing your water bags, allow them to dry completely, just like the cover. Once dry, sprinkle them with talcum powder to prevent the vinyl from sticking together. Roll them up loosely or fold them flat and store them in a plastic bin or heavy-duty bag. Keep them away from sharp tools and direct sunlight, which can make the vinyl brittle over time.
Why Does My Mesh Cover Let Dirt Into the Pool?
Mesh covers are designed to be permeable, allowing rain and melting snow to drain through into the pool while blocking large debris like leaves.
However, fine silt, pollen, and dirty water can still pass through the weave. This is normal. To minimize this, you can look for “high-density” mesh covers for your next replacement, which block more sunlight and finer particles than standard mesh options.
Conclusion
Removing your pool cover is the official gateway to summer, a necessary ritual that bridges the gap between a dormant backyard and a vibrant swimming season. While it requires physical effort and attention to detail, following a structured approach transforms it from a dreaded chore into a satisfying project.
By taking the time to pump off water, clean debris, and properly fold and store your cover, you not only protect your pool water but also extend the life of the cover itself. Proper storage means a smoother opening next year and significant savings on replacements. Now that you have mastered how to remove a pool cover like a pro, all that is left is to fire up the filter, balance the chemicals, and dive into a

About
Outdoor Fixes is a distinguished figure in the world of Diy design, with a decade of expertise creating innovative and sustainable Diy solutions.
His professional focus lies in merging traditional craftsmanship with modern manufacturing techniques,
fostering designs that are both practical and environmentally conscious. As the author of diy,
outdoorfixes delves into the art and science of outdoorfixes-making, inspiring artisans and industry professionals alike.
Education RMIT University
(Melbourne, Australia) Associate Degree in Design (Outdoor Fixes) Focus on sustainable design, industry-driven projects,
and practical craftsmanship. Gained hands-on experience with traditional and digital manufacturing tools, such as CAD and CNC software.
Nottingham Trent University
(United Kingdom) Bachelor’s in outdoorfixes.com and Product Design (Honors) Specialized in product design with a focus on blending creativity with production
techniques. Participated in industry projects, working with companies like John Lewis and Vitsoe to gain real-world insights.
Publications and Impact
In diy, Outdoor Fixes his insights on indoor design processes, materials, and strategies for efficient production.
His writing bridges the gap between artisan knowledge and modern industry needs, making it a must-read for both budding designers and seasoned professionals.