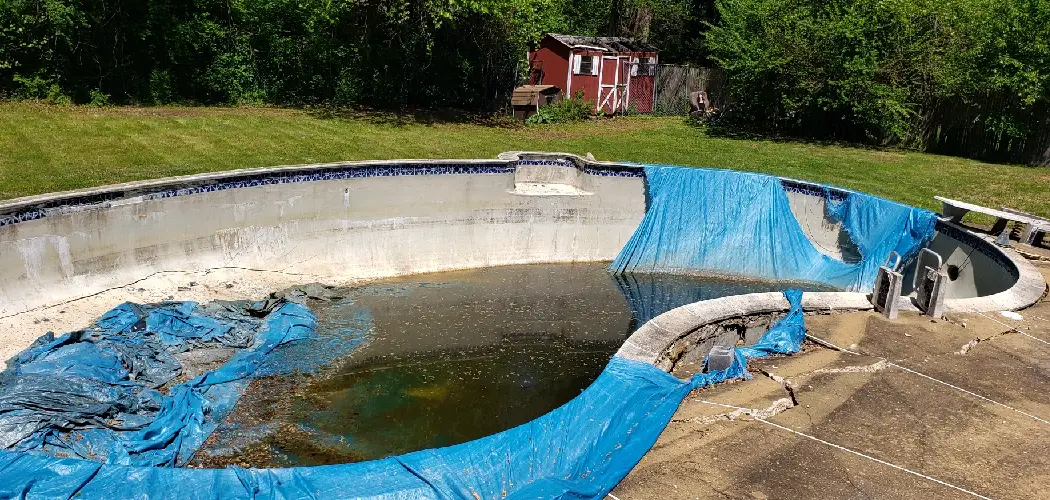
An above ground pool provides countless hours of summer fun, but there comes a time when it needs to be taken down. Whether you are moving to a new home, upgrading to a larger model, or simply reclaiming your backyard space, the task can seem daunting.

The sheer size of the structure, combined with the liner, frame, and thousands of gallons of water, can make it feel like an overwhelming project reserved for professionals. However, with a systematic plan and the right tools, it is a perfectly achievable DIY endeavor.
This guide is designed to provide you with a clear, step-by-step process, showing you exactly how to disassemble an above ground pool safely and efficiently, ensuring every component is ready for storage, sale, or disposal.
Disassembling an above ground pool might seem intimidating at first glance, but breaking it down into manageable steps can simplify the process. By understanding the structure and following a methodical approach, you can ensure the task is completed smoothly and without unnecessary stress.
Whether you’re relocating, upgrading, or simply no longer using the pool, this guide will help you tackle the job efficiently while preserving the pool components for future use or proper disposal.
When Disassembling Your Above Ground
When disassembling your above ground pool, it is essential to choose the right time for the process. Ideally, this should be done during dry weather to prevent water-soaked components and to ensure easier handling of materials.
Avoid attempting the disassembly during windy conditions, as this can make managing large sections, such as the pool liner or frame, more challenging. Planning ahead and picking a calm, clear day will set the stage for a smoother and safer dismantling process.
Disassembling an above ground pool may seem like a daunting task, but with proper preparation and a step-by-step approach, it can be tackled efficiently.
Whether you’re storing the pool for the offseason or removing it permanently, focusing on organization and safety will help ensure success. Taking the time to plan ahead will save both effort and potential frustration during this process.
Step-by-Step Guide on How to Disassemble an Above Ground Pool
Step 1: Safely and Completely Drain the Pool
The very first step is to remove all the water. A standard above ground pool can hold over 15,000 gallons, so you need an effective draining method. The best option is to use a submersible utility pump, also known as a sump pump, attached to a long garden hose.
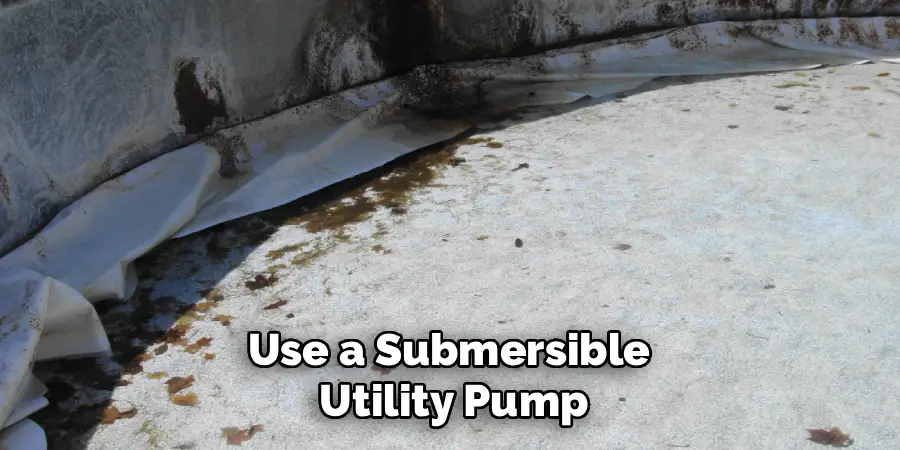
Place the pump in the center of the pool floor and direct the hose to a suitable drainage area, like a storm drain, being mindful of local regulations regarding chlorinated water disposal.
A sump pump will remove the vast majority of the water, but you will still be left with a few inches at the bottom. Use a shop vacuum or buckets to remove the last bit of water until the liner is completely empty.
Step 2: Disconnect All Hoses and Equipment
Once the water is gone, you can safely disconnect all the external components. Start by ensuring the power to the pump and filter system is turned off at the circuit breaker. This is a critical safety step to prevent any electrical accidents.
Begin by unscrewing the large hose clamps that connect the hoses to the skimmer basket and the return jet fitting on the pool wall. Also, disconnect the hoses from the pump and filter system. If you have a pool heater or chlorinator, disconnect those lines as well.
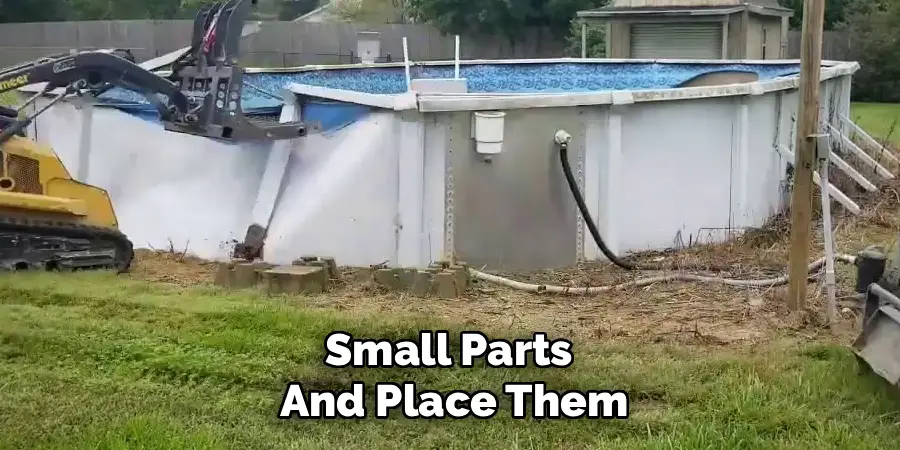
Gather all the clamps, fittings, and small parts and place them in labeled bags so you do not lose them, especially if you plan to reassemble the pool later.
Step 3: Remove the Skimmer and Return Jet
With the hoses out of the way, you can now remove the plastic skimmer box and the return jet fitting that are mounted to the pool wall. These are typically held in place by a series of screws that go through the liner and the steel wall.
Using a Phillips head screwdriver, carefully remove all the screws from the faceplates on the inside of the pool. Be gentle to avoid tearing the liner around the screw holes if you intend to reuse it. Once all the screws are out, the skimmer assembly and return fitting should come apart, with one piece on the inside and one on the outside of the wall. Store these parts together.
Step 4: Detach the Pool Liner from the Wall
The pool liner is a large, heavy sheet of vinyl that needs to be removed carefully. Most above ground pool liners are either overlap or beaded. For an overlap liner, it simply drapes over the top of the pool wall and is held in place by plastic coping strips. Pop these coping strips off all the way around the top of the wall.
Once the strips are off, the liner will be free, and you can begin to fold it inward, away from the wall. If you have a beaded liner, it has a thick vinyl bead that hooks into a track on the top of the pool wall. Gently pull the bead out of the track section by section.
Step 5: Clean, Dry, and Fold the Pool Liner
Once the liner is detached, it is crucial to clean and dry it properly before storage. A wet or dirty liner will develop mold, mildew, and may become permanently stained or damaged. Pull the liner into the center of the pool base.
Use a soft brush and a mild soap solution to scrub away any dirt or algae residue. Rinse it thoroughly and use old towels or a leaf blower to dry it completely.
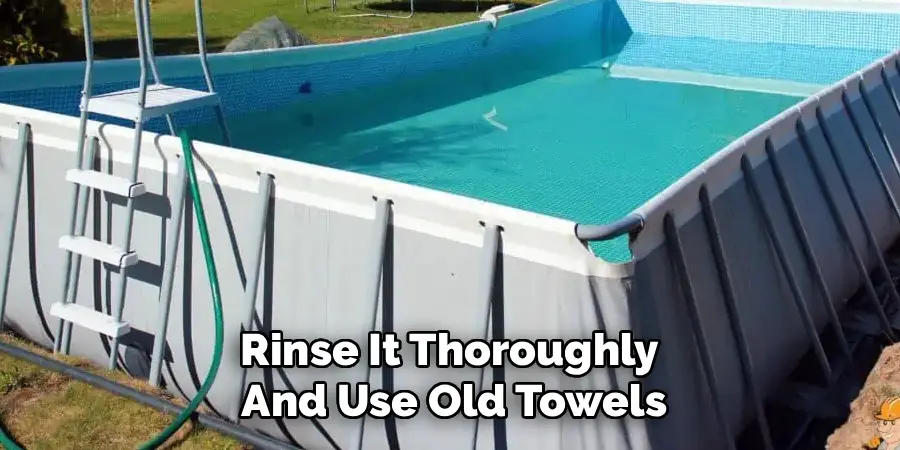
Once dry, lightly dust the liner with talcum powder or cornstarch to prevent the vinyl from sticking to itself during storage. Fold the liner neatly into a manageable square and store it in a sealed container in a climate-controlled area.
Step 6: A Key Method for How to Disassemble an Above Ground Pool: Take Apart the Top Rails and Uprights
Now you can begin deconstructing the main frame. The top of the pool consists of top rails (the flat surfaces you might sit on) and top caps that cover the joints. Start by unscrewing and removing the top caps, which will expose the hardware connecting the top rails to the vertical upright posts.
Use the appropriate screwdriver or socket wrench to remove the bolts and screws securing each top rail section. As you remove each rail, stack them neatly to one side. Once all the top rails are off, you can proceed to detach the vertical upright posts from the steel wall. Keep all hardware organized in labeled bags.
Step 7: Carefully Roll Up the Steel Wall
This is the most challenging part of the process and definitely requires at least one helper. The pool wall is a single, long piece of coiled steel that is bolted together at one seam. Locate this seam and use a wrench to remove all the bolts holding it together. Once the seam is unbolted, the wall will lose its structural integrity and want to spring open.
With a person on each end, carefully begin to roll the wall into a tight coil, similar to how it was when it was first delivered. Roll it as tightly as possible and secure it with several strong straps or ropes to prevent it from uncoiling unexpectedly during transport or storage.
Step 8: Disassemble the Bottom Tracks
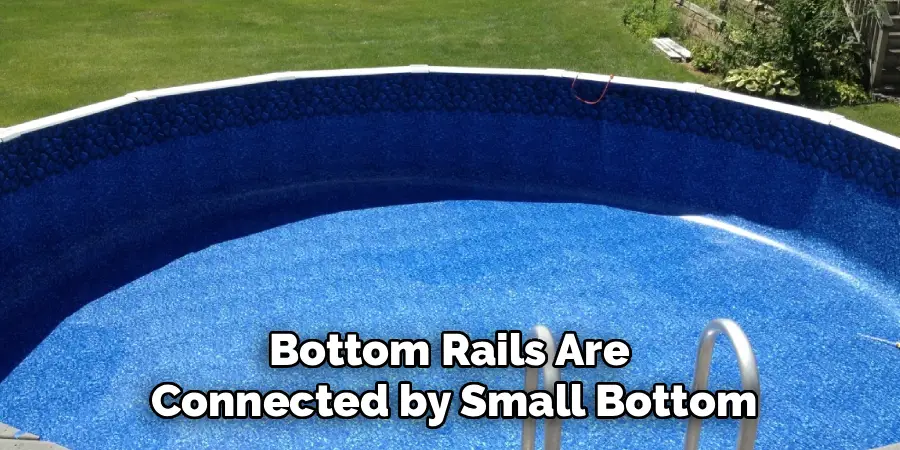
With the wall removed, the final part of the frame is the bottom track. This is a series of curved metal or resin rails that the steel wall sat in. These bottom rails are connected by small bottom plates or connectors. Simply disconnect each section from its connector plate.
These pieces are usually not screwed together but rather just fit into one another. As you pick them up, be mindful of the sand or stone dust base underneath, as you want to disturb it as little as possible if you plan to level the ground later. Stack the bottom rail sections together with the top rails for organized storage.
Step 9: Remove the Cove and Leveling Blocks
Underneath where the liner and wall used to be, you will likely find a sand cove. This is a wedge of sand built up against the inside base of the wall that creates a smooth transition from the floor to the wall, protecting the liner.
You will also find leveling blocks or patio pavers under each of the upright posts. Shovel the sand from the cove into the center of the pool area. You can either remove the sand completely in wheelbarrows or spread it evenly across the pool site to help level the ground. Collect all the paving stones and stack them aside.
Step 10: Clear and Level the Ground
The final step is to restore the patch of your yard where the pool once stood. You will be left with a large, indented circle of sand or stone dust. Use a sturdy rake and shovel to break up the compacted base material. The goal is to loosen the sand and integrate it with the surrounding soil.
Rake the entire area until it is as level as possible with the rest of your lawn. Depending on your plans, you can now add topsoil and plant new grass seed to completely erase any sign that a pool was ever there, giving you a fresh canvas for your next backyard project.
Recycling Old Pool Materials
Recycling old pool materials is an environmentally friendly way to handle removal. Many components of a pool, such as metal frames, vinyl liners, and plastic fittings, can often be recycled rather than discarded. Check with local recycling centers to determine whether they accept these materials.
For example, metal parts can be taken to a scrapyard where they may be processed and reused in future manufacturing. Some specialized recycling programs also accept pool liners and convert them into secondary products.
If your pool has a concrete or fiberglass base, these can sometimes be crushed and repurposed for construction projects, such as roadbeds or fill material. Recycling not only helps reduce waste but also supports sustainability efforts by giving old materials a new life.
Key to Extending the Life
Regular maintenance is key to extending the life of your pool and ensuring it remains safe and enjoyable. Simple steps like testing and balancing the water chemistry, cleaning filters, and promptly addressing minor issues can prevent larger, costlier repairs down the line. It’s also important to inspect pool equipment routinely, such as pumps and heaters, to ensure they’re operating efficiently. Seasonal adjustments, like covering the pool during colder months or properly winterizing it, can further protect your investment. By staying proactive with upkeep, you not only enhance your pool’s longevity but also create a consistently inviting space for relaxation and fun.
Frequently Asked Questions
When Is the Best Time of Year to Take Down an Above Ground Pool?
The best time to disassemble a pool is during a period of dry, mild weather, typically in the late summer or early fall. You need several consecutive sunny days to ensure the pool liner can be thoroughly cleaned and dried before you fold it for storage. Trying to do this job in the rain or cold weather will make the process miserable and can lead to mold and mildew damage on the liner.
Can I Reuse the Sand That Was Under My Pool?
Yes, the sand base is perfectly reusable. If you plan to install a new above ground pool in the same spot, you can simply re-level and tamp the existing sand. If you are reclaiming the yard space, you can spread the sand out and mix it into the surrounding soil to help level the area before adding topsoil and planting grass.
How Should I Store the Pool Components?
Proper storage is key to ensuring the pool can be used again.
- Liner: Must be completely clean and dry. Fold it, dust it with talcum powder, and store it in a sealed bin in a garage or basement to protect it from rodents and temperature extremes.
- Frame: Stack all metal and resin parts neatly off the ground (on a pallet, for example) and cover them with a tarp to protect them from the elements.
- Hardware: Keep all screws, bolts, and small parts in clearly labeled bags.
Is It Possible for One Person to Disassemble a Pool?
While most of the steps can be done by one person, it is highly recommended to have at least one helper for removing the pool wall. The steel wall is long, heavy, and can be very difficult and dangerous for one person to try to roll up alone. It can easily spring out of control, causing injury or damage.
What Should I Do with the Old Pool Water?
You must check your local municipal regulations for draining pool water. Most areas prohibit draining chlorinated water directly into storm drains that lead to natural waterways. You may need to let the chlorine dissipate for several days until it tests at zero, or use a de-chlorinating agent before draining. Some areas may require you to drain it slowly onto your own property, away from neighboring yards.
Conclusion
Taking down an above ground pool is a significant undertaking, but it is far from impossible for a motivated homeowner. The process is a logical reversal of the installation, requiring careful planning, organization, and a focus on safety. By systematically draining the water, detaching the equipment, cleaning and storing the liner, and deconstructing the frame piece by piece, you can manage the project over a weekend. Keeping all hardware organized is essential if you ever plan to reassemble it. Now that you have a comprehensive guide on how to disassemble an above ground pool, you can approach the task with the confidence needed to successfully clear your yard and prepare for whatever comes next.
About
Outdoor Fixes is a distinguished figure in the world of Diy design, with a decade of expertise creating innovative and sustainable Diy solutions.
His professional focus lies in merging traditional craftsmanship with modern manufacturing techniques,
fostering designs that are both practical and environmentally conscious. As the author of diy,
outdoorfixes delves into the art and science of outdoorfixes-making, inspiring artisans and industry professionals alike.
Education RMIT University
(Melbourne, Australia) Associate Degree in Design (Outdoor Fixes) Focus on sustainable design, industry-driven projects,
and practical craftsmanship. Gained hands-on experience with traditional and digital manufacturing tools, such as CAD and CNC software.
Nottingham Trent University
(United Kingdom) Bachelor’s in outdoorfixes.com and Product Design (Honors) Specialized in product design with a focus on blending creativity with production
techniques. Participated in industry projects, working with companies like John Lewis and Vitsoe to gain real-world insights.
Publications and Impact
In diy, Outdoor Fixes his insights on indoor design processes, materials, and strategies for efficient production.
His writing bridges the gap between artisan knowledge and modern industry needs, making it a must-read for both budding designers and seasoned professionals.