Quick answer: If you want a backyard that actually works for children, begin with safety. Remove hazards, make sure fences and gates close securely, and carve the yard into clear play areas. Soft surfaces such as rubber mulch can help around climbing or jumping zones, while additions like a sandbox, shade, and a simple sensory garden may make the space more inviting without making it feel overbuilt.
A kid-friendly backyard does more than look nice in photos. Done well, it gives children room to move, invent games, get dirty, calm down, and come back inside tired in the best possible way. For parents, the goal is usually simpler: fewer obvious dangers, better sightlines, and a space that feels usable on an ordinary Tuesday, not just during a birthday party.
Most yards do not need a full redesign. In many cases, a weekend of thoughtful changes can make a noticeable difference. The point is not to turn your lawn into a theme park. It is to shape an outdoor space that fits your family now and can still serve you a few years from now, when interests, routines, and attention spans have shifted again. In this guide on how to make a backyard kid-friendly, we have covered some key elements that can help you create a fun and safe space for your children to enjoy.
What Tools and Materials Will You Need?
Before starting, it helps to gather everything in one place. That may sound obvious, but backyard projects have a way of stalling halfway through because one latch is missing or the right shovel is still in the garage behind holiday storage.
- Heavy-duty work gloves and safety glasses
- Tape measure and landscaping spray paint for marking zones
- Shovels, rakes, and a wheelbarrow for moving materials
- Soft ground cover such as pea gravel, rubber mulch, or play sand
- Basic carpentry tools, including a drill, hammer, and level, if you plan to build anything
- Child-safe, non-toxic plants and gardening soil
- Fencing hardware and child-proof gate latches
7 Simple Step-By-Step Guidelines on How to Make a Backyard Kid-Friendly
Step 1: How Do You Assess and Clear Your Yard for Safety?
Start with a slow walk around the yard. Not a quick glance from the patio—a real check. Look at the perimeter, the ground, the edges of garden beds, the corners behind sheds, and the places children tend to notice before adults do. Sharp branches, toxic plants, exposed nails or screws, loose stones, and uneven ground all deserve attention. If you find poisonous plants such as oleander or lily of the valley, remove them. Thorny shrubs may also be worth cutting back, especially near paths, gates, or play areas where small hands tend to drift.
Then move on to the less dramatic but equally important hazards. Old stumps, buried rocks, bags of fertilizer, tools left leaning against the fence—none of that should stay within easy reach. Gardening chemicals should be stored in a locked shed or garage, not tucked behind a planter where they are technically out of sight but not actually secure.
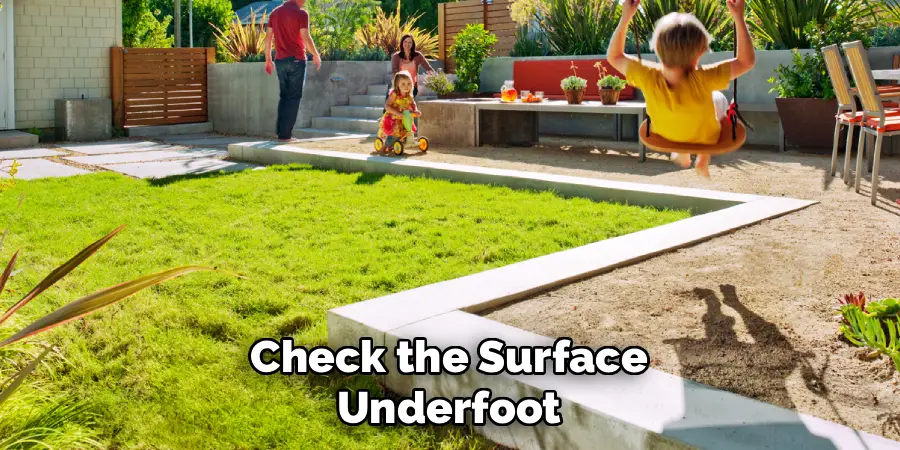
Once the obvious risks are gone, check the surface underfoot. Fill deep holes, level out badly worn areas, and inspect patios, steps, retaining walls, and edging for loose bricks or splintered wood. This part is not glamorous, and it is probably the least fun step in the whole process. Still, it may be the one that matters most. Children can adapt to a simple yard. They do not adapt well to preventable injuries.
Step 2: How Can You Create Designated Play Zones?
Children tend to use outdoor spaces more confidently when the yard has some loose structure. Not a strict structure. Just enough to suggest what goes where. A running and climbing area, a quieter corner, maybe one spot where mess is expected rather than discouraged—those distinctions can make the whole space feel easier to manage.
You can mark zones with landscaping paint while planning, then define them more gently with logs, low shrubs, planters, or changes in surface material. One section might be reserved for active play, with room for a swing set or a stretch of grass for chasing games. Another could hold an easel, a chalkboard, or a small table for drawing and outdoor crafts. The separation does not need to be dramatic. In fact, if it becomes too rigid, the yard may start to feel chopped up.
Placement matters as much as layout. The busiest zones are usually best kept within view of a kitchen window, back door, or other spot where an adult naturally looks out during the day. That is not about constant surveillance so much as practical supervision. If you can see the climbing area while rinsing dishes or making lunch, the space is probably working the way it should.
Step 3: What Are the Best Soft Ground Covers for Play Areas?
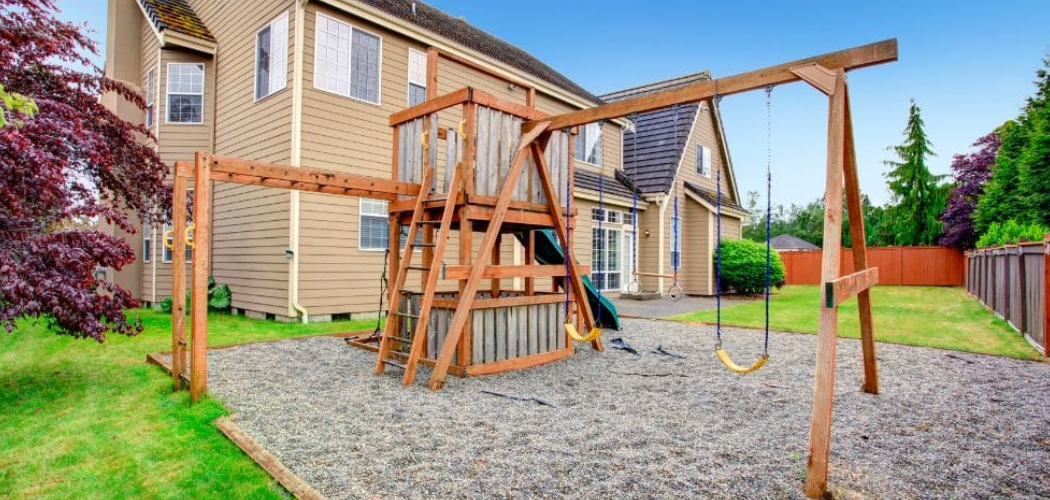
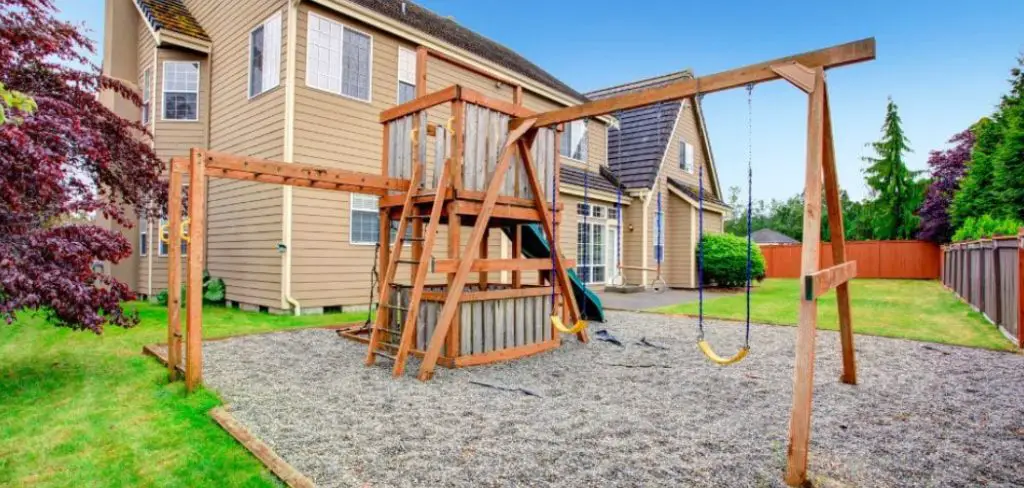
Grass is fine—until it is not. Under swings, slides, and climbing structures, it often wears away fast and leaves behind packed dirt that becomes hard in dry weather and slick after rain. If children are likely to fall there, and they probably are, the surface needs more thought.
For play areas, many families use materials such as engineered wood fiber, pea gravel, or shredded rubber mulch. Each comes with tradeoffs. Some are softer underfoot. Some shift more easily. Some need more maintenance. The main point is to use a surface intended for impact zones rather than hoping the lawn will hold up.
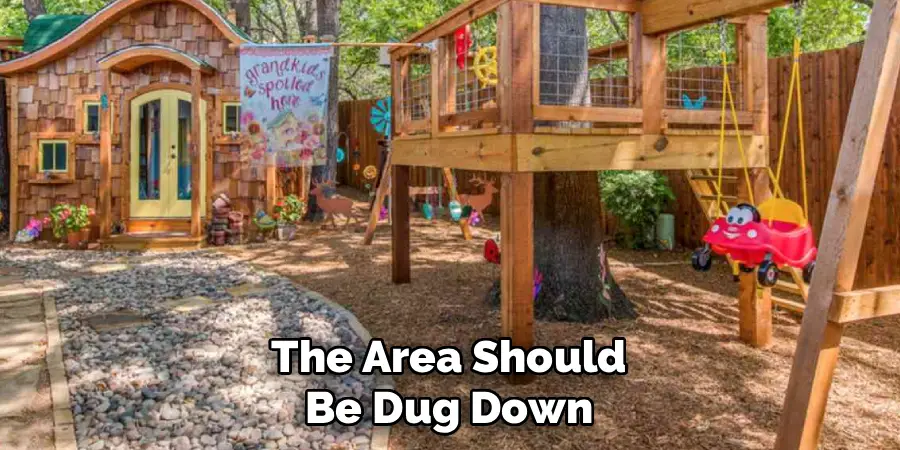
Installation also matters. In general, the area should be dug down and filled to an appropriate depth—often somewhere in the six- to twelve-inch range, depending on the equipment and intended use. A weed barrier underneath can help keep the area from turning into a patchwork of grass, weeds, and mulch by midsummer. After that, the work is ongoing but manageable: rake the surface back into place, check for thin spots, and top it up when it starts to compact or scatter. A soft landing surface only helps if it is still there.
Step 4: How Do You Install Shaded Areas for Sun Protection?
Sun protection is one of those things adults know matters and still often leave until last. The trouble is that a beautiful play corner is not very useful if it becomes unbearable by noon in July.
Take note of how the light moves across the yard, especially in the afternoon when heat tends to linger. The spots children use most—sandboxes, picnic tables, play kitchens, reading corners—are usually the best candidates for shade. If you already have mature trees, that may solve part of the problem. If not, you will probably need to add something.
A large shade sail can work well and usually costs less than building a permanent structure. It also tends to look lighter in the landscape, which some people prefer. The key is installing it properly, with secure anchor points and enough tension to handle wind. A pergola offers a more fixed solution, though it is a bigger project. A heavy-duty cantilever umbrella may be enough for smaller yards or one focused seating area. No single option is right for every space. Still, some form of shade is hard to argue with if you want the yard to be usable through the warmest part of the season.
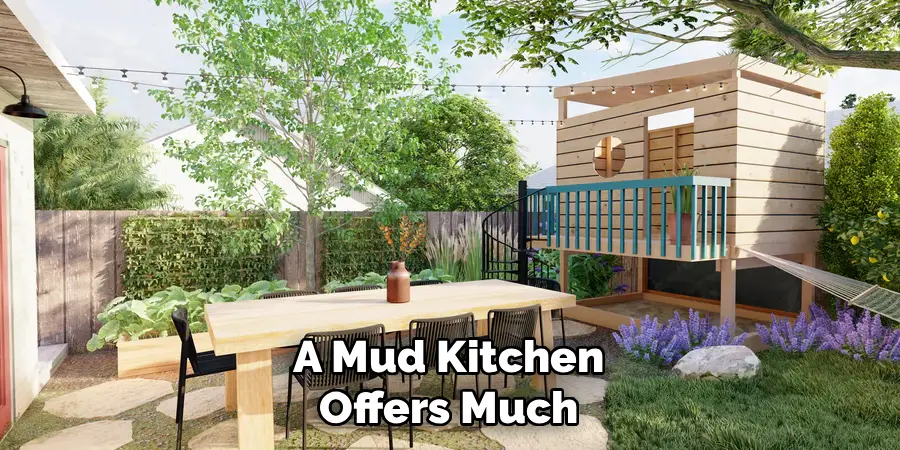
Step 5: How Do You Build a Sandbox or Mud Kitchen?
Few backyard additions get used as consistently as a sandbox or mud kitchen. They are simple, a little messy, and surprisingly absorbing. Which, for many parents, is the whole point.
A basic sandbox can be built from four lengths of weather-resistant timber fastened into a square or rectangle. Add a barrier underneath, fill it with washed play sand, and make sure it has a cover that actually fits. That last part matters more than people expect. Without a lid or secure cover, sandboxes have a tendency to attract rainwater, leaves, and neighborhood cats, which rather defeats the purpose.
If sand is not appealing, a mud kitchen offers much of the same imaginative play with fewer grains carried into the house later. Repurposed pallets, an old sink basin, and a few secondhand pots or utensils can be enough to create one. Place it near a hose if possible, and consider gravel underneath so the area does not stay slick for days after one enthusiastic afternoon of water play. It does not need to be elaborate. Children are usually better at supplying the drama than the structure.
Step 6: Why Should You Plant a Kid-Friendly Garden?
A child-sized garden bed can do several things at once. It gives children a reason to go outside, a place to dig that is officially allowed, and a slow, useful lesson in patience. Not that they always enjoy the patience part.
Raised beds are often easier to manage because they keep the space defined and accessible. Fast-growing plants such as cherry tomatoes, sugar snap peas, and sunflowers tend to hold children’s attention better than crops that sit quietly for weeks with little visible change. Plants with texture or scent—lamb’s ear, mint, soft herbs—can make the garden feel more interactive, especially for younger children who are not yet interested in harvesting anything.
Of course, plant choice matters. Every plant in a child-focused area should be non-toxic and safe to touch. This is not the place for guesswork. Small watering cans, blunt trowels, and a few child-sized tools can help children feel that the space belongs to them rather than that they are borrowing part of an adult project. Over time, that sense of ownership may matter as much as the vegetables or flowers themselves.
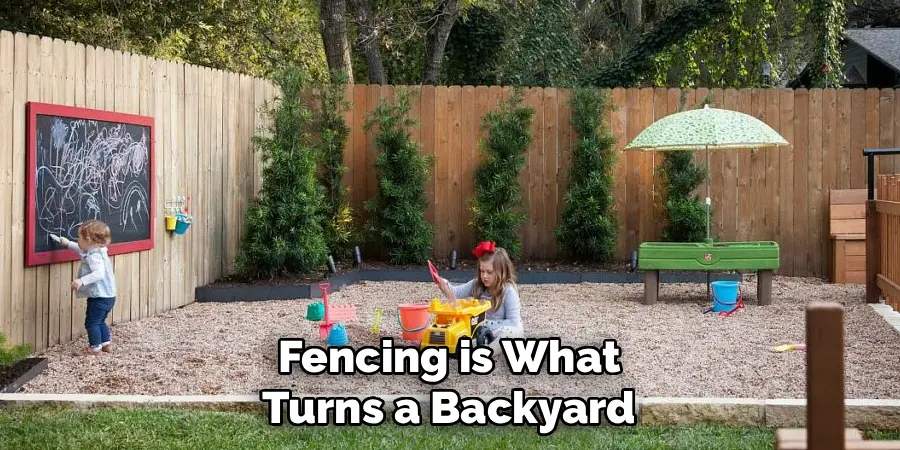
Step 7: How Do You Secure Fences and Gates Properly?
For many families, fencing is what turns a backyard from pleasant to genuinely usable. A fully enclosed space can reduce a lot of low-level worry, especially if the yard borders a street, driveway, or neighboring property with its own hazards.
Walk the full fence line and look for loose boards, damaged panels, exposed fasteners, or gaps near the ground. Small children and pets are both surprisingly good at finding openings that adults overlook. If there is a pool on the property, the fencing requirements are typically stricter, and rightly so. In many areas, that means a separate barrier with a self-closing, self-latching gate. Local codes should always guide that part of the project.
Gate hardware deserves special attention. High-reach, child-resistant latches are usually a sensible upgrade, and self-closing hinges can reduce the chance that someone leaves a gate ajar without noticing. Even a good setup needs occasional testing. Weather shifts things. Wood swells. Hinges loosen. A fence is not safe just because it was safe last summer. Following these steps on how to make a backyard kid-friendly fence ensures the safety and security of children while still maintaining a stylish and functional outdoor space.
Common Mistakes to Avoid
One common mistake is focusing on the fun features first and assuming safety details can wait. They should not. Toxic plants are another frequent problem, often because homeowners simply do not realize what is already growing in the yard. Sandboxes without covers tend to become unsanitary quickly.
Play mulch laid directly over soil without a barrier underneath can become weedy and uneven faster than expected. Lack of shade is also easy to underestimate until the first truly hot week makes the yard unpleasant for most of the day. None of these issues is especially complicated, but each can make the space harder to use well.
Do You Need To Use Professionals?
Not every part of a kid-friendly backyard requires a contractor. In fact, many of the most useful improvements—clearing hazards, spreading mulch, setting up a garden bed, even assembling some play equipment—can often be handled as DIY work if you have the time and basic tools.
That said, some jobs are better left to professionals. Major grading work, large tree removal, permanent fencing, and structures that require concrete footings are usually in that category. There is also the question of code compliance, which tends to matter more once fencing, pools, or heavier built features are involved. Doing everything yourself may save money at first, but not if the result has to be redone because it is unstable, unsafe, or out of code.
How Much Will It Cost?
Costs vary quite a bit depending on the yard size and how far you want to go. At the lower end, a simple DIY update—clearing hazards, planting a modest garden, and building a basic sandbox—might fall somewhere between $200 and $500. A more developed setup with a prefabricated playset, rubber mulch, and shade sails often lands in the $1,500 to $3,000 range. Once professional fencing, grading, or custom-built play features enter the picture, the budget may rise to $5,000 to $10,000 or more.
That range is wide, yes, but realistically so. A family does not need to do everything at once. In many cases, the smartest approach is phased: safety first, then surfacing, then the features children will actually use most.
Frequently Asked Questions
Q1: What Are The Safest Ground Covers For A Children’s Play Area?
Ground covers that provide meaningful shock absorption are usually the safest choice for play areas. Engineered wood fiber and shredded rubber mulch are often favored because they cushion falls well and generally do not compact as quickly as plain soil or worn grass. Pea gravel is sometimes used, too, though it may offer less impact protection than rubber-based options. Whatever material you choose, depth matters. A thin layer will not do much.
Q2: How Can I Make A Small Backyard Fun For Kids?
A small backyard can still work well if you treat space carefully. Vertical elements help. A chalkboard mounted to a fence, climbing holds on a sturdy wall, or a narrow sensory garden in containers can add interest without consuming the whole yard. Compact features such as a water table often make more sense than oversized equipment. Leave some open space in the center if you can. Children still need room for the kind of play that has no clear plan at all.
Q3: How Do I Keep The Sandbox Clean And Safe?
The simplest answer is consistency. Cover the sandbox every time it is not being used, ideally with a fitted lid or durable cover that will stay in place. Use washed play sand rather than construction sand, which can contain materials you do not want children breathing in or handling. Rake out leaves and debris regularly, and let damp sand dry in the sun when needed so moisture does not linger. A sandbox does not need much maintenance, but it does need some.
Transforming Your Yard for the Future
A kid-friendly backyard is really an investment in daily life. Not just in safety, though that comes first, and not just in appearance either. It is about making outdoor time easier to choose and easier to enjoy. Clear hazards, soften the places where falls are likely, add a few well-placed play features, and the yard begins to function differently.
So take a notebook outside this weekend and walk the space slowly. Notice where children already gather, where they avoid, where the ground is rough, and where the sun hits hardest. Start there. You do not need a perfect backyard. You need one that works, and one that children will actually want to use. Thanks for reading this guide on how to make a backyard kid-friendly.
About
Outdoor Fixes is a distinguished figure in the world of Diy design, with a decade of expertise creating innovative and sustainable Diy solutions.
His professional focus lies in merging traditional craftsmanship with modern manufacturing techniques,
fostering designs that are both practical and environmentally conscious. As the author of diy,
outdoorfixes delves into the art and science of outdoorfixes-making, inspiring artisans and industry professionals alike.
Education RMIT University
(Melbourne, Australia) Associate Degree in Design (Outdoor Fixes) Focus on sustainable design, industry-driven projects,
and practical craftsmanship. Gained hands-on experience with traditional and digital manufacturing tools, such as CAD and CNC software.
Nottingham Trent University
(United Kingdom) Bachelor’s in outdoorfixes.com and Product Design (Honors) Specialized in product design with a focus on blending creativity with production
techniques. Participated in industry projects, working with companies like John Lewis and Vitsoe to gain real-world insights.
Publications and Impact
In diy, Outdoor Fixes his insights on indoor design processes, materials, and strategies for efficient production.
His writing bridges the gap between artisan knowledge and modern industry needs, making it a must-read for both budding designers and seasoned professionals.