
Building a backyard shed usually comes down to three broad phases: planning the structure, checking local rules, and creating a level, durable base. From there, the work becomes more hands-on—framing the floor, walls, and roof, then closing everything in with siding, roofing, and basic weather protection so the shed can actually hold up outdoors.
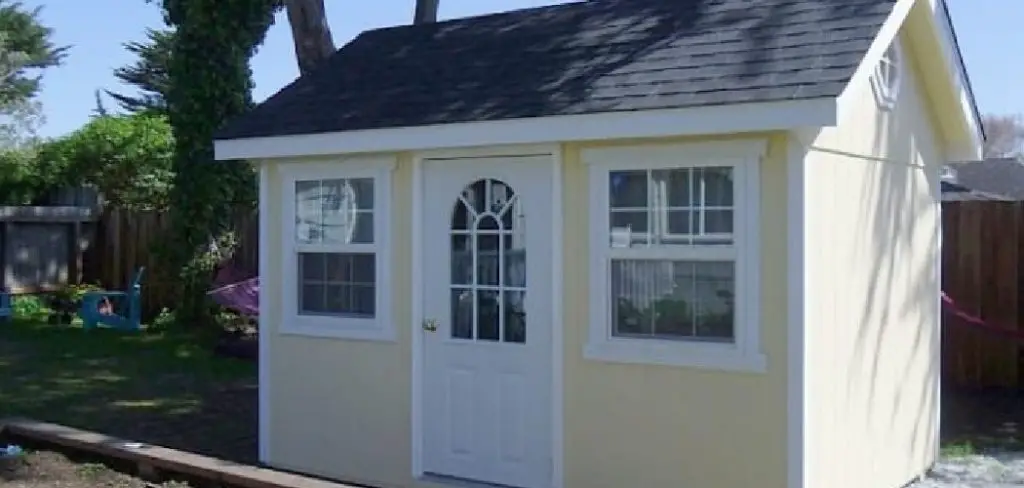
A backyard shed can solve a very ordinary problem: where all the tools, seasonal gear, and awkward yard equipment are supposed to go. It may also add some practical value to the property, though the real payoff for most people is simpler than that. You get useful storage, and you get to decide exactly how the space works.
That said, building one yourself is not quite the same as assembling a kit on a free Saturday. It takes some basic carpentry ability, a plan you trust, and enough patience to measure things twice when you would rather keep moving. If the layout is sensible and the materials are suited for exterior use, the finished shed could last a long time, even in rough weather. In this guide on how to build a backyard shed, we’ll walk you through the process step by step.
How Should I Plan My Shed Design?
Start with the most important question: what is the shed actually for? That sounds obvious, but it tends to shape nearly everything else. A shed meant for a riding mower needs wider access, likely double doors, and often a ramp that can handle weight without flexing. A smaller garden shed, by contrast, may only need one door, a few wall hooks, and some shelving.
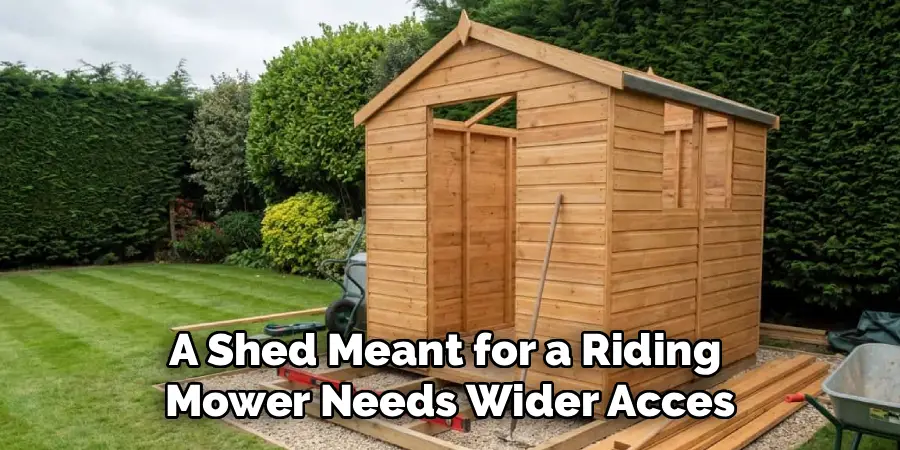
Once the purpose is clear, sketch the layout in detail. Include dimensions, door swings, window locations if you want natural light, and any structural needs that might affect framing. It is often worth using pre-drawn plans, especially for first-time builders. They can save time, help you work with standard lumber lengths, and reduce waste—the kind you only notice after buying one board too many or cutting an expensive sheet of plywood the wrong way.
What Local Building Codes and Permits Are Required?
This part is easy to ignore and expensive to ignore badly. Most municipalities have rules for accessory structures, and those rules often cover size limits, placement, and, in some cases,s construction details. Many areas allow small sheds without a formal permit—often somewhere around 100 to 120 square feet—but that threshold varies enough that guessing is a poor strategy.
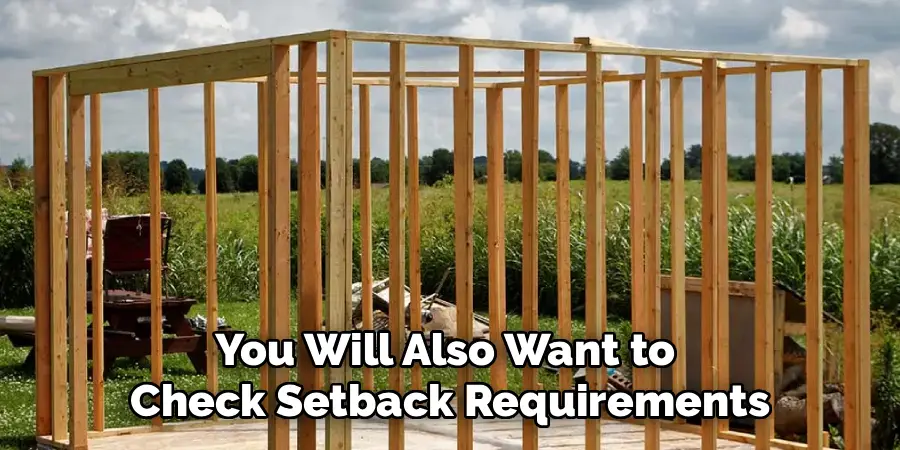
You will also want to check setback requirements, meaning how far the shed must sit from property lines, fences, easements, and existing buildings. In practice, those placement rules can affect the project almost as much as the shed design itself. If permits are required and skipped, the consequences may range from fines to a stop-work order, and in the worst cases, removal of the structure. None of that is especially dramatic until it happens.
How Do I Choose the Best Location for My Shed?
The best spot is rarely just the emptiest corner of the yard. You are looking for reasonably level ground, decent drainage, and access that still makes sense once the shed is finished. A location at the bottom of a slope may seem tucked away, but if water collects there after every storm, the shed will spend its life fighting moisture.
Leave enough room around the structure for construction and for future maintenance. You may need ladder space, room to carry sheet goods, and enough clearance to work on siding or roofing later without squeezing between a wall and a fence. Before digging or setting posts, it is also wise to confirm the location of underground utilities. Water lines, electrical service, and similar buried infrastructure have a way of turning a simple build into a far more serious problem.
What Materials and Tools Do I Need?
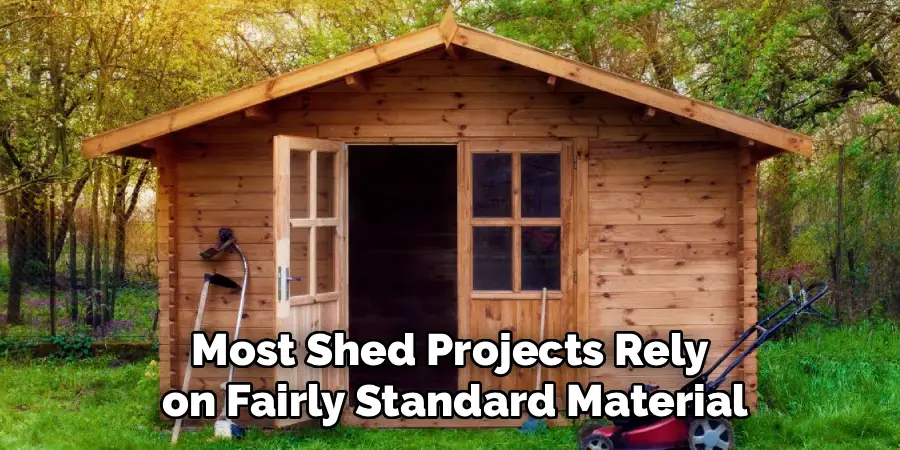
Most shed projects rely on fairly standard materials, but the details matter. Pressure-treated lumber is typically used where the framing is closest to the ground, especially for floor framing. Wall studs are often standard 2x4s. Sheathing usually means exterior-grade plywood or a comparable panel product, and roofing may involve asphalt shingles or another weather-suitable covering.
Tool-wise, the list is not exotic, though it does need to be complete enough to keep the work accurate. A circular saw, drill, hammer, tape measure, speed square, and long level will do much of the heavy lifting. Good fasteners matter more than beginners sometimes expect. Exterior-grade screws and galvanized nails cost a little more, but they are meant for outdoor conditions. Interior fasteners, used outside, tend to announce their failure slowly and then all at once.
7 Simple Step-By-Step Guidelines on How to Build a Backyard Shed
Step 1: Prepare the Foundation
If there is one stage that determines whether the rest of the build feels manageable or miserable, it is the foundation. A shed with a poor base can still look fine for a while, but the problems tend to show up later—in sticking doors, twisted framing, or water damage where you least want it. For smaller sheds, a skid foundation made from pressure-treated 4x4s resting on concrete blocks is a common choice because it lifts the structure off the ground and allows some airflow underneath.

Begin by clearing sod and topsoil from the site. Then level the area carefully and add crushed gravel to improve drainage. This part can feel slow, and it is tempting to settle for “close enough.” Usually, that is the mistake. Once the gravel base is level, place the concrete blocks in an even grid based on your plans. Set the skids across them and check again—across the length, across the width, and diagonally if needed. A level base now may save you from chasing alignment issues through every remaining step.
Step 2: Frame the Floor
With the foundation in place, you can build the floor frame. Typically, that means forming a perimeter from pressure-treated 2x6s, then filling the interior with joists spaced 16 inches on center. The exact dimensions should come from your plan, not from rough estimates made in the yard with a tape measure and optimism.
Once the frame is assembled, check for square by comparing diagonal measurements, corner to corner. If the numbers match, you are close. If they do not, fix that before moving on. Then install the floor decking, usually 3/4-inch exterior-grade plywood.
Construction adhesive along the joists can help stiffen the floor, and screws will hold the panels more securely than nails alone in many cases. Stagger the plywood seams rather than lining them up in one continuous joint. It is a small detail, but it contributes to a stronger surface.
Step 3: Build the Wall Frames
Many builders frame the walls directly on top of the completed shed floor, and for good reason: the surface is flat, at least if the previous steps were done well, and it gives you room to lay out the parts accurately. Cut the top and bottom plates first, then mark stud positions at 16 inches on center. After that, place the studs between the plates and fasten them in place.
Openings for doors and windows need more thought than a plain wall. Those sections require rough openings sized correctly for the units you plan to install, along with headers to carry the load above. The framing around those openings is not complicated, but it does need to be deliberate. Double studs at the sides and a solid header above are standard practice for a reason. Before you raise any wall, check it for square and add temporary bracing if needed to hold the shape.
Step 4: Raise and Secure the Walls
This is usually the moment when the shed begins to look like a building instead of a collection of lumber. It is also a step where an extra set of hands is less a luxury than common sense. Wall frames get heavy quickly, especially once openings and full-height studs are involved.
Raise one wall at a time—often the back wall first—and align the bottom plate with the edge of the floor frame. Fasten it down into the floor structure, then check it for plumb with a level.
Temporary braces from the wall to the floor can hold everything steady while the other walls go up. As each adjacent wall is raised, bring the corners together tightly and screw the end studs together. Once all walls are standing, plumb, and connected, install the second top plate to tie the framing together. That overlapping plate helps the walls act as one system rather than four separate panels, hoping for the best.
Step 5: Construct the Roof Frame
Roof framing can feel intimidating, especially if you have not built trusses or rafters before. In many small shed builds, the simplest route is to make a template for the first truss or rafter assembly and then repeat it carefully. Consistency matters here. A roof with slight variations from one truss to the next has a way of making itself known later, especially when you start laying sheathing.
Build the trusses according to your plan and space them along the top plates, commonly at 24 inches on center. Secure them with appropriate hardware, such as hurricane ties, particularly if wind is a concern in your area. As you set them in place, brace them temporarily so they remain plumb and evenly spaced.
Once the roof frame is stable, attach plywood or OSB sheathing across the top. Nail patterns and panel alignment matter more than they may seem at first glance, because the roofing material above depends on that surface being flat and secure.
Step 6: Install the Roofing Material
The roof is what keeps the rest of the shed from slowly becoming a damp lesson in shortcuts. Start by covering the roof sheathing with felt or synthetic underlayment. That layer is not the visible finish, but it plays an important role in shedding water if wind-driven rain gets under the shingles. Add a drip edge along the roof perimeter so water is directed away from the fascia rather than behind it.
Shingles are usually installed from the bottom edge upward in overlapping rows. Keep the courses straight, stagger the joints as required, and fasten them according to the manufacturer’s guidance. A roofing nail gun can speed up the process, though accuracy still matters more than speed. Finish at the ridge with ridge cap shingles, overlapping them properly so the peak remains sealed against rain and wind. This is not the stage to improvise.
Step 7: Add Siding, Doors, and Trim
At this point, the structure is built, but it is not fully protected until the exterior is closed in. Install your siding of choice—T1-11 panels are common for sheds, vinyl is another option—and fasten it according to the product requirements. Try to keep the lower edge positioned so water sheds away from the floor system rather than toward it.
Once the walls are covered, hang the doors and install any windows. This part often reveals whether the framing stayed square through the earlier stages. If the door binds, the issue may not be the door. Caulk around doors and windows to reduce moisture intrusion and drafts. Finish with trim at corners, around openings, and along the roofline. Trim is partly cosmetic, yes, but it also helps seal joints and clean up exposed edges. A shed can be purely functional and still deserve a tidy finish.
Following these steps on how to build a backyard shed, you can easily create a functional and attractive addition to your outdoor space.
What Are Common Mistakes to Avoid When Building a Shed?
The most common mistake is probably rushing the foundation. A base that is not level tends to create problems that repeat themselves from step to step. Another frequent issue is failing to check for square, especially when framing the floor and walls. If the diagonals are off early, the roof and doors may remind you of that later.
Using interior-grade hardware outdoors is another avoidable error. It may look fine at first, but rust and fastener failure are not abstract risks on an exterior structure. Roof design matters too. Minimal overhangs can leave walls exposed to concentrated runoff, which may speed up wear. And then there is permitting. People skip it because it feels bureaucratic and far removed from the actual build, but local rules still apply whether they feel convenient or not.
What is a Typical Budget and Cost Breakdown?
Costs vary quite a bit depending on shed size, lumber prices, and how basic or finished you want the structure to be. For a standard 8×10 wood shed built from raw materials, a rough budget of $1,500 to $3,000 is often reasonable. In some markets that may feel optimistic, in others fairly accurate, but it is a useful starting range.
Foundation materials—gravel, concrete blocks, pressure-treated skids—might account for roughly $200 to $400. Framing lumber, siding, and roofing usually take the largest share of the budget, often somewhere between $1,000 and $2,000, depending on current prices. Then come the smaller items that are never really small once added together: hardware, exterior paint or stain, permit fees, and any tools you need to buy or replace. Those can add another $300 to $600 without much effort.
How Do I Maintain My Backyard Shed?
A shed does not ask for much once it is built, but it does ask for consistency. Check the roof at least once a year for missing or damaged shingles, especially after strong storms. Small issues at the roofline can turn into larger repairs if water gets inside and stays there unnoticed.
If the shed has wood siding, repainting or restaining every few years will help protect it from moisture and sun exposure. Doors and hinges should be checked occasionally as well; a little lubricant can keep hardware working smoothly and may reduce wear. Around the base of the shed, keep weeds, debris, and piled soil from collecting against the walls. That helps airflow and makes the area less inviting to pests and rot.
Frequently Asked Questions
Do I Always Need A Permit To Build A Shed?
Not always. Permit requirements depend on local zoning and building rules, and those differ by municipality. In many places, sheds under about 120 square feet may be exempt from full permitting, but that does not mean there are no restrictions. Setback rules and placement limits may still apply. The safest approach is also the least exciting one: call the local building department before you buy materials.
What Is The Best Foundation For A Backyard Shed?
That depends on the shed size, what it will store, and the conditions in your yard. For many small or mid-sized sheds, a skid foundation over concrete blocks and gravel works well because it provides drainage and keeps the structure off the soil. Heavier sheds, or those intended for substantial equipment, may be better suited to a concrete slab. A slab usually costs more and is far more permanent, but it can provide better support where loads are higher.
How Long Does It Take To Build A Shed?
For someone with basic woodworking skills, a standard 8×10 shed may take two to three weekends. Site prep and foundation work can take a full day on their own, sometimes more if the ground is uneven. Framing the floor, walls, and roof might take another couple of days. Siding, roofing, doors, and finish work can add two or three more days, depending on weather, help available, and how many mid-project adjustments become necessary. On paper, it looks straightforward. In reality, most builds take a little longer than the hopeful version of the schedule.
Wrap Up Your Backyard Shed Project
Building your own shed is a manageable project if you approach it in the right order and resist the urge to rush the unglamorous parts. Good planning, careful measurements, and materials meant for outdoor use make a noticeable difference. So does a willingness to stop and correct small problems before they spread through the rest of the build.
If the site is well prepared, the framing is square, and the roof is properly sealed, what you end up with is more than a storage box in the yard. It is a useful, custom-built structure that fits the way you actually live and work outside. Thanks for reading this guide on how to build a backyard shed.

About
Outdoor Fixes is a distinguished figure in the world of Diy design, with a decade of expertise creating innovative and sustainable Diy solutions.
His professional focus lies in merging traditional craftsmanship with modern manufacturing techniques,
fostering designs that are both practical and environmentally conscious. As the author of diy,
outdoorfixes delves into the art and science of outdoorfixes-making, inspiring artisans and industry professionals alike.
Education RMIT University
(Melbourne, Australia) Associate Degree in Design (Outdoor Fixes) Focus on sustainable design, industry-driven projects,
and practical craftsmanship. Gained hands-on experience with traditional and digital manufacturing tools, such as CAD and CNC software.
Nottingham Trent University
(United Kingdom) Bachelor’s in outdoorfixes.com and Product Design (Honors) Specialized in product design with a focus on blending creativity with production
techniques. Participated in industry projects, working with companies like John Lewis and Vitsoe to gain real-world insights.
Publications and Impact
In diy, Outdoor Fixes his insights on indoor design processes, materials, and strategies for efficient production.
His writing bridges the gap between artisan knowledge and modern industry needs, making it a must-read for both budding designers and seasoned professionals.