
Start by figuring out what part of your yard can realistically support a seating area and what you want that space to do. Then choose a style, prep the ground properly, install a stable surface, bring in outdoor-friendly furniture, and finish with lighting and decor that make the area feel lived in rather than staged.
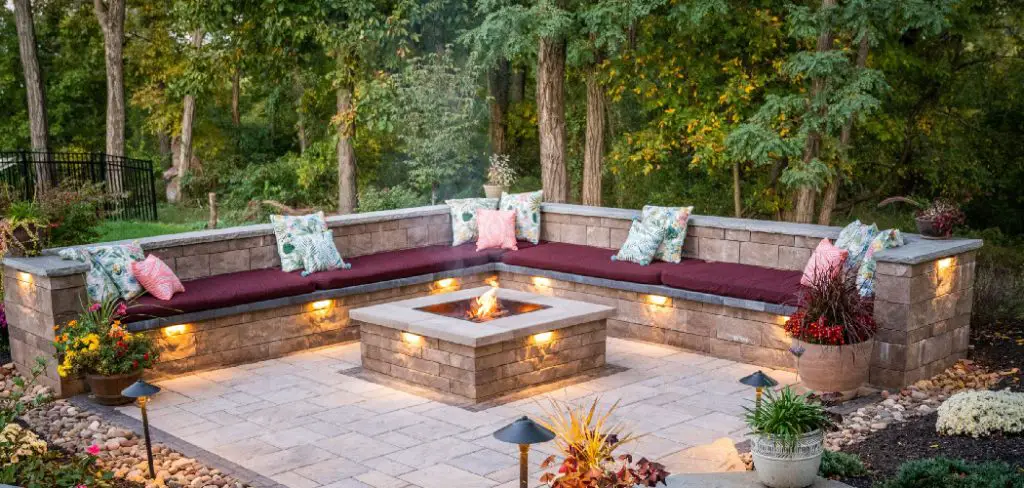
A backyard seating area can change the way you use your home. What might otherwise be a patch of grass or an overlooked corner of the yard becomes a place for coffee in the morning, dinner with friends, or an hour outside with a book when the house feels too loud. That shift is practical, not just decorative.
Still, this is the point where many projects go slightly wrong. People often buy furniture first because it is the fun part, then try to force the yard to accommodate it. Usually, that creates a space that looks acceptable in photos but feels awkward in person. A better approach is slower at the start. Measure first. Watch the light. Think about movement. The result is more likely to suit your daily habits and make sensible use of the square footage you already have. In this guide on how to create a backyard seating area, we will discuss the importance of planning and measuring before purchasing furniture.
How Do You Assess Your Backyard Space for Seating?
Before you buy a chair, much less a full patio set, it helps to study the yard as it actually behaves during the day. Sun exposure matters more than people expect. A corner that feels pleasant at 9 a.m. may be almost unusable by late afternoon if it takes direct sun for hours. On the other hand, a shaded area under mature trees may seem ideal until you notice falling debris, damp ground, or roots that complicate installation.
It is also worth paying attention to the grade and ground condition.
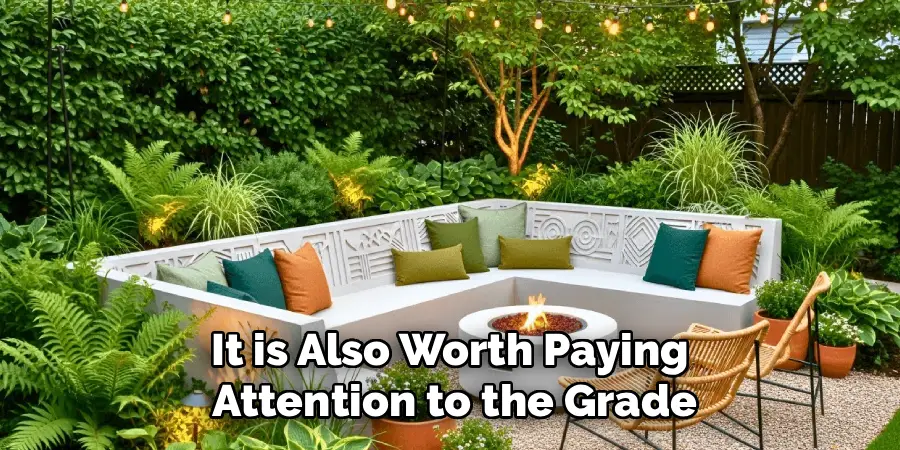
Naturally level areas are usually easier and less expensive to work with than sloped sections that may need extra preparation. Existing trees, planting beds, fences, and visible utility access points should be noted early, not halfway through the project. Those elements do not just affect where seating goes; they may also shape drainage, privacy, and the kind of base you can build.
In other words, the yard has a say. The sooner you listen to it, the fewer adjustments you will need later.
What is the Main Purpose of Your Backyard Seating Area?
This sounds obvious, but it tends to be skipped. What is the space for?
If you want to host large weekend meals, the layout should revolve around dining. That means enough room for a table, chairs that can pull back comfortably, and clear paths so people are not squeezing past one another with plates in hand. If, instead, you are after something quieter, maybe a place for reading, conversation, or winding down in the evening, then a smaller arrangement with lounge seating may make more sense.
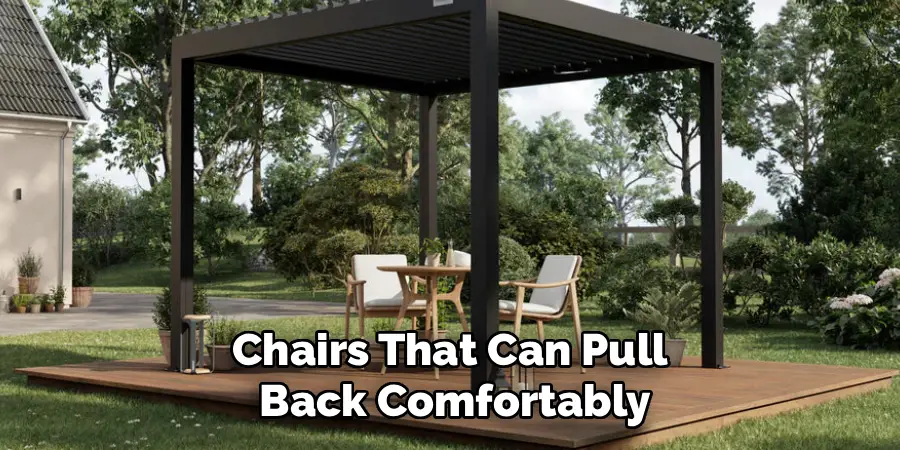
The point is not to choose the “best” setup in the abstract. It is to choose the one you will use. Defining the purpose early can keep you from ending up with mismatched pieces that all seem appealing on their own but do not work together in practice.
How to Choose a Backyard Seating Area Style
Style matters, though perhaps not for the reason people usually assume. It is less about impressing anyone and more about creating visual continuity so the outdoor area feels connected to the house rather than dropped into the yard as an afterthought.
A modern look often leans on simple shapes, restrained color, and materials such as aluminum or concrete. Rustic spaces tend to favor wood, iron details, and colors that sit more naturally against planting and soil. A more relaxed, layered approach might include wicker or rattan, patterned cushions, and outdoor rugs with a bit more texture and color.
There is no need to overthink labels. What matters is choosing a direction and sticking with it. Also, a small editorial note: consistency generally ages better than trend-chasing. A seating area you still like in three summers is usually the better investment.
7 Simple Step-By-Step Guidelines on How to Create a Backyard Seating Area
Step 1: Determine the Exact Location and Measure the Space
Choosing the location is partly about looks, but function should lead. The best spot is usually one that feels easy to reach from the house, offers at least some privacy, and makes sense in relation to sun, shade, and wind. Once you narrow it down, measure carefully with a tape measure and sketch the dimensions, even if the sketch is rough. It does not need to be pretty. It just needs to be accurate.
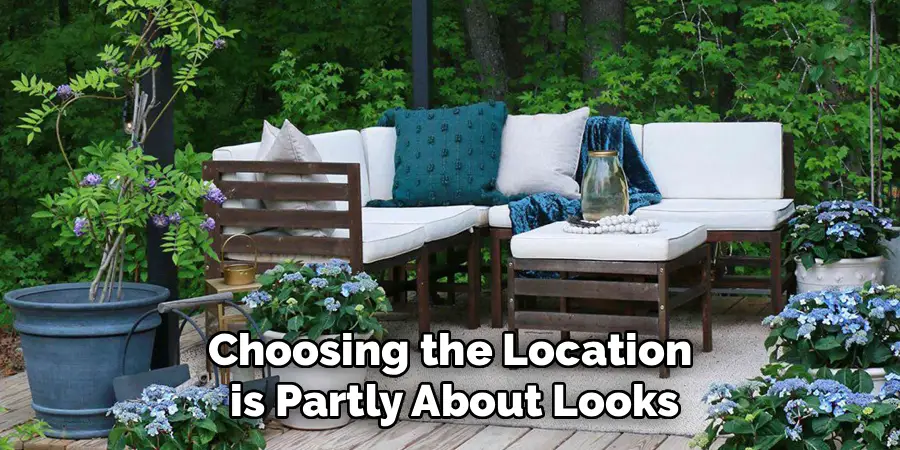
That drawing can save you from one of the most common mistakes in outdoor design: buying furniture that technically fits but leaves the space cramped and difficult to move through. As a rule, leaving around three feet of clearance around major pieces tends to make the area feel navigable rather than crowded.
After measuring, mark the outline on the ground with stakes and string or landscape spray paint. Then stand inside it. Walk through it. Imagine where chairs would face and how people would move around a table or coffee table. This is the moment to adjust the footprint, because doing so later becomes much harder once the ground is disturbed.
Step 2: Clear the Ground and Prepare the Foundation
Foundation work is not glamorous. It is, however, the part that often determines whether the seating area still looks level and stable a year from now.
Start by removing grass, weeds, and loose organic material from the marked area. For larger spaces, a sod cutter may speed things up; for smaller ones, a spade can do the job. In many cases, you will need to excavate roughly four to six inches, depending on the surface you plan to install. That depth creates room for the base layers that help prevent settling and shifting.
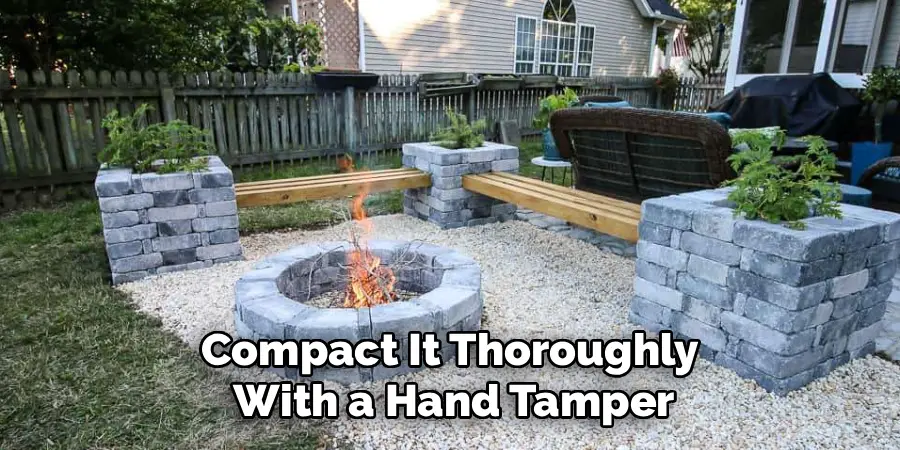
Once the soil is exposed, compact it thoroughly with a hand tamper or rented plate compactor. Then lay landscape fabric to slow weed growth while still allowing drainage. Over that, spread crushed gravel and compact again. This may feel repetitive, but it is the repetition that gives the base its strength. Skip it, and the surface above may begin to move in ways you will notice every time a chair wobbles.
Step 3: Lay the Flooring or Surface Material
Now the space starts to look like something.
Concrete pavers remain a popular choice because they are durable, relatively straightforward to install, and available in a wide range of sizes and finishes. If you use them, begin in one corner and work outward, setting each paver into leveling sand over the gravel base. A rubber mallet helps with adjustment, and a standard level is not optional here. Small errors spread quickly.
That said, pavers are not the only route. Pea gravel, flagstone, or interlocking deck tiles may suit the yard better, depending on the look you want and the amount of maintenance you are willing to accept. Loose materials such as gravel or decomposed granite generally need edging to stay contained. Without it, the area can start to blur at the edges and look untidy faster than expected.
Whatever surface you choose, patience matters. This layer becomes the literal ground for everything else.
Step 4: Select and Arrange the Primary Furniture
Outdoor furniture has to do more than look good. It needs to withstand weather, feel comfortable for more than ten minutes, and suit the scale of the space. That last point is often underestimated. Oversized sectionals can swallow a small patio, while tiny chairs on a broad surface can make the whole area feel underfurnished and oddly temporary.
Materials such as teak, all-weather wicker made from HDPE, and powder-coated aluminum are commonly used for a reason: they tend to hold up well outdoors. When arranging the pieces, begin with the largest item, whether that is a sofa or dining table, then build around it. It helps to establish a focal point, perhaps a coffee table, garden view, or fire pit, so the layout feels intentional.
Seating should invite conversation without forcing it. Chairs facing each other usually work better than lining everything up along the perimeter. Test the setup before you commit. Sit in each seat. Reach for the side table. Check legroom. If a layout feels slightly awkward when the area is empty, it will feel more awkward once people are in it.
Step 5: Incorporate Shade and Weather Protection
A seating area that cannot handle sun or shifting weather will probably be used less than you imagine. This is where comfort becomes practical.
For many yards, some form of shade is essential, especially if the space gets strong afternoon sun. A cantilever umbrella can be useful because it shifts with the light and does not always require a center pole in the middle of the furniture arrangement. If you want something more permanent, a pergola or retractable awning may offer better long-term coverage and a stronger architectural presence.
Weather protection goes beyond shade. Cool evenings arrive. Rain shows up unexpectedly. Cushions fade. A storage box for blankets or covers can make the area more usable across seasons, and furniture covers may help extend the life of more expensive pieces. If you want to use the space in the fall, a patio heater or fire pit could make that realistic rather than aspirational.
Step 6: Install Outdoor Lighting for Ambiance and Safety
Lighting changes everything after sunset, and not just in a decorative sense. Without it, even a well-designed space may become difficult or unpleasant to use at night.
Start with ambient light. String lights overhead or threaded through nearby branches can create a soft glow that feels inviting without being harsh. Lanterns on side tables or hooks can add smaller pockets of light and usually require less installation work, especially if they are solar-powered.
But atmosphere alone is not enough. You also need light that helps people move safely. Path lights along the route from the house to the seating area can reduce the risk of missteps, and directional lighting can emphasize a tree, fence line, or pergola structure while adding depth. The best outdoor lighting setups usually mix purposes: some light to see by, some to shape mood, and a little restraint so the yard still feels like nighttime.
Step 7: Add Finishing Touches with Decor and Plants
This is the stage where the space begins to feel personal. Not perfect. Personal.
Textiles can soften hard surfaces quickly. An outdoor rug helps define the seating zone, while cushions and throw pillows make furniture look less stark and more usable. The key is to choose fabrics made for exterior use, especially if the area is exposed. Otherwise, fading and mildew may arrive sooner than you expect.
Plants do a different kind of work. They help the built area settle into the landscape rather than sit apart from it. Grouping planters in different sizes around the perimeter can add height and texture, and low-maintenance options such as ornamental grasses, succulents, or herbs tend to be practical choices in many climates. You do not need a jungle. A few well-placed containers can be enough to make the area feel grounded and calm. Following these steps on how to create a backyard seating area can transform your outdoor space into a cozy and inviting oasis.
How to Ensure Maintenance and Durability for Outdoor Furniture
Outdoor spaces last longer when they are maintained in small, regular ways rather than rescued once a year. Clean furniture with mild soap and water to remove grime before it settles in. Check metal frames occasionally for early signs of rust. Teak may need oiling if you want to preserve its warmer color, though some people are happy to let it weather naturally to gray.
Cushions should be stored in a dry, ventilated container during heavy rain or colder months if possible. Paver surfaces may also benefit from resealing every few years to reduce staining and weather wear. None of this is difficult, exactly, but neglect accumulates outdoors faster than it does inside.
Common Mistakes to Avoid When Designing Your Seating Area
One of the biggest mistakes is failing to measure accurately, which often leads to furniture that overwhelms the available space. Another is ignoring lighting until the very end, only to realize the area works in daylight and nowhere else.
Drainage gets overlooked, too; if the ground slopes poorly, water may pool where you planned to place chairs or rugs. Indoor fabrics are sometimes used outside to save money, but that decision tends to show quickly in fading and mold. It also helps to establish some sort of focal point. Without one, the arrangement can feel scattered, as though the pieces ended up where there was room rather than where they belonged.
Small Backyard Seating Ideas for Limited Spaces
A small yard calls for a slightly different mindset. Not less ambition, exactly, but tighter editing.
A compact bistro set can work better than a full dining arrangement when space is limited. Built-in bench seating along a fence or retaining wall may free up the center of the patio and reduce clutter. Folding furniture is useful when the same area needs to serve more than one purpose. In some cases, vertical thinking helps as much as floor planning. Hanging chairs or hammocks, for example, can create a lounging spot without taking up much ground space.
The main lesson is simple: in a small yard, every piece has to earn its place.
Frequently Asked Questions About Backyard Seating
Q1: What Is the Best Material for Outdoor Furniture?
A1: The best material depends largely on the climate and how much maintenance you are willing to do. HDPE wicker and powder-coated aluminum are often good options in wetter areas because they resist rust and moisture fairly well. Teak is known for its longevity and natural water resistance, though it may require occasional oiling if you want to maintain its original color.
Q2: How Much Does It Cost to Build a Seating Area?
A2: Cost can vary quite a bit based on size, materials, and whether you do the work yourself. A basic DIY gravel patio with modest seating may come in under $500. A professionally installed paver patio with higher-end furniture and built-in lighting could easily run past $5,000.
Q3: Do I Need a Permit to Build a Backyard Patio?
A3: That depends on local rules. In many places, a simple ground-level patio made with gravel or pavers may not require a permit. Once a project involves an elevated structure, plumbing, or hardwired electrical work, approval from the local municipality is more likely to be necessary.
Ready to Build Your Dream Outdoor Retreat?
Putting together a backyard seating area can be deeply satisfying because the payoff is immediate: you create a place you can actually use. If you plan the layout carefully, build on a stable base, and choose materials suited to outdoor life, the result is more likely to hold up well and feel comfortable over time.
If you are not sure where to begin, start small. Measure the yard this weekend. Sketch a few options. That first practical step is usually what turns the idea into a real project. Thanks for reading this guide on how to create a backyard seating area.

About
Outdoor Fixes is a distinguished figure in the world of Diy design, with a decade of expertise creating innovative and sustainable Diy solutions.
His professional focus lies in merging traditional craftsmanship with modern manufacturing techniques,
fostering designs that are both practical and environmentally conscious. As the author of diy,
outdoorfixes delves into the art and science of outdoorfixes-making, inspiring artisans and industry professionals alike.
Education RMIT University
(Melbourne, Australia) Associate Degree in Design (Outdoor Fixes) Focus on sustainable design, industry-driven projects,
and practical craftsmanship. Gained hands-on experience with traditional and digital manufacturing tools, such as CAD and CNC software.
Nottingham Trent University
(United Kingdom) Bachelor’s in outdoorfixes.com and Product Design (Honors) Specialized in product design with a focus on blending creativity with production
techniques. Participated in industry projects, working with companies like John Lewis and Vitsoe to gain real-world insights.
Publications and Impact
In diy, Outdoor Fixes his insights on indoor design processes, materials, and strategies for efficient production.
His writing bridges the gap between artisan knowledge and modern industry needs, making it a must-read for both budding designers and seasoned professionals.