
To set up a backyard fire pit safely, start by checking local fire rules and choosing a flat spot at least 10 feet from buildings, fences, and low branches. From there, pick the kind of fire pit you want, gather the right materials—typically gravel, fire-safe blocks, and a metal ring—and build it in stages so the base is level, stable, and able to handle heat over time.
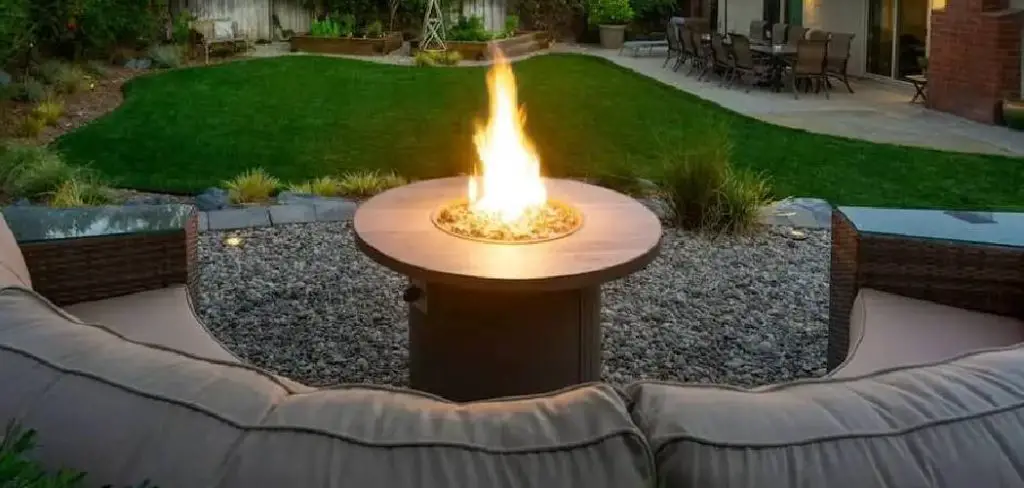
A backyard fire pit can change the feel of an outdoor space more than people expect. It gives everyone somewhere to gather when the air turns cool, adds usable light after sunset, and turns an ordinary patio into a place people actually linger. For many homeowners, it also sits in that sweet spot between practical upgrade and satisfying weekend project.
That said, this is not the sort of build to improvise halfway through.
A fire pit may look simple once finished, but the safety issues are real: clearance, drainage, material choice, and heat exposure. Get those wrong and the result could be disappointing at best, hazardous at worst.
If you take the setup seriously from the beginning, though, you are far more likely to end up with something sturdy, good-looking, and worth using for years. In this guide on how to set up a backyard fire pit, we’ll go through the steps you need to follow to create a safe and enjoyable fire pit in your own backyard.
What Are the Local Regulations and Safety Rules for Fire Pits?
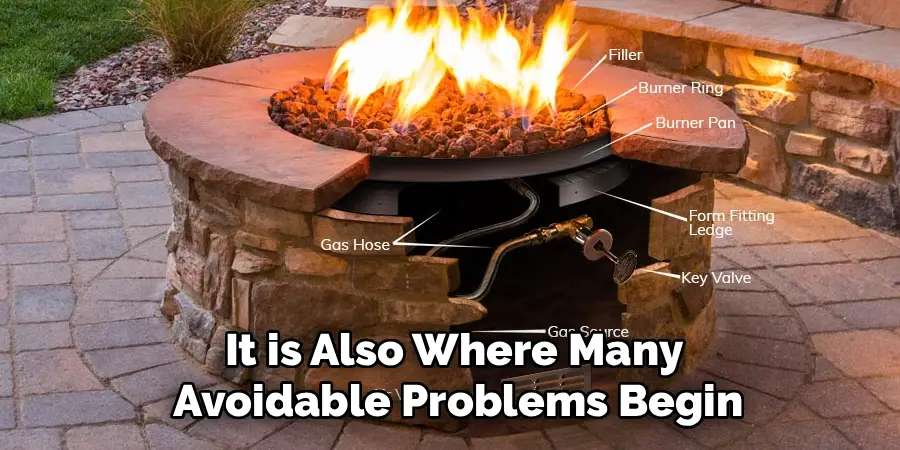
Before you dig anything, check the rules that apply where you live. This part is easy to skip. It is also where many avoidable problems begin. Cities, counties, HOAs, and fire districts may all have their own requirements for open flames, including setback distances from structures, property lines, or overhead obstructions. Some areas also place seasonal restrictions on outdoor burning.
A quick call to the local fire department, building office, or homeowners association can clarify whether a permit is required and what standards your setup needs to meet. Even if enforcement seems loose, it is still worth confirming. A fire pit that appears harmless in one yard may violate code in another.
How Do You Choose the Right Location for a Fire Pit?
Location is part design decision, part safety calculation. You want the fire pit to feel connected to the rest of the yard, but not so close that heat, sparks, or smoke become a problem. In most cases, a flat area at least 10 to 15 feet from the house, sheds, fences, and neighboring lot lines is a sensible starting point.
Look up as well as around. Tree limbs, power lines, awnings, and pergola covers can be easy to overlook until the first hot fire sends heat straight upward. Ground conditions matter too. If the area is uneven, soft after rain, or prone to pooling water, that may suggest trouble later when the structure settles or the base stays damp.
Which Fire Pit Type Should You Decide On?
The best fire pit is not always the biggest or the most permanent. It depends on your budget, how much work you actually want to do, and whether you need flexibility. A portable metal fire bowl, for example, makes sense for renters or anyone who may rearrange the yard later. It asks very little of you upfront.
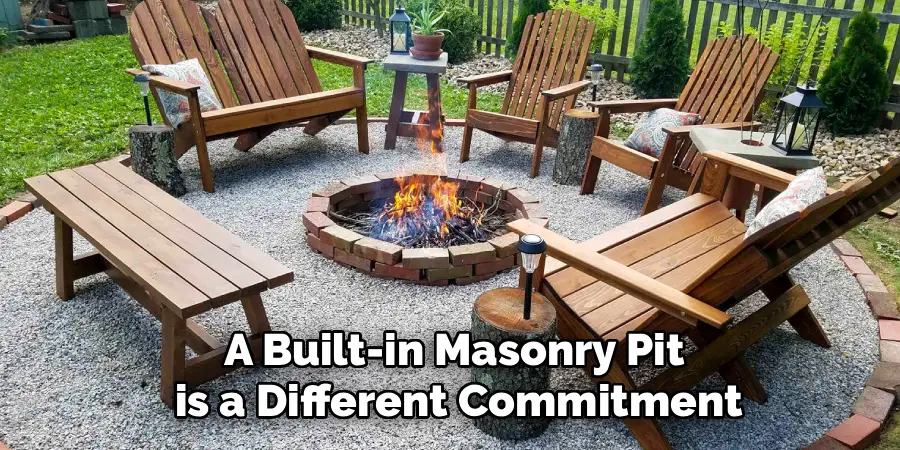
A built-in masonry pit is a different commitment. It takes more planning and more labor, but it can look integrated rather than temporary. For some homeowners, that permanence is the appeal. For others, it may be more structure than they need. The right choice usually becomes clearer once you are honest about how often the fire pit will really be used.
Materials Needed
Before you begin building your fire pit, you will need to gather all the necessary materials. Here is a list of basic materials that are required for most standard fire pits:
- Bricks or concrete pavers
- Gravel or sand
- Shovel
- Leveling tool (such as a carpenter’s level)
- Tamper or hand compactor
- Fire pit ring or metal grate
- Safety gear (gloves, safety glasses)
6 Simple Step-By-Step Guidelines on How to Set Up a Backyard Fire Pit
Step 1: Mark the Layout and Prepare the Ground
Everything rests on the base, so this step deserves more patience than people usually want to give it. Set your steel fire pit ring in the center of the chosen area and trace around it with spray paint, allowing a few extra inches beyond the ring for the wall thickness.

That outline gives you a clear excavation boundary and helps avoid guessing once digging begins.
After marking the circle, remove the ring and dig down about six to eight inches. Clear out grass, roots, and loose soil rather than building on top of them. Organic material breaks down. Soft ground shifts. Neither helps. Once the hole is dug, compact the exposed soil with a hand tamper until it feels firm and reasonably even across the full diameter.
Step 2: Add the Gravel Base for Drainage
This layer does more than fill space. It helps water move away from the pit and reduces the chance that the base will stay soggy after rain. Pour in roughly four to five inches of crushed gravel or paver base, then spread it evenly to the edges of the circle.
Now tamp it thoroughly. Then check it. Then, probably check it again. Use a level across several points, not just one pass through the middle. If you spot low areas, add gravel in small amounts, compact again, and recheck. A slightly uneven base may not seem like much at this stage, but it tends to show up later when the wall lines look off or blocks start rocking.
Step 3: Lay the First Ring of Blocks
Once the base is compacted and level, you can start placing the first course of blocks. Set each block carefully on the gravel bed so it sits flat and stable. Work your way around the circle, placing the units tightly and checking alignment as you go. This first ring more or less determines whether the rest of the build feels straightforward or irritating.
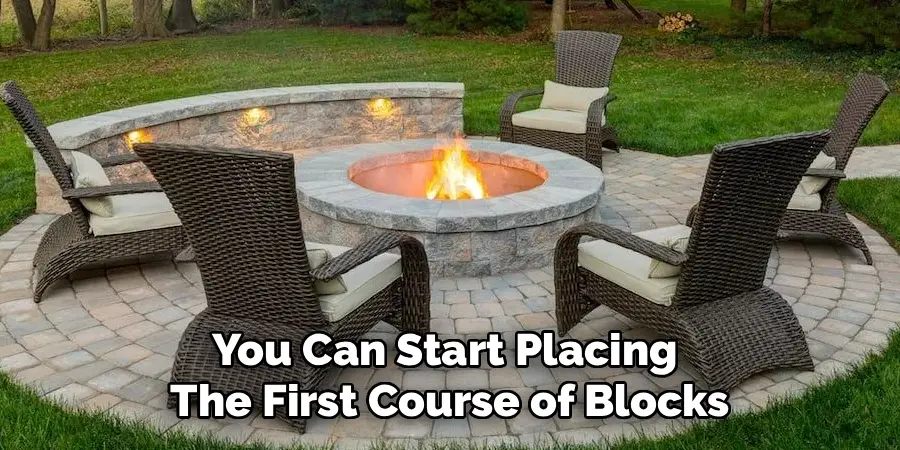
It helps to drop the steel ring inside temporarily as you work, just to confirm spacing. If a block sits high or wobbles, adjust it now rather than hoping the next row will hide the problem. It will not. A rubber mallet can help nudge blocks into place without damaging the edges. Take your time here. The later rows depend on this one being right.
Step 4: Stack Additional Stone Layers
With the bottom course in place, begin building upward. Start the second row by centering each block over the joint below it, creating a staggered pattern. This offset is often called a running bond, and it helps distribute weight more evenly through the wall.
Continue stacking until the pit reaches roughly 12 to 18 inches high, which is a common and comfortable range for backyard use. As you go, keep checking the level and fit. A dry stack before gluing is usually wise because it lets you see whether the blocks align cleanly and whether the top edge stays even. If something looks slightly off now, it will look much worse once the adhesive sets.
Step 5: Secure the Blocks with Refractory Cement
Once you are satisfied with the dry layout, take apart the upper rows and begin adhering them in place. Leave the bottom row as your reference, then apply refractory cement or heat-rated masonry adhesive to the top of the first course using a caulking gun.
Reset the second row in its staggered pattern and press each block down firmly. Repeat the process with each additional course, trying to keep the outer faces aligned and the adhesive application reasonably clean.
This part can be a little tedious, but there is no real shortcut. After assembly, allow the adhesive to cure fully—often 48 to 72 hours, depending on the product—before lighting a fire. Waiting is not exciting, but it does matter.
Step 6: Install the Steel Ring and Final Finishes
The steel insert ring goes in last, and it plays an important protective role. Lower it into the center of the finished structure so it sits evenly inside the block wall. By buffering the masonry from direct flame and intense heat, it may help reduce cracking and early wear.
To finish the interior, add two to three inches of lava rock or coarse gravel at the bottom. This raises the firewood slightly and can improve airflow, which often makes the fire burn more cleanly.
After that, brush away leftover dust, check that the area around the pit is clear, and arrange seating at a safe distance. At that point, the project is finally starting to feel like a place rather than a construction task.
Following these steps on how to set up a backyard fire pit is a great way to create a cozy and inviting outdoor space for gatherings with family and friends.
What Are the Best Fuel Options and Usage Tips?
For a wood-burning fire pit, seasoned hardwoods such as oak, hickory, and ash are usually the better option. They tend to burn longer and produce less smoke than softer woods. Pine and cedar, by contrast, often spark more because of their resin content, which can make the fire less predictable and less pleasant to sit near.
It is also worth being selective about moisture. Firewood that has dried for at least several months generally burns more efficiently than green wood. And while this should go without saying, people do say it for a reason: never use gasoline or similar accelerants to start a backyard fire. A small convenience can turn into a very big mistake.
What Are the Common Mistakes to Avoid?
The most obvious mistake is poor placement. A fire pit built too close to a house, fence, or overhanging branches introduces risk from the start. Another frequent problem is skipping the gravel base. That shortcut may save time on day one, but trapped water can shorten the life of the structure and create a messy, unstable pit after rain.
Material choice is another area where people sometimes cut corners. Standard concrete blocks are not always suitable for repeated exposure to direct fire. Under high heat, some materials may crack or fail in ways that are more dramatic than expected. Using products intended for this application is usually the safer path.
How Do You Handle Maintenance and Cleaning?
A fire pit does not demand constant upkeep, but neglect catches up with it. After a fire, wait until the ashes are completely cool—often a full 48 hours—before removing them with a metal scoop and transferring them to a metal container. Rushing this step is one of those small decisions that can create an entirely unnecessary hazard.
At least once a year, inspect the pit for loose blocks, cracked joints, or signs that the insert ring is rusting or shifting. Reapply heat-safe adhesive where needed. If the pit sits uncovered through long stretches of wet weather, rainwater may collect inside and stress both the metal and the masonry. A fitted cover or tarp can help, provided it is used when the pit is fully cool and not in service.
What Is the Expected Budget and Cost Breakdown?
Cost depends mostly on size, material choice, and whether you are doing the work yourself. A modest DIY masonry fire pit built from retaining wall blocks with a gravel base often falls somewhere in the $150 to $300 range. Add a steel insert ring and you may spend another $50 to $150.
That is the lower end. Once professional labor enters the picture—or if you prefer brick, flagstone, or a more custom layout—the numbers rise quickly. In those cases, total costs of $800 to well above $2,000 are not unusual. For some people, that added expense is justified by convenience or finish quality. For others, a simpler build does the job just fine.
Frequently Asked Questions
Can I Put a Fire Pit Directly on a Grass Lawn?
No. Setting a fire pit directly on grass is unsafe and likely to ruin the lawn underneath it. Heat can scorch or kill the grass quickly, and dry vegetation below or around the unit may increase fire risk. A non-combustible surface—such as gravel, bare soil, concrete, or pavers—is the safer choice.
How Deep Should the Gravel Base Be for a Fire Pit?
In most backyard builds, a gravel base of about four to six inches below grade is enough to support drainage and improve stability. The exact depth may vary slightly with soil conditions, but the main point is consistency. It should be compacted well, not simply poured in and left loose.
Do I Absolutely Need a Metal Ring Inside My Brick Fire Pit?
Strictly speaking, some people build without one, but using a steel ring is strongly recommended. Landscaping blocks are not designed to absorb direct flame over and over again. The ring acts as a heat barrier and may help the surrounding masonry last longer without cracking or breaking down as quickly.
Maximize Your Outdoor Living Space
A backyard fire pit can be a worthwhile addition, not just because it looks good, but because it changes how a yard gets used. People stay outside longer. Cool evenings become usable again. The space begins to feel intentional. None of that happens by accident, though. Careful placement, sensible materials, and patient construction are what make the finished result feel easy.
If you plan the build well and respect the safety side of it, you can end up with a feature that feels permanent in the best way. Not flashy. Just useful, dependable, and inviting. Thanks for reading this guide on how to set up a backyard fire pit.

About
Outdoor Fixes is a distinguished figure in the world of Diy design, with a decade of expertise creating innovative and sustainable Diy solutions.
His professional focus lies in merging traditional craftsmanship with modern manufacturing techniques,
fostering designs that are both practical and environmentally conscious. As the author of diy,
outdoorfixes delves into the art and science of outdoorfixes-making, inspiring artisans and industry professionals alike.
Education RMIT University
(Melbourne, Australia) Associate Degree in Design (Outdoor Fixes) Focus on sustainable design, industry-driven projects,
and practical craftsmanship. Gained hands-on experience with traditional and digital manufacturing tools, such as CAD and CNC software.
Nottingham Trent University
(United Kingdom) Bachelor’s in outdoorfixes.com and Product Design (Honors) Specialized in product design with a focus on blending creativity with production
techniques. Participated in industry projects, working with companies like John Lewis and Vitsoe to gain real-world insights.
Publications and Impact
In diy, Outdoor Fixes his insights on indoor design processes, materials, and strategies for efficient production.
His writing bridges the gap between artisan knowledge and modern industry needs, making it a must-read for both budding designers and seasoned professionals.