
A pond can transform your backyard into a peaceful retreat, but its beauty starts with what lies beneath the water. A reliable liner keeps water where it belongs, protects your soil, and gives fish and plants a safe home. If you’ve ever wondered how to install a pond liner without hiring a professional, you’re in the right place. The good news? With a little patience and the right approach, this is a project you can absolutely tackle yourself.
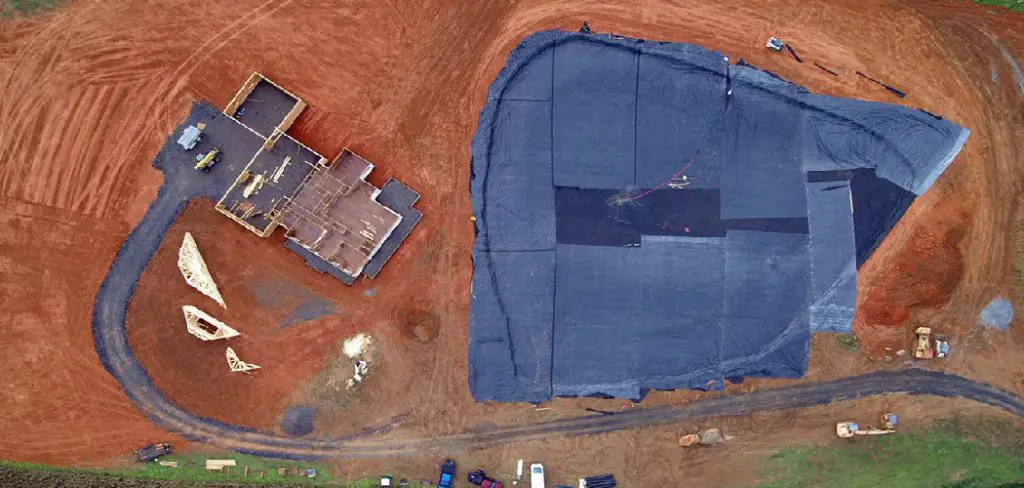
This guide walks you through every stage of the process, from prepping your hole to filling it with water. Whether you’re building a small garden feature or a larger koi pond, the steps stay much the same. We’ll keep things clear and beginner-friendly, explaining each term as we go so you never feel lost. By the end, you’ll feel confident enough to grab your tools and get started. Let’s turn that empty space into a thriving water garden you’ll enjoy for years.
Why Installing a Pond Liner Matters
A liner is the foundation of a healthy, long-lasting pond. Without one, water seeps into the surrounding soil, leaving you with a constantly draining feature and a soggy yard. A quality liner stops leaks, keeps water levels stable, and protects against shifting ground that can crack rigid materials over time.
Beyond function, a liner creates a clean barrier between your water and the earth. This keeps mud, roots, and unwanted minerals out, giving fish and plants a balanced environment to flourish. It also makes maintenance far easier, since you can clean a smooth surface without disturbing the soil below. In short, the right liner saves you money, time, and frustration. It’s a small investment that protects everything you build on top of it.
Step-by-Step Guide to How to Install a Pond Liner
Step 1: Plan and Mark Your Pond Shape
Before you dig anything, decide on the size, shape, and depth of your pond. Use a rope or garden hose to outline the shape directly on the ground, then step back and view it from different angles. This lets you adjust the curves until the design feels right for your space.

Once you’re happy, mark the outline with spray paint or a line of sand. Think about where you’ll place plants, fish, and any pumps, since these affect depth. A good rule is to include shallow shelves for marginal plants and a deeper central zone of at least 24 inches. Planning carefully now saves major headaches later.
Step 2: Dig the Hole to the Right Depth
With your shape marked, start digging from the center outward. Create gentle, terraced shelves rather than steep walls, as sloped sides hold the liner better and reduce the risk of collapse. Aim for a slope angle of about 20 degrees on the edges for stability.
As you dig, remove any sharp rocks, roots, or debris from the bottom and sides. These can puncture your liner over time, so this step matters more than it seems. Keep checking your depth with a measuring stick, and use a level across the rim to confirm the edges sit evenly. An uneven rim leads to visible liner once water fills the pond.
Step 3: Smooth and Protect the Base
A clean, smooth base is essential for a long-lasting result. Run your hands along the bottom and sides to feel for anything sharp that you may have missed. Even small stones can cause slow leaks under the weight of full water, so take your time here.
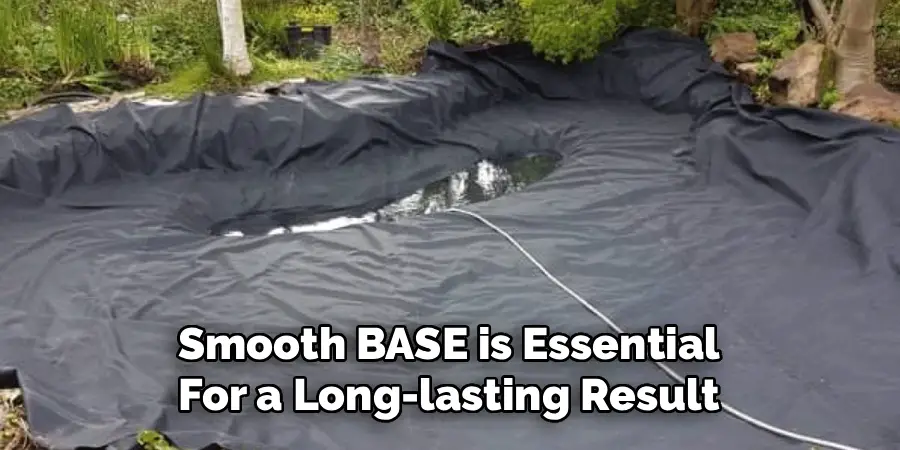
Next, add a protective layer between the soil and the liner. Spread about two inches of soft sand across the base, then lay down a geotextile underlay or even old carpet over the shelves and walls. This cushion absorbs pressure and guards against punctures from below. Press everything firmly into place so the surface stays even and supportive when you install a pond liner over it.
Step 4: Measure and Choose the Correct Liner Size
Getting the right liner size prevents waste and frustration. To calculate it, measure the maximum length, width, and depth of your pond. Use this simple formula: liner length equals pond length plus twice the depth, plus two extra feet for overlap. Apply the same method for the width.
That overlap is important, since you’ll anchor the edges later. For material, flexible EPDM rubber is a popular, durable choice that handles temperature changes well. PVC liners cost less but may not last as long. Pick a thickness suited to your pond’s size, and always round up your measurements rather than cutting it too close.
Step 5: Lay the Liner Carefully
Choose a warm, sunny day for this part, as heat makes the liner more flexible and easier to shape. Unfold it near the pond first, then gently drape it across the hole. Center it so the overlap is roughly even on all sides before you start pressing it down.
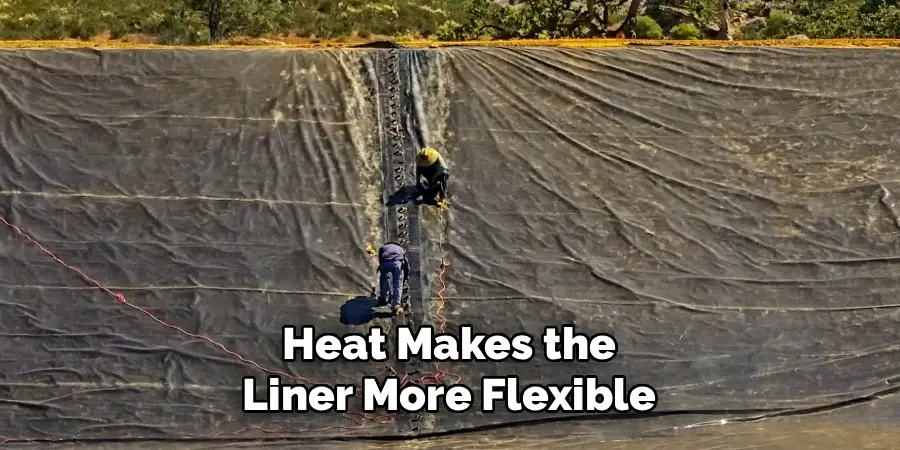
Work slowly from the middle outward, easing the material into the contours of each shelf and corner. Some folds are unavoidable, so tuck and smooth them neatly rather than fighting them. Avoid stretching the liner too tightly, since it needs a little slack to settle once water is added. Take your shoes off to protect the surface as you work.
Step 6: Add Water and Adjust the Fit
Begin filling the pond slowly with a garden hose. As the water rises, it naturally pulls the liner snug against the walls and floor. This is the perfect moment to fine-tune the fit, smoothing out wrinkles and adjusting folds before the weight locks everything in place.
Pause occasionally to step back and check that the edges remain even and fully covered. If you notice the liner pulling too tightly on one side, gently feed a little more material from the overlap. Filling gradually gives you control and reveals any issues early. By the time the pond is full, you’ll see how well your effort to install a pond liner has paid off.
Step 7: Trim and Secure the Edges
Once the pond is full and the liner has settled, you can finish the edges. Leave about 12 inches of overlap around the rim, then trim away the excess with sharp scissors. Don’t cut too much, as you’ll want enough material to anchor securely.

To hide and hold the edges, dig a small trench around the perimeter and tuck the liner into it. Backfill with soil, then cover the border with rocks, paving stones, or plants for a natural finish. This secures the liner against shifting and stops it slipping into the water. Step back and admire your work—your pond is officially complete.
Frequently Asked Questions
How Long Does a Pond Liner Last?
A quality liner can last anywhere from 20 to 50 years, depending on the material. EPDM rubber liners tend to last longest, often exceeding 30 years with proper care. PVC options usually last around 10 to 15 years. Protecting the liner with an underlay, keeping sharp objects away, and avoiding excessive sun exposure on visible edges all help extend its lifespan significantly.
Do I Really Need an Underlay Beneath the Liner?
Yes, an underlay is strongly recommended for nearly every pond. It acts as a protective cushion between the liner and the ground, guarding against punctures from sharp stones, roots, or settling soil. While it adds a small cost, it dramatically reduces the risk of leaks. Skipping this step often leads to expensive repairs later, so it’s well worth including from the start.
What’s the Best Time of Year to Install a Liner?
Warmer months are ideal because heat keeps the liner flexible and easier to shape into your pond’s contours. Spring and summer also give plants and fish time to settle before colder weather arrives. Avoid installing during freezing conditions, as cold makes the material stiff and prone to creasing. Choose a calm, sunny day for the smoothest, most stress-free experience.
How Do I Find and Fix a Leak in My Liner?
Start by topping up the pond and watching where the water level stops dropping, as this often marks the leak’s height. Inspect that area closely for tears or punctures. Small holes are usually repaired with a patch kit made for your liner type. Clean and dry the surface first, then apply the patch firmly and allow it to cure fully before refilling.
Can I Install a Pond Liner Over an Old One?
In some cases, yes, but it’s not always ideal. If the old liner is smooth and free of sharp debris, it can serve as an extra protective layer beneath the new one. However, trapped water or sediment between layers can cause problems over time. For the best long-term result, removing the old liner and inspecting the base thoroughly is usually the safer choice.
Conclusion
Building a pond is a rewarding project, and the liner is the part that ties everything together. By planning your shape, digging carefully, protecting the base, and filling slowly, you give your water garden the strong foundation it needs to thrive. Each step builds on the last, so taking your time pays off in a leak-free, beautiful result.
Now that you know how to install a pond liner from start to finish, there’s nothing stopping you from getting started. Gather your tools, pick a sunny day, and follow these steps with confidence. Whether you’re creating a quiet reflection pool or a lively home for fish, your effort will reward you with a feature you can enjoy for decades. Grab that hose and bring your backyard vision to life.

About
Outdoor Fixes is a distinguished figure in the world of Diy design, with a decade of expertise creating innovative and sustainable Diy solutions.
His professional focus lies in merging traditional craftsmanship with modern manufacturing techniques,
fostering designs that are both practical and environmentally conscious. As the author of diy,
outdoorfixes delves into the art and science of outdoorfixes-making, inspiring artisans and industry professionals alike.
Education RMIT University
(Melbourne, Australia) Associate Degree in Design (Outdoor Fixes) Focus on sustainable design, industry-driven projects,
and practical craftsmanship. Gained hands-on experience with traditional and digital manufacturing tools, such as CAD and CNC software.
Nottingham Trent University
(United Kingdom) Bachelor’s in outdoorfixes.com and Product Design (Honors) Specialized in product design with a focus on blending creativity with production
techniques. Participated in industry projects, working with companies like John Lewis and Vitsoe to gain real-world insights.
Publications and Impact
In diy, Outdoor Fixes his insights on indoor design processes, materials, and strategies for efficient production.
His writing bridges the gap between artisan knowledge and modern industry needs, making it a must-read for both budding designers and seasoned professionals.