
Liquid iron is a fast-acting treatment for iron-deficient lawns that delivers visible greening within days. For best results, test your soil first, choose the right iron formula for your pH level, apply during cool weather, and wait at least 24–48 hours before watering or mowing.
A lush, deep-green lawn doesn’t happen by accident. Behind every picture-perfect yard is soil that’s well-fed—and iron is one of the most important nutrients your grass needs to stay vibrant. Without enough of it, even a well-watered, regularly mowed lawn can start to look pale, patchy, and lifeless.
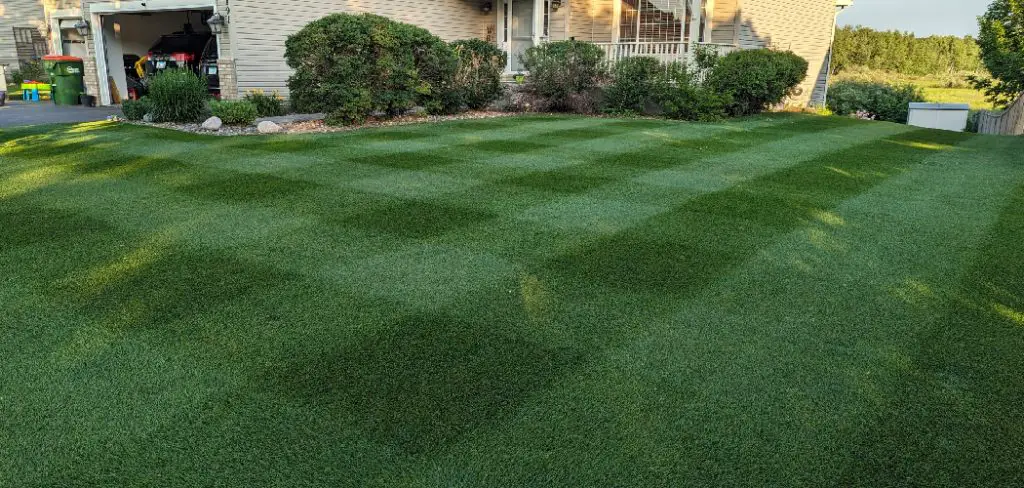
Liquid iron is one of the most effective and fast-acting solutions for iron-deficient lawns. Unlike granular alternatives, it absorbs quickly through grass blades, delivering visible results within days. Knowing how to apply it correctly can make all the difference between a mediocre lawn and a truly standout one. In this guide on how to apply liquid iron to lawn, we’ll cover everything you need to know to achieve a lush, green lawn.
8 Steps on How to Apply Liquid Iron to Lawn
Step 1: Test Your Soil Before Applying
Before reaching for the bottle, test your soil. A basic soil test—available at most garden centers or through your local cooperative extension office—will tell you whether your lawn is actually iron-deficient or if another nutrient is the real culprit.
Iron deficiency is most common in soils with a pH above 7.0, because alkaline conditions prevent grass roots from absorbing iron efficiently. If your soil pH is too high, applying liquid iron without addressing the pH may only offer temporary results. Testing first saves you time, money, and effort.
Step 2: Choose the Right Liquid Iron Product
Not all liquid iron products are the same. There are two main types worth knowing: chelated iron and ferrous sulfate.
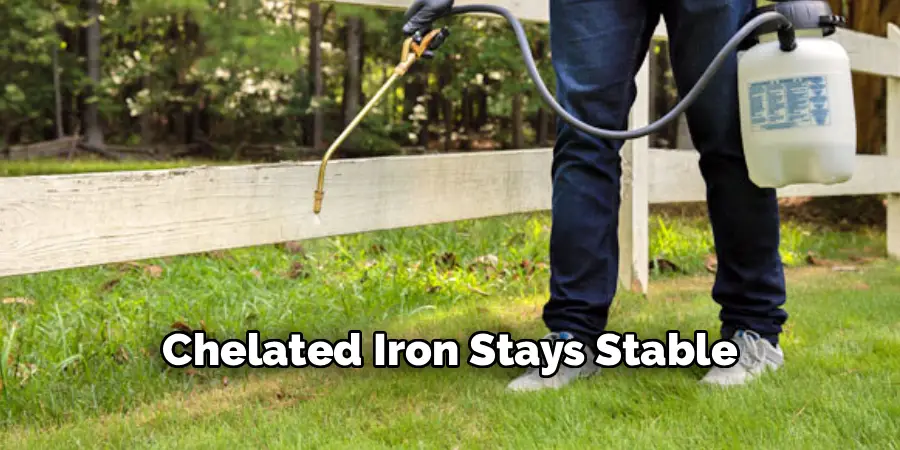
Chelated iron stays stable and remains available to your grass even in higher-pH soils, making it the better option for alkaline lawns. Ferrous sulfate is more affordable and works well in soils with a balanced pH, but may cause staining on concrete or pavement if not applied carefully. Read the label thoroughly before purchasing, and match the formula to your specific soil conditions and lawn type.
Step 3: Check the Weather Forecast
Timing matters more than most people realize. Apply liquid iron when rain isn’t expected for at least 24 to 48 hours after treatment. Rain too soon after application can wash the product off before it has a chance to absorb, reducing its effectiveness considerably.
Also, avoid applying during the hottest part of the day. High temperatures combined with direct sunlight can cause the liquid iron to evaporate quickly—or worse, burn your grass. Early morning or late afternoon applications tend to yield the best results.
Step 4: Mow and Water Your Lawn First
Mow your lawn one to two days before applying liquid iron. This allows grass blades to recover slightly and gives the product more surface area to work with.
Water your lawn lightly the evening before application as well. Damp (but not saturated) grass absorbs liquid iron more effectively than dry grass. Avoid applying to a lawn that’s soaking wet, since excess moisture can dilute the product and cause uneven coverage.
Step 5: Mix and Dilute the Product Correctly
Follow the manufacturer’s instructions exactly when diluting your liquid iron concentrate. Over-concentrating the mixture is one of the most common mistakes homeowners make, and it can burn your grass or leave dark, uneven patches.
Use a clean garden sprayer or hose-end sprayer. Fill the sprayer with the recommended amount of water first, then add the liquid iron concentrate. Stir gently to combine. Always wear gloves during this step—liquid iron stains skin and clothing fast.
Step 6: Apply Evenly Across the Lawn
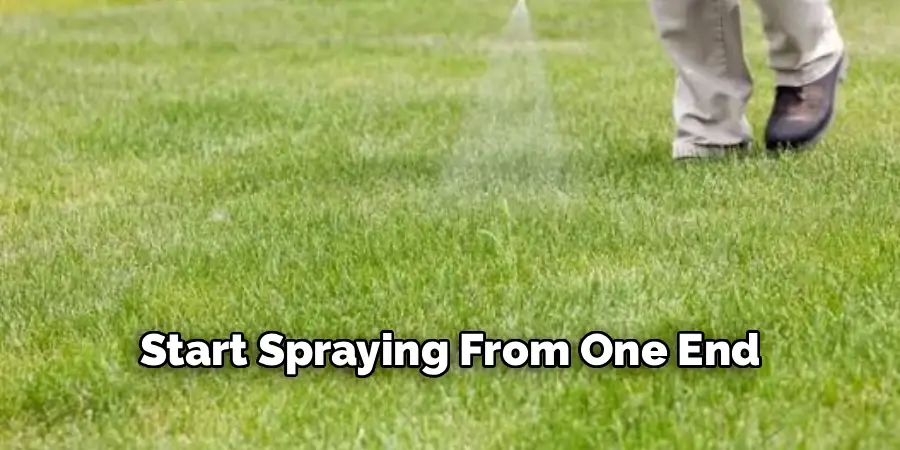
Start spraying from one end of the lawn and work your way systematically to the other, using a consistent, overlapping pattern to ensure even coverage. Move at a steady pace—going too fast leaves thin patches, while moving too slowly may over-saturate certain areas.
Pay extra attention to sections that appear most yellowed or stressed, but avoid applying multiple coats to the same area in a single session. For spots your sprayer can’t reach evenly, a handheld pump sprayer works well for targeted touch-ups.
Step 7: Avoid Contact with Hard Surfaces
Liquid iron stains concrete, brick, pavers, and stone—and those stains can be very difficult to remove. Before you start spraying, protect any nearby hard surfaces, or take extra care to direct your sprayer away from them.
If you accidentally spray a hard surface, rinse it immediately with water. The faster you act, the better your chances of preventing a permanent stain. Keeping a hose nearby while you work is a smart precaution, particularly around driveways and garden edging.
Step 8: Wait Before Watering or Mowing Again
After applying liquid iron, give your lawn at least 24 to 48 hours before watering or mowing. This window allows the product to fully absorb into the grass blades and reach the root system, where it does the most good.
Once this period has passed, resume your normal lawn care routine. You should begin to notice greener, more vibrant growth within three to seven days, depending on your soil conditions and the severity of the deficiency.
Following these steps on how to apply liquid iron to lawn can greatly improve the health and appearance of your turf.
Common Mistakes to Avoid
When applying liquid iron to your lawn, there are a few common mistakes that can hinder results or even damage your turf. One major mistake is overapplication; using too much liquid iron can lead to iron burn, resulting in unsightly discoloration of the grass. Always follow the manufacturer’s recommended dosage and avoid the temptation to apply extra, thinking it will speed up results. Another frequent error is applying the product during the hottest part of the day, as high temperatures can cause the liquid to evaporate too quickly, reducing its effectiveness.
Additionally, failing to water the lawn prior to application in dry conditions can create uneven absorption, leading to inconsistent results. Lastly, applying liquid iron on a windy day can lead to overspray on sidewalks, driveways, or nearby plants, potentially causing stains or damage. Avoid these pitfalls to ensure your lawn thrives and achieves that lush, green appearance.

Frequently Asked Questions
Q1: How Often Should You Apply Liquid Iron to Your Lawn?
Most lawns appear to benefit from liquid iron applications two to four times per year, typically in spring and fall when grass is actively growing. The right frequency, however, depends on your soil’s iron levels and grass type. If your soil test shows a significant deficiency, more frequent applications may be needed initially. Once your lawn is in good shape, a maintenance schedule of two applications per year is usually sufficient. Always follow the product label’s recommended intervals to avoid over-application.
Q2: Can Liquid Iron Damage Your Lawn If Applied Incorrectly?
Yes—using too high a concentration, applying during peak heat, or over-spraying a single area can all result in burnt or discolored grass. The good news is that most damage from liquid iron is cosmetic and temporary. Affected grass will typically recover within two to three weeks with proper watering and care. To minimize risk, always dilute the product according to the label, apply during cooler parts of the day, and test a small area first if you’re unsure about the concentration.
Q3: Is Liquid Iron Safe for Pets and Children After Application?
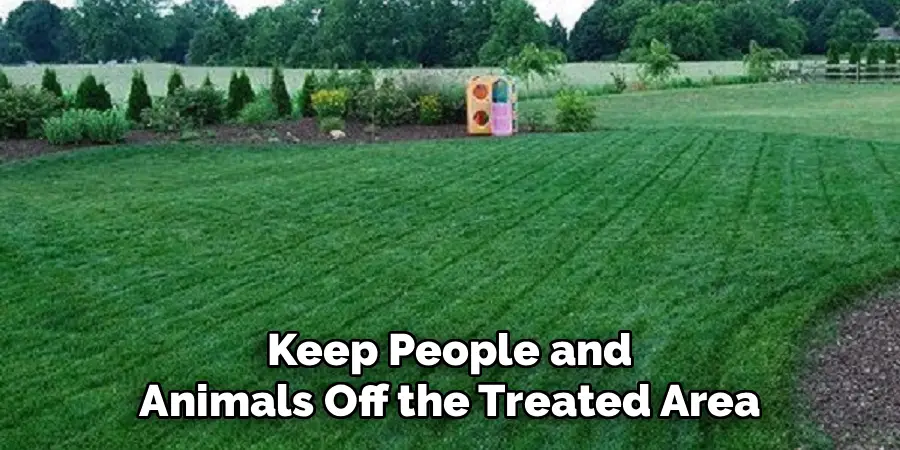
Most liquid iron products are considered safe for pets and children once the treated area has fully dried, which typically takes one to two hours under normal conditions. During application and immediately after, it’s best to keep people and animals off the lawn. Always read the safety guidelines on your specific product’s label, as formulas can vary. Store any unused product in a secure location away from children and pets, and rinse your sprayer thoroughly after use.
Q4: What Safety Precautions Should I Take Before, During, and After Application?
Safety precautions should always be taken when using any type of liquid iron product. Before application, it’s important to read the safety guidelines on the label carefully. This will give you important information on how to handle and apply the product safely.
During application, it’s best to keep people and animals off the treated area until it has fully dried. This usually takes one to two hours under normal conditions. It’s also a good idea to wear protective gear such as gloves and goggles while applying the product.
After application, make sure to store any unused product in a secure location away from children and pets.
Greener Grass Starts Here
Applying liquid iron to your lawn is one of the most rewarding things you can do for your yard. The results are visible, the process is straightforward, and the payoff—a deep, rich green lawn—speaks for itself.
By testing your soil, choosing the right product, and following a consistent application routine, you give your lawn exactly what it needs to thrive. Take it one step at a time, avoid the common mistakes outlined above, and your grass will reward you with the kind of color that makes your neighbors stop and take notice. Thanks for reading this guide on how to apply liquid iron to lawn.

About
Outdoor Fixes is a distinguished figure in the world of Diy design, with a decade of expertise creating innovative and sustainable Diy solutions.
His professional focus lies in merging traditional craftsmanship with modern manufacturing techniques,
fostering designs that are both practical and environmentally conscious. As the author of diy,
outdoorfixes delves into the art and science of outdoorfixes-making, inspiring artisans and industry professionals alike.
Education RMIT University
(Melbourne, Australia) Associate Degree in Design (Outdoor Fixes) Focus on sustainable design, industry-driven projects,
and practical craftsmanship. Gained hands-on experience with traditional and digital manufacturing tools, such as CAD and CNC software.
Nottingham Trent University
(United Kingdom) Bachelor’s in outdoorfixes.com and Product Design (Honors) Specialized in product design with a focus on blending creativity with production
techniques. Participated in industry projects, working with companies like John Lewis and Vitsoe to gain real-world insights.
Publications and Impact
In diy, Outdoor Fixes his insights on indoor design processes, materials, and strategies for efficient production.
His writing bridges the gap between artisan knowledge and modern industry needs, making it a must-read for both budding designers and seasoned professionals.