
A lumpy lawn can be fixed in a weekend with the right approach. Identify what’s causing the unevenness, mow short, aerate, flatten raised areas, apply topdressing in thin layers, overseed bare patches, and monitor recovery. Most DIY projects cost $150–$300; professional leveling runs $500–$3,000.

An uneven lawn is one of those problems that starts small—a bump here, a hollow there—and then one day you realize the whole yard looks like a topographic map. Beyond the aesthetics, there are real practical concerns: water pooling near the foundation, a mower that scalps the high spots while missing the low ones, and kids or pets navigating what’s essentially an obstacle course.
The good news is that most lumpy lawns don’t need to be torn up and restarted. What they need is a clear diagnosis and a methodical fix. This guide on how to fix a lumpy lawn covers both—walking you through the tools, the seven-step process, common mistakes, and what it actually costs, whether you go DIY or hire a professional.
Tools and Materials You’ll Need
- Garden rake
- Shovel or spade
- Topsoil or compost
- Lawn roller (optional)
- Grass seed (if needed)
- Fertilizer (optional)
7 Steps on How to Fix a Lumpy Lawn
Step 1: Figure Out Why the Lawn Is Lumpy
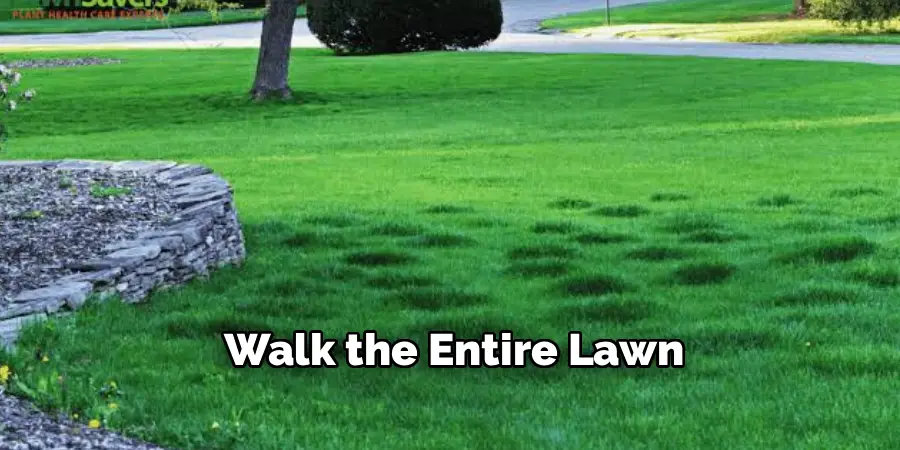
Jumping straight to leveling without understanding the cause is like patching a leak without finding its source. Walk the entire lawn and press down on each raised area. A spongy feel points to thatch buildup. Something solid beneath the bump suggests compacted soil or root growth pushing upward.
Common causes include freeze-thaw cycles, animal burrowing, poor grading when the lawn was first established, tree root expansion, and uneven foot traffic compressing certain spots over time. Knowing what you’re dealing with shapes that actually hold long-term.
Step 2: Mow the Lawn Short Before You Begin
Drop the mower to a lower-than-usual height and cut the entire lawn before touching a single shovel. Short grass gives you a much clearer view of where the highs and lows are, and it allows topdressing material to settle into the soil rather than resting on top of long blades.
One caution: never remove more than a third of the grass blade in a single mowing pass. If your lawn is especially long, do two passes a few days apart, stepping down gradually. Cutting too aggressively stresses the turf and slows recovery.
Step 3: Aerate Before You Do Anything Else
Aeration may be the most underestimated step in this process. A core aerator pulls small plugs of soil from the ground, breaking up compaction and opening channels for water, nutrients, and topdressing to penetrate the root zone. Without it, whatever you spread on the surface largely stays there.
Most garden equipment stores rent core aerators for $60–$90 per day. For smaller areas, a manual spike aerator does the job, though it takes considerably more effort. Pay extra attention to spots where water tends to pond—those areas tend to be the most compacted and benefit most from improved drainage.
Step 4: Flatten Raised Bumps
For areas sitting higher than the surrounding lawn, use a shovel to carefully cut around the raised section and peel back the turf like a flap. Remove the excess soil underneath until the area sits flush with the rest of the yard, then fold the grass back into place and press it down firmly.
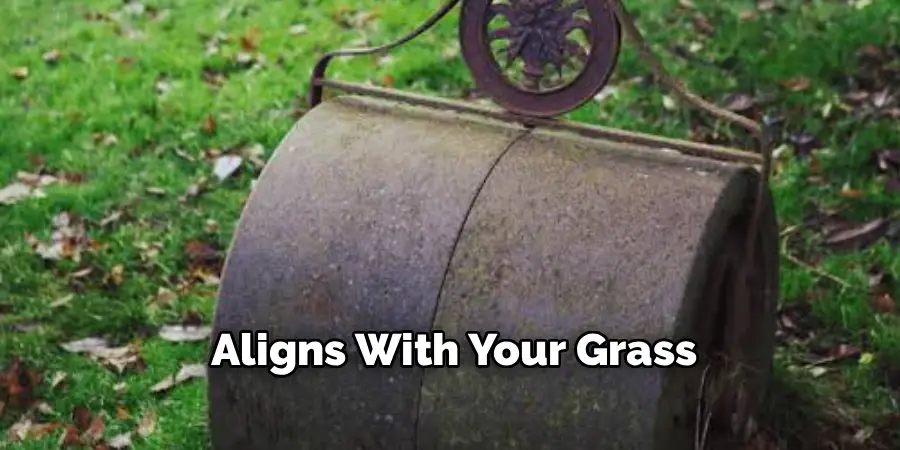
A lawn roller or the back of a spade works well for pressing the roots back into contact with the soil below. Water thoroughly afterward—this helps the turf settle and encourages faster recovery.
Step 5: Fill Low Spots with Topdressing
Sunken areas call for a different approach. A topdressing mix of equal parts sand, topsoil, and compost gives you a blend that drains well and supports healthy growth. Premixed products are also available at most garden centers if you’d prefer to skip the measuring.

Apply in layers no thicker than half an inch at a time, spreading with a rake and working the material down into the grass. Deeper depressions may need three or more applications spaced two to three weeks apart—waiting for the grass to grow through each layer before adding the next. Rushing this step by piling on too much at once can smother the turf rather than level it.
Step 6: Overseed Bare or Thin Areas
Peeling back turf and applying heavy topdressing will likely leave some patches looking sparse. Overseeding fills those gaps before weeds get the opportunity.
Match the seed variety to your existing lawn for a consistent look. Spread evenly, rake lightly to ensure good soil contact, and keep those areas consistently moist for two to three weeks while germination takes place. Stay off newly seeded sections until the grass has established itself—foot traffic at this stage can undo the work quickly.
Step 7: Water, Roll, and Keep Watching
After leveling and seeding, water the entire lawn thoroughly. Run a lawn roller over any sections that still appear uneven to help the soil and turf settle properly. Then, over the following weeks, check in regularly—some settling after the first round of topdressing is normal, and a second application may be needed in a few spots.
Consistent watering and light fertilizing during recovery speeds up regrowth considerably. Most lawns bounce back within four to eight weeks when aftercare is handled well.
Following these steps on how to fix a lumpy lawn will help you achieve a smooth and beautiful lawn that is the envy of your neighbors.
Common Mistakes That Slow Down the Process
Even with the best intentions, certain missteps can hinder the effectiveness of lawn restoration. One common mistake is applying too much topdressing at once, which can smother the grass rather than promote healthy growth. Neglecting to water the lawn consistently after topdressing is another frequent error, as hydration is critical for the soil and grass to recover.
Over-fertilizing can also do more harm than good, potentially burning the grass and delaying regrowth. Additionally, skipping regular checks for uneven settling might allow problem areas to worsen. Avoiding these pitfalls ensures that your lawn recovery process stays on track and yields the best results.
Do You Need a Professional?
For the majority of homeowners, lawn leveling is a manageable weekend project. That said, there are situations where calling in a professional landscaper makes more practical sense.
If water is consistently flowing toward your home’s foundation, surface-level fixes won’t solve the underlying grading problem—professionals have the equipment to properly regrade a yard and install drainage systems where needed. Underground issues like broken irrigation pipes, extensive root networks, or ground subsidence also warrant a professional assessment, since repeatedly patching a recurring problem ends up costing more over time.
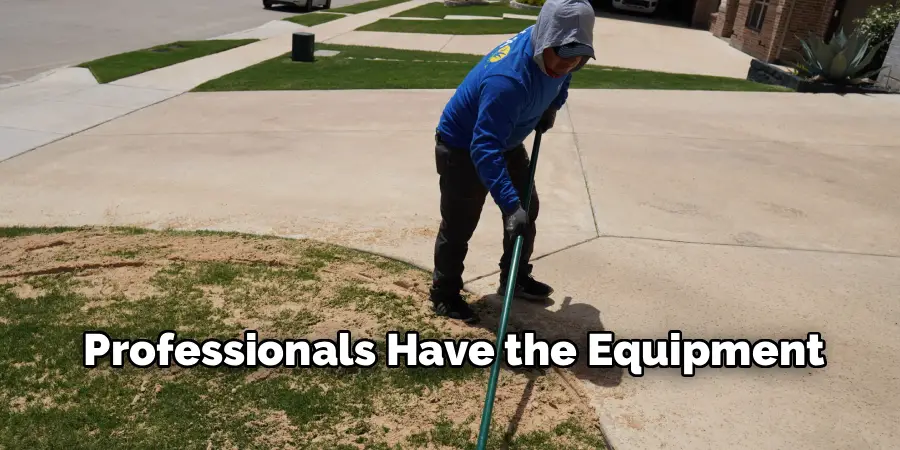
Expect to pay between $500 and $3,000 for professional lawn leveling, depending on yard size and the complexity of the work involved.
How Much Will It Cost to Fix a Lumpy Lawn?
For a typical DIY project on an average-sized yard, the costs break down roughly as follows:
| Item | Estimated Cost |
| Topdressing material | $30–$80 per cubic yard |
| Core aerator rental | $60–$90 per day |
| Lawn roller rental | $40–$70 per day |
| Grass seed | $20–$60 |
| Total DIY estimate | $150–$300 |
Professional leveling on a standard-sized yard typically runs $500–$1,500 for basic work, with more complex regrading or drainage projects reaching $3,000 or higher. Either way, addressing the problem now prevents the more costly damage that chronic water pooling and compaction can cause over time.
Frequently Asked Questions
What Is the Best Time of Year to Fix a Lumpy Lawn?
The ideal time aligns with your grass type’s active growing season. Cool-season grasses like fescue and bluegrass respond best to leveling in spring or early fall. Warm-season grasses like Bermuda and zoysia are better tackled in late spring to early summer. Actively growing grass recovers from disturbance far more quickly and fills in bare patches before they become persistent problem spots.
How Many Topdressing Applications Does It Take to Level a Lawn?
Shallow depressions under an inch can often be corrected in one or two applications. Deeper ones may require three or more treatments spread over several months, with each layer kept to half an inch or less. Patience here pays off—gradual topdressing produces far better long-term results than trying to fix everything in a single pass.
Will My Lawn Fully Recover After Leveling?
With consistent aftercare, most lawns recover completely within four to eight weeks. The key factors are regular watering, light fertilizing, and avoiding heavy foot traffic during that initial recovery window. Overseeding bare areas immediately after leveling also speeds things up considerably by filling thin spots before weeds establish themselves.
How Do I Know If My Lumpy Lawn Needs Professional Help?
If water is pooling near your foundation, if the unevenness keeps returning despite repeated surface fixes, or if underground infrastructure like irrigation pipes may be involved, a professional assessment is likely worth the cost. For straightforward bumps and depressions caused by freeze-thaw cycles or foot traffic, DIY leveling is almost always sufficient.
A Smoother Lawn Is Within Reach
Fixing a lumpy lawn takes a weekend of focused effort—but the result is a yard that’s safer, easier to mow, and genuinely nicer to look at.
Start with a walk around your property this week, note the worst problem areas, and work through the steps on how to fix a lumpy lawn one at a time. Most of the work is straightforward once you know what’s causing the unevenness in the first place.

About
Outdoor Fixes is a distinguished figure in the world of Diy design, with a decade of expertise creating innovative and sustainable Diy solutions.
His professional focus lies in merging traditional craftsmanship with modern manufacturing techniques,
fostering designs that are both practical and environmentally conscious. As the author of diy,
outdoorfixes delves into the art and science of outdoorfixes-making, inspiring artisans and industry professionals alike.
Education RMIT University
(Melbourne, Australia) Associate Degree in Design (Outdoor Fixes) Focus on sustainable design, industry-driven projects,
and practical craftsmanship. Gained hands-on experience with traditional and digital manufacturing tools, such as CAD and CNC software.
Nottingham Trent University
(United Kingdom) Bachelor’s in outdoorfixes.com and Product Design (Honors) Specialized in product design with a focus on blending creativity with production
techniques. Participated in industry projects, working with companies like John Lewis and Vitsoe to gain real-world insights.
Publications and Impact
In diy, Outdoor Fixes his insights on indoor design processes, materials, and strategies for efficient production.
His writing bridges the gap between artisan knowledge and modern industry needs, making it a must-read for both budding designers and seasoned professionals.