
Heat stress turns grass yellow or brown, but it doesn’t always mean it’s dead. Deep watering, raised mowing height, aeration, and targeted reseeding can restore most heat-stressed lawns within six to twelve weeks, depending on the severity of damage and consistency of care.
A scorching summer can undo months of careful lawn maintenance in a matter of weeks. One dry spell too many, and suddenly you’re staring at patches of yellowed, brittle grass that bear little resemblance to the lawn you were proud of in spring. Heat stress is easily misread—many homeowners assume the worst when, more often than not, the grass is simply dormant.
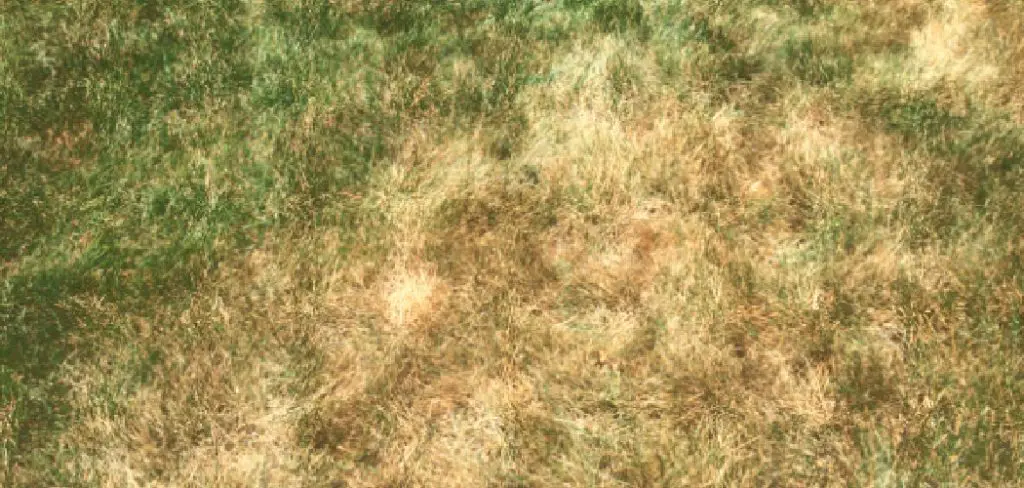
The distinction matters. A dormant lawn can recover. A dead one needs reseeding. Knowing which situation you’re dealing with changes everything about how you respond.
This guide on how to fix heat stressed lawn walks through a practical, seven-step recovery plan—from initial damage assessment to long-term maintenance—so you can bring your lawn back without throwing money at the wrong solutions.
Tools and Materials You’ll Need
Before diving in, gather the following:
- Garden hose or sprinkler system – for deep, consistent watering
- Lawn mower – set to a higher cutting height
- Rake – to clear dead grass and debris
- Aerator – manual or mechanical, to break up compacted soil
- Fertilizer – slow-release, balanced formula (NPK ratio of 10-10-10 or similar)
- Grass seed – matched to your existing lawn variety
- Mulch or straw – to retain moisture over bare patches
- Soil moisture meter – to track hydration without guessing
- pH testing kit – to check soil health before applying any fertilizer
Having everything ready before you start avoids mid-project delays and keeps the recovery process moving.
7 Simple Steps on How to Fix Heat Stressed Lawn
Step 1: Identify the Extent of the Damage
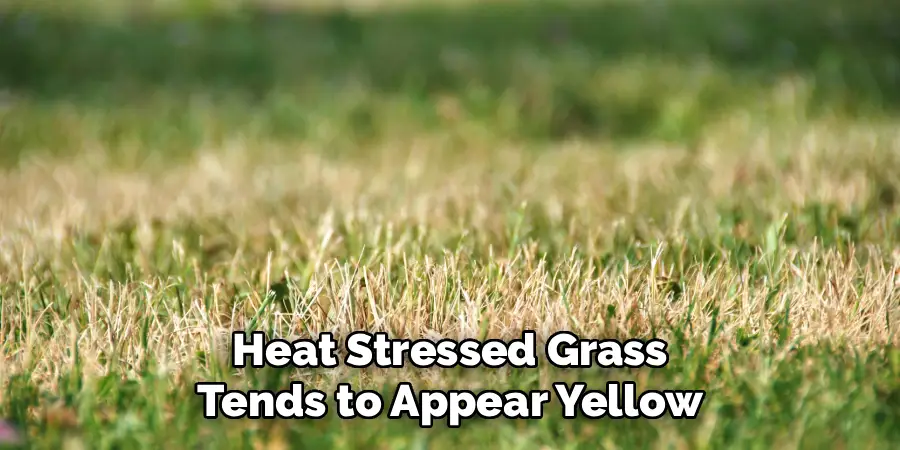
Walk the full perimeter of your lawn before doing anything else. Heat stressed grass tends to appear yellow or brown, feel brittle underfoot, and develop uneven patches—often concentrated in areas with the most sun exposure or poor drainage.
Here’s the most useful test: pull a small clump of grass from the soil. White, intact roots point to dormancy—the grass is alive, just shut down. Black or mushy roots are a different story. Those sections have died and will need reseeding.
Mapping out the damage early helps you allocate your time and supplies where they’re actually needed.
Step 2: Water Deeply and Consistently
Frequent, shallow watering feels productive but does little for a stressed lawn. Roots follow the water, and if moisture only reaches the top inch of soil, roots stay shallow—making the grass increasingly vulnerable to heat.
Aim for around one inch of water per session, two to three times per week. Early morning is the best window, ideally before 10 a.m., when evaporation is low and the grass has time to dry before evening. Wet grass sitting overnight can invite fungal problems, which is the last thing you need on top of heat damage.
If you notice water pooling on the surface rather than absorbing, pause and let it soak in before continuing. A soil moisture meter takes the guesswork out of this entirely.
Step 3: Raise Your Mowing Height
Cutting stressed grass short compounds the problem. Taller blades shade the soil beneath them, slowing moisture evaporation and keeping ground temperatures lower—two things your lawn desperately needs right now.
Set the mower to its highest position, typically three to four inches, and leave it there until recovery is well underway. While you’re at it, check your blade sharpness. Dull blades tear rather than cut, leaving ragged edges that dry out faster and invite disease. If you haven’t sharpened them this season, do it now.
Step 4: Aerate the Soil
Compacted soil is a quiet enemy. Water poured onto a compacted lawn tends to run off rather than penetrate, which means the roots stay dry even when you’re watering regularly.
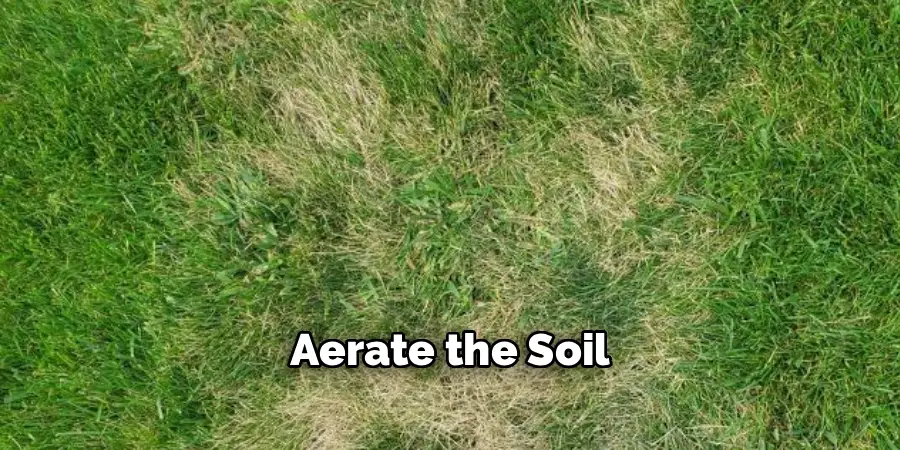
Core aeration removes small plugs of soil across the lawn, opening up channels for water, oxygen, and nutrients to reach the root zone. For best results, aerate when the soil is lightly moist—not bone dry and not waterlogged. If your lawn sits on heavy clay, two aeration passes per season may be warranted during recovery.
Leave the soil plugs where they fall. They’ll break down on their own and return organic matter to the lawn, which is a net positive.
Step 5: Fertilize Strategically
There’s a temptation to throw fertilizer at a struggling lawn in hopes of speeding up recovery. Resist it. High-nitrogen products applied during peak heat can chemically burn weakened grass, making the situation measurably worse.
Wait until temperatures consistently drop below 85°F before fertilizing. When you do apply, opt for a slow-release, balanced formula at half the recommended rate. If you’re unsure what your soil actually needs, a basic soil test will tell you—and it’s cheap enough that skipping it rarely makes sense.
Step 6: Reseed Bare and Thin Patches
Once aeration and fertilizing are done, turn your attention to the areas that didn’t survive. Match your grass seed variety to what’s already growing—mixing incompatible types creates a patchy, inconsistent result that’s difficult to fix later.
For cool-season varieties like tall fescue, northern lawns respond well. Warm-season grasses such as Bermuda or Zoysia are better suited to hotter, more southerly climates. Spread seed evenly over bare patches, rake it lightly into the soil, and cover with a thin layer of straw or mulch to hold moisture and deter birds.
Keep reseeded areas consistently moist until new growth reaches at least two inches. Germination typically takes seven to twenty-one days, depending on the grass type and ambient conditions.
Step 7: Monitor and Maintain
Green shoots reappearing are a good sign—but it’s not the finish line. Continue monitoring soil moisture, maintain the higher mowing height, and limit foot traffic on recovering sections for several more weeks.
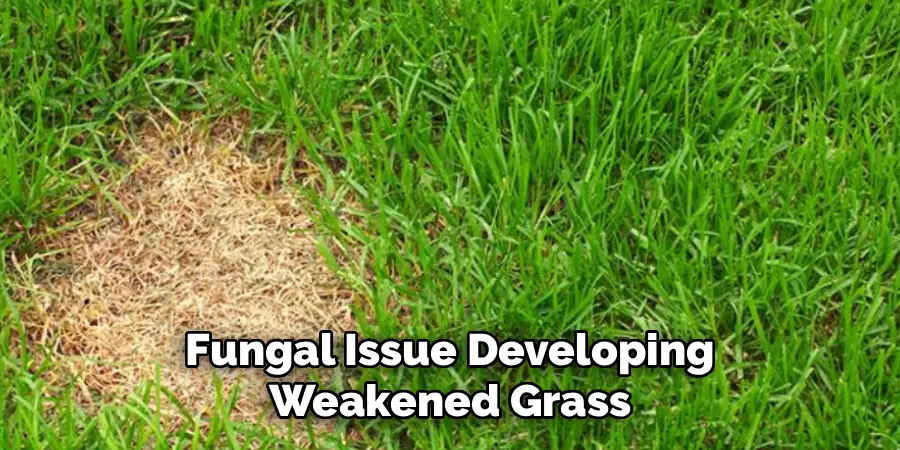
Watch for unusual discoloration, yellow rings, or slimy patches. These may suggest a fungal issue developing in the wake of weakened grass, and catching it early makes treatment far more straightforward.
Following these steps on how to fix heat stressed lawn is essential, but it’s just the beginning. Keeping your lawn healthy and thriving requires ongoing maintenance and attention.
Do You Need to Use Professionals?
For most homeowners, this is a manageable DIY project. That said, certain situations push it beyond what standard household tools can handle.
If more than half your lawn has died outright—not gone dormant—full restoration may call for commercial-grade equipment and expertise. The same applies if your lawn shows signs of pest infestation, underlying disease, or severe soil degradation. A professional can diagnose these issues accurately, whereas a general recovery routine may only mask them temporarily.
Lawn care professionals also have access to overseeding equipment and soil amendments that cover ground more evenly and with less effort. If you’ve followed a consistent recovery routine for several weeks and seen little improvement, a professional assessment is worth the cost before you invest further.
How Much Will It Cost?
DIY recovery typically runs between $50 and $200 in supplies—fertilizer, grass seed, mulch, and any tools you don’t already own. More severe cases, or lawns with significant bare patches requiring full reseeding, push closer to the top of that range.
Professional lawn restoration services generally fall between $200 and $1,000 or more, depending on yard size and the scope of work. Full renovation—aeration, overseeding, soil treatment—sits at the higher end.
Catching heat stress at the dormancy stage, before widespread grass death sets in, is consistently cheaper than dealing with the aftermath.
Frequently Asked Questions
How Long Does It Take for a Heat Stressed Lawn to Recover?
A dormant lawn can begin showing visible improvement within two to four weeks of consistent care. Full recovery—including regreened turf and established reseeded patches—typically takes six to twelve weeks. Cooler temperatures in late summer or fall tend to accelerate the process.
How Can I Tell If My Lawn Is Dormant or Dead?
The tug test is the most reliable method. Grab a handful of grass and pull firmly. Dormant grass resists, anchored by a healthy root system. Dead grass lifts out with little effort. Root color offers a secondary indicator—white or tan suggests dormancy, while black or mushy roots mean the grass has died.
What Is the Best Time of Year to Reseed a Heat Stressed Lawn?
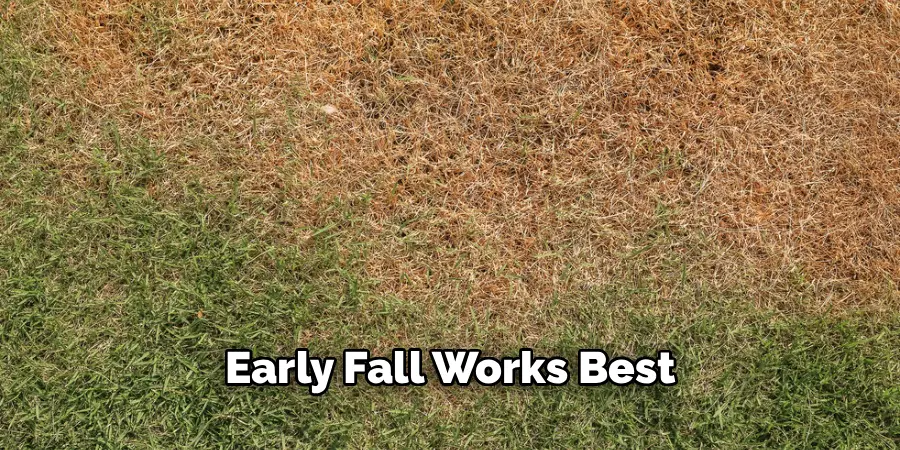
Early fall works best for cool-season grasses. Cooler temperatures and more reliable rainfall create good germination conditions. For warm-season varieties, late spring to early summer is preferable, when soil temperatures consistently stay above 65°F. Reseeding during peak summer heat is generally counterproductive—new seed struggles to establish under those conditions.
Is It Safe to Fertilize a Lawn That’s Already Heat Stressed?
Only once temperatures drop below 85°F, and even then, use a slow-release product at half the standard rate. Fertilizing during peak heat can chemically burn weakened grass roots, which delays recovery rather than supporting it.
Your Lawn Can Come Back Stronger
Heat stress looks alarming, especially when the damage spreads quickly. Most lawns, though, are more resilient than they appear. Consistent deep watering, careful mowing, aeration, and targeted reseeding give stressed grass the conditions it needs to recover—often more fully than expected.
Start with the worst-affected areas, follow through on each step, and give the process the time it requires. Come fall, you may find your lawn has bounced back stronger than it was before the heat set in. Thanks for reading this guide on how to fix heat stressed lawn.

About
Outdoor Fixes is a distinguished figure in the world of Diy design, with a decade of expertise creating innovative and sustainable Diy solutions.
His professional focus lies in merging traditional craftsmanship with modern manufacturing techniques,
fostering designs that are both practical and environmentally conscious. As the author of diy,
outdoorfixes delves into the art and science of outdoorfixes-making, inspiring artisans and industry professionals alike.
Education RMIT University
(Melbourne, Australia) Associate Degree in Design (Outdoor Fixes) Focus on sustainable design, industry-driven projects,
and practical craftsmanship. Gained hands-on experience with traditional and digital manufacturing tools, such as CAD and CNC software.
Nottingham Trent University
(United Kingdom) Bachelor’s in outdoorfixes.com and Product Design (Honors) Specialized in product design with a focus on blending creativity with production
techniques. Participated in industry projects, working with companies like John Lewis and Vitsoe to gain real-world insights.
Publications and Impact
In diy, Outdoor Fixes his insights on indoor design processes, materials, and strategies for efficient production.
His writing bridges the gap between artisan knowledge and modern industry needs, making it a must-read for both budding designers and seasoned professionals.