
A spongy lawn feels soft and bouncy underfoot—almost like walking on a wet sponge. While it might seem harmless at first, that mushy texture is usually a sign of deeper problems lurking beneath the surface, including waterlogging, thatch buildup, or soil compaction. Left untreated, a spongy lawn can lead to patchy grass, root rot, and a yard that’s difficult to mow or use.
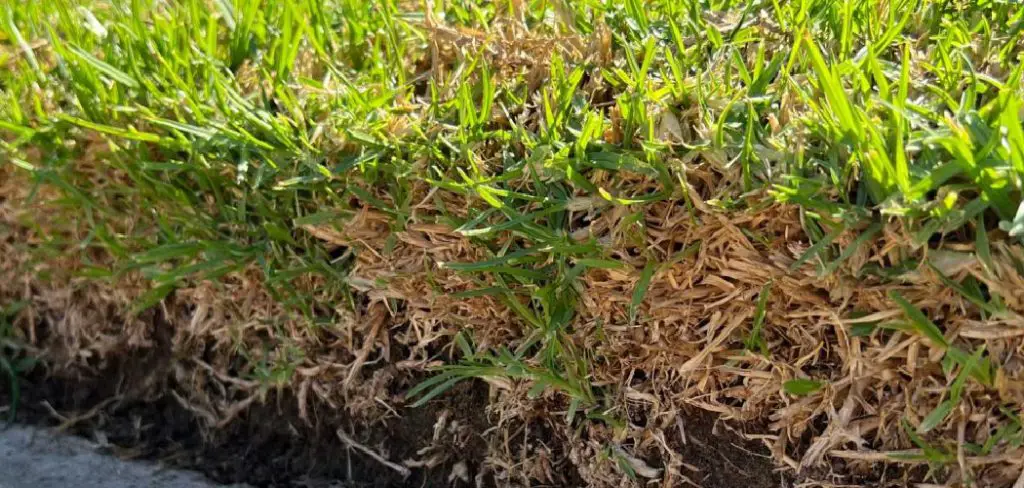
The good news? Fixing a spongy lawn is entirely doable without hiring a professional. With the right tools, a bit of patience, and a clear plan, you can restore your lawn to a firm, healthy, and lush state. This guide on how to fix spongy lawn walks you through everything you need to know—from the tools and materials required to the exact steps you should follow.
Tools and Materials You’ll Need
Before you get started, gather the following:
- Lawn aerator (manual or motorized)
- Dethatching rake or scarifier
- Garden fork
- Topdressing mix (sand, compost, and topsoil blend)
- Lawn spreader
- Grass seed (matching your existing lawn type)
- Fertilizer (slow-release, balanced NPK)
- Watering can or hose with a spray attachment
- Wheelbarrow
- Gloves and knee pads
Having these items on hand before you begin will save time and keep the process running smoothly.
7 Simple Step-by-step Guidelines on How to Fix Spongy Lawn
Step 1: Identify the Root Cause of the Sponginess
Before jumping into repairs, take a moment to diagnose the problem. Press your foot firmly into the lawn and observe what happens. Water seeping up around your shoe? You likely have a drainage issue. A thick, fibrous feel underfoot may suggest thatch buildup instead. In some cases, poor soil composition or excessive moss growth can also create that spongy texture—though these tend to be secondary contributors rather than the primary cause.
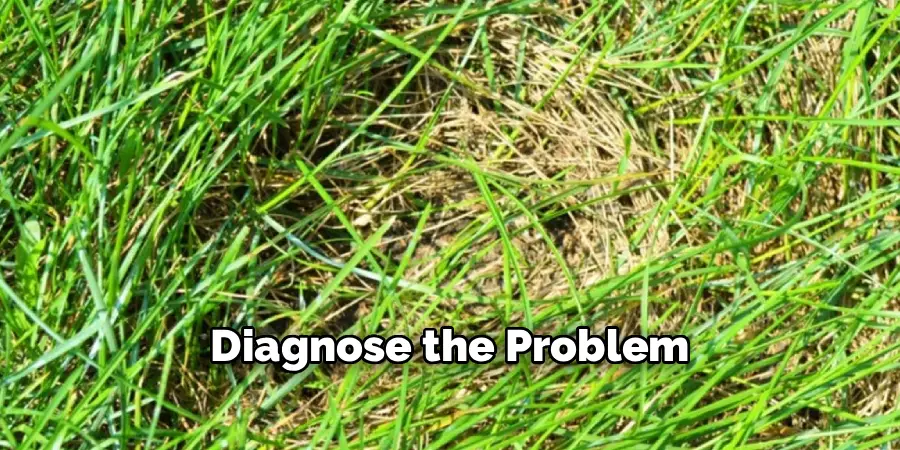
Walk across different areas of your lawn to gauge how widespread the issue is. Isolated soft patches may point to localized drainage problems, while a uniformly soft surface usually indicates something more systemic. Identifying the cause upfront ensures you’re applying the right solution, not wasting a weekend on the wrong fix.
Step 2: Remove Thatch from the Surface
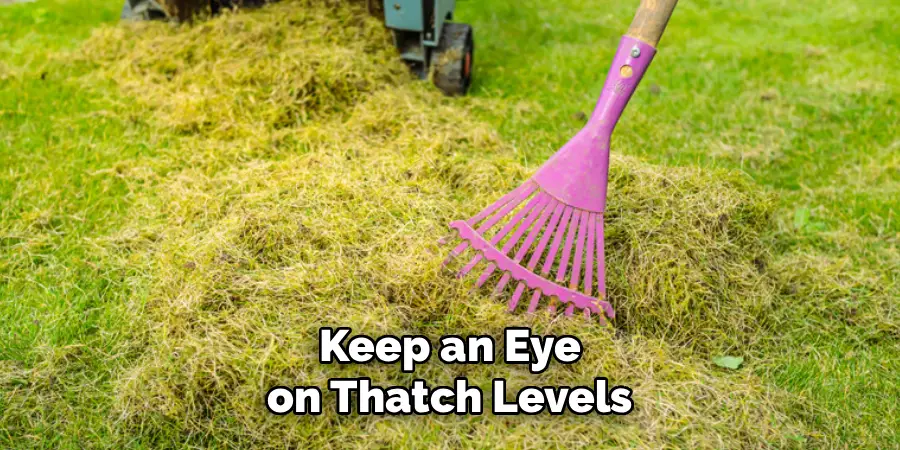
Thatch is the layer of dead grass, roots, and organic debris that accumulates between the soil and the green grass blades. A thin layer—under half an inch—is actually beneficial. Anything thicker starts to block water, air, and nutrients from reaching the roots.
Use a dethatching rake or scarifier to comb aggressively through the lawn and pull up this compacted layer. Work in parallel rows across the entire area, then collect and dispose of the debris. For larger lawns, a motorized scarifier will save considerable time. Once finished, your lawn may look a little rough—patchy, even. That’s completely expected and not a cause for concern.
Step 3: Aerate the Soil
Compacted soil prevents water from draining properly, which appears to be one of the more common underlying causes of persistent sponginess. Aeration creates small holes throughout the lawn to loosen the soil and improve both drainage and airflow.
A core aerator—which pulls out small plugs of soil—is far more effective than a spike aerator, which simply pushes soil aside and can worsen compaction over time. Work across the lawn in two overlapping passes, one horizontal and one vertical, for thorough coverage. Leave the extracted soil plugs on the surface. They’ll break down naturally over the following weeks and actually help improve soil structure. Once a year is generally sufficient, ideally timed during the growing season.
Step 4: Apply a Topdressing Mix
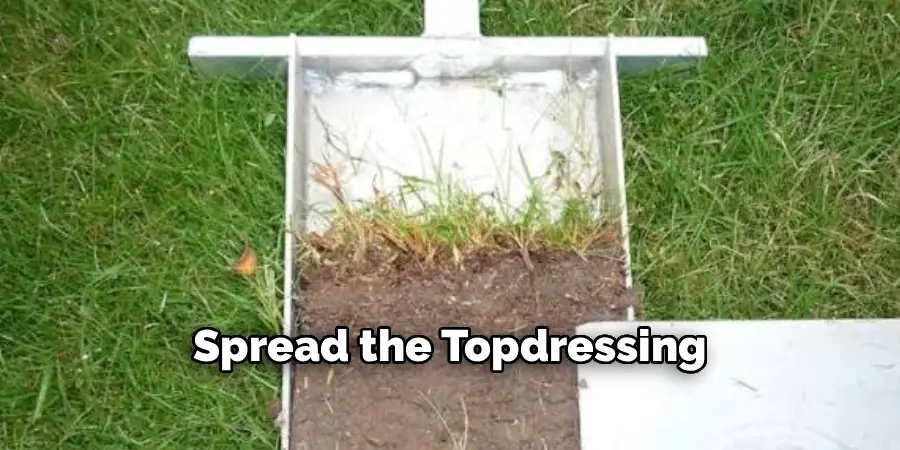
After aerating, apply a topdressing blend of sand, compost, and topsoil across the surface of the lawn. This mixture improves drainage, adds nutrients, and helps level out any uneven areas where water may have been pooling.
Spread the topdressing evenly using a lawn spreader or the back of a rake, working it into the aeration holes and across the surface. Aim for a layer roughly a quarter of an inch thick—enough to be effective without smothering the existing grass. Doing this immediately after aeration gives the material the best chance of working its way deeper into the soil.
Step 5: Improve Lawn Drainage
If poor drainage is the primary issue, surface-level fixes alone won’t cut it. Start by identifying low-lying areas where water tends to collect and fill them in with a topdressing mix or additional topsoil.
For more persistent problems, consider installing a French drain or a series of drainage channels around the perimeter of the affected area. These systems redirect excess water away from the lawn and prevent it from saturating the soil repeatedly. Planting moisture-absorbing ground covers or shrubs around the edges of your yard could also help draw excess water away—a slower solution, but a surprisingly effective one over time.
Step 6: Overseed and Fertilize
Once you’ve addressed the underlying issues, the focus shifts to encouraging new, healthy growth. Spread grass seed over the entire lawn, paying extra attention to any thin or bare patches. Match the seed variety to your existing grass type for a uniform look.
Follow up with a slow-release, balanced fertilizer to give the new grass the nutrients it needs to establish strong roots. Water the lawn gently but consistently over the following weeks, keeping the soil moist without oversaturating it. Within two to three weeks, fresh growth should start filling in the problem areas.
Step 7: Monitor and Maintain Regularly
Fixing a spongy lawn is not a one-time project. Without a consistent maintenance routine, the same conditions that caused the problem in the first place tend to creep back.
Set a regular schedule that includes mowing at the correct height, watering deeply but infrequently, and aerating at least once a year. Keep an eye on thatch levels throughout the growing season and dethatch as needed. If soft spots begin developing again, address them early—before they spread. Staying on top of maintenance is considerably easier and cheaper than facing a full-scale lawn repair every few seasons.
Following these steps on how to fix spongy lawn can help you achieve a healthy and lush lawn. However, prevention is always better than a cure.
Do You Need to Use Professionals?
In many cases, fixing a spongy lawn is a manageable DIY project. That said, there are situations where calling in a professional is the more pragmatic choice.
If your lawn has severe, widespread drainage issues that don’t respond to aeration and topdressing, a landscaping professional can assess whether underground drainage systems are necessary. Professionals also have access to commercial-grade equipment that handles large or heavily compacted lawns far more efficiently than consumer tools. If you’ve worked through the steps above and the problem persists after two growing seasons, a soil analysis from a lawn care specialist could reveal issues that are difficult to spot from the surface alone. The added cost is often worth it when the alternative is repeated frustration and failed attempts.
How Much Will It Cost?
Costs vary depending on the size of your yard and how severe the problem is. For a small to medium-sized lawn, a full DIY repair—covering tools, topdressing, seed, and fertilizer—typically runs between $150 and $400.
Renting a motorized aerator or scarifier can cost between $50 and $100 per day, which is well worth it for larger spaces. Hiring a professional lawn care service generally runs between $500 and $2,000 or more, depending on the scope of work and your location. Installing drainage systems will push costs higher—sometimes exceeding $3,000 for a full French drain installation. Getting a few quotes from local landscapers before committing can help you find competitive pricing.
Frequently Asked Questions
Why Does My Lawn Feel Spongy After Rain?
After heavy rainfall, water saturates the soil and can temporarily create a soft, spongy feel underfoot. If the feeling persists for more than a day or two after the rain stops, it may suggest your lawn has poor drainage, excessive thatch, or compacted soil that’s preventing water from moving through naturally. Addressing those underlying issues should prevent the problem from recurring every time it rains.
How Long Does It Take to Fix a Spongy Lawn?
The timeline depends on the severity of the problem and how consistently you follow through with the repair steps. Most homeowners start to see noticeable improvement within four to six weeks of completing aeration, topdressing, and overseeding. Full recovery—including a firm, even surface and dense grass coverage—can take one to two full growing seasons, particularly for lawns with significant compaction or drainage issues.
Can Moss Cause a Spongy Lawn?
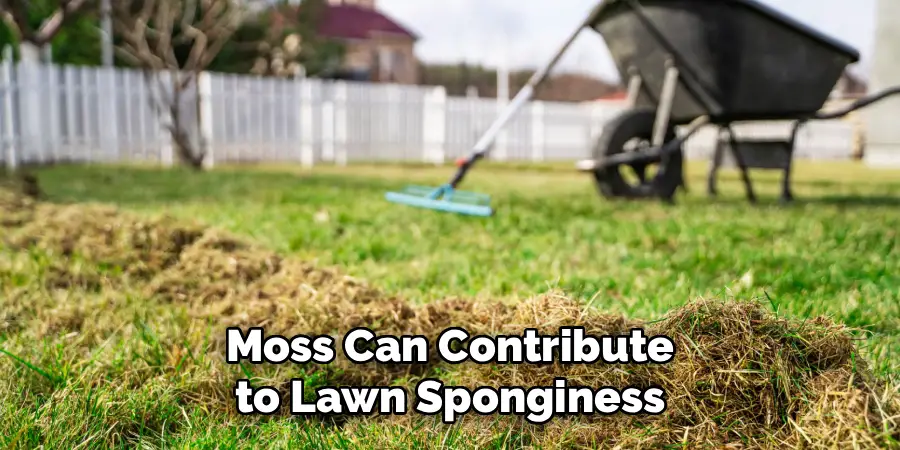
Yes, moss can contribute to lawn sponginess. It retains moisture and tends to thrive in shady, damp, or acidic conditions. As it spreads, it displaces healthy grass and creates a thick, wet mat on the soil surface. To address moss-related sponginess, apply a moss killer, improve sunlight access where possible, and test your soil’s pH level. If the soil is too acidic, applying lime can help restore the right balance for healthy grass growth.
Restore Your Lawn to Its Best
A spongy lawn is fixable with the right approach and a little consistent effort. By identifying the root cause, dethatching, aerating, improving drainage, and committing to a regular care schedule, you can transform a soft, waterlogged lawn into a firm, healthy outdoor space you’re proud to use.
Start with the steps on how to fix spongy lawn outlined above, and take it one step at a time. Small, deliberate actions compound into lasting results—and your lawn will thank you for it.

About
Outdoor Fixes is a distinguished figure in the world of Diy design, with a decade of expertise creating innovative and sustainable Diy solutions.
His professional focus lies in merging traditional craftsmanship with modern manufacturing techniques,
fostering designs that are both practical and environmentally conscious. As the author of diy,
outdoorfixes delves into the art and science of outdoorfixes-making, inspiring artisans and industry professionals alike.
Education RMIT University
(Melbourne, Australia) Associate Degree in Design (Outdoor Fixes) Focus on sustainable design, industry-driven projects,
and practical craftsmanship. Gained hands-on experience with traditional and digital manufacturing tools, such as CAD and CNC software.
Nottingham Trent University
(United Kingdom) Bachelor’s in outdoorfixes.com and Product Design (Honors) Specialized in product design with a focus on blending creativity with production
techniques. Participated in industry projects, working with companies like John Lewis and Vitsoe to gain real-world insights.
Publications and Impact
In diy, Outdoor Fixes his insights on indoor design processes, materials, and strategies for efficient production.
His writing bridges the gap between artisan knowledge and modern industry needs, making it a must-read for both budding designers and seasoned professionals.