
Starting a garden sounds straightforward—until you realize your soil might be working against you. Compacted, contaminated, or debris-filled soil can stifle plant growth before it even begins. The good news? Cleaning your soil is something any gardener can tackle at home with the right tools and a little patience.
This guide walks you through everything you need to know about how to clean soil for planting. From the materials you’ll need to the step-by-step process and common pitfalls to avoid, you’ll have your soil garden-ready in no time.
Tools and Materials You’ll Need
Before getting started, gather the following supplies:
- Garden fork or spade – For breaking up and turning the soil
- Soil sieve or mesh screen – To filter out rocks, roots, and debris
- Wheelbarrow or large container – For holding soil as you work
- Garden gloves – To protect your hands
- pH testing kit – To check soil acidity and alkalinity
- Compost or organic matter – For enriching the soil after cleaning
- Trowel – For smaller, more precise digging tasks
- Water source – A hose or watering can for rinsing and hydrating the soil
- Soil thermometer (optional) – Useful if you’re planting temperature-sensitive crops
Having everything on hand before you start saves time and keeps the process running smoothly.
7 Simple Step-By-Step Guidelines on How to Clean Soil for Planting
Step 1: Remove Large Debris From the Surface
Begin by clearing your planting area of any visible debris—fallen leaves, sticks, rocks, old mulch, and plant material left over from a previous growing season.
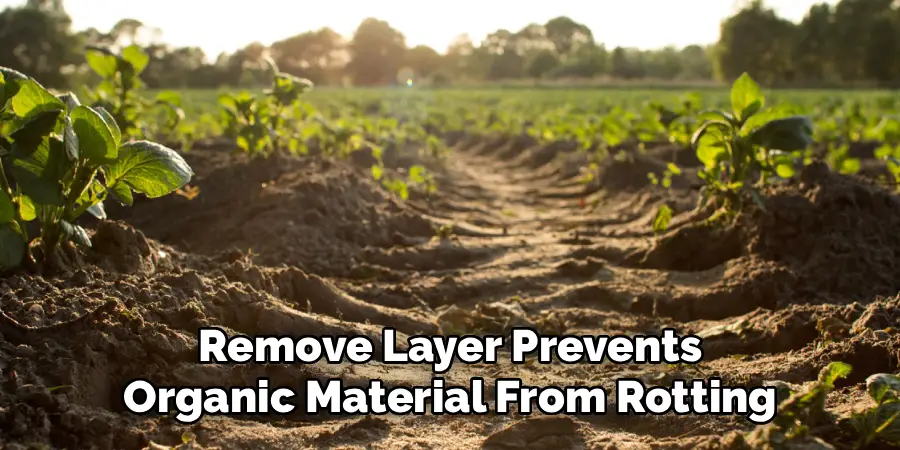
Use a garden rake to sweep the surface thoroughly. Removing this layer prevents organic material from rotting in the wrong place and blocking healthy root development. If you’re working in a raised bed or container, tip the soil into a wheelbarrow so you can work through it more easily.
Step 2: Break Up Compacted Soil Clumps
Compacted soil suffocates roots by restricting airflow and water movement. Once the surface is clear, push a garden fork deep into the soil—about 10 to 12 inches—and rock it back and forth to loosen the ground.
Work in rows across the entire planting area, overlapping slightly as you go. Breaking up dense clumps creates the loose, airy texture that plant roots need to spread and anchor themselves properly. It also makes sieving considerably easier in the next phase.
Step 3: Sieve the Soil to Remove Rocks and Root Fragments
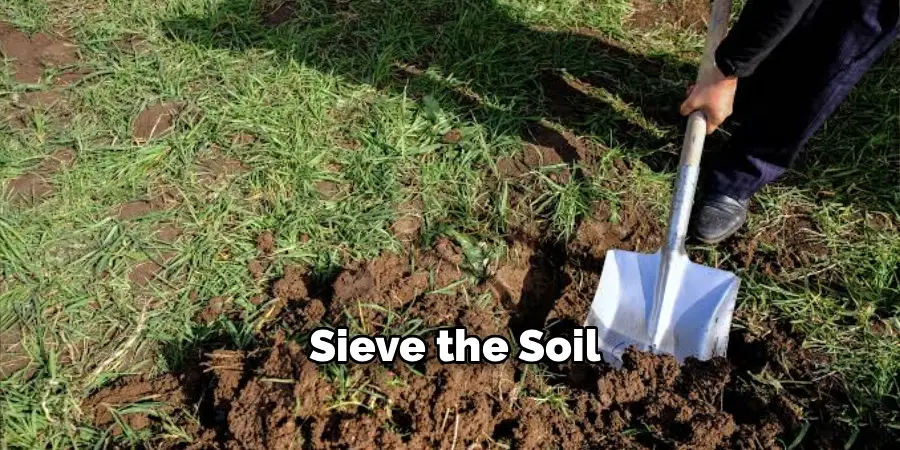
Place a soil sieve or mesh screen over your wheelbarrow and scoop soil through it in batches. This process separates unwanted material—pebbles, old roots, clumped debris, and even weed seeds—from the usable soil.
Fine, sieved soil holds moisture more evenly and gives seedlings a far better chance of establishing themselves. Don’t rush this step. Taking the time to sieve properly now means fewer obstacles for your plants as they grow. Dispose of the filtered waste in a compost bin or yard waste bag.
Step 4: Check and Adjust the Soil pH
Soil pH has a major impact on how well plants absorb nutrients. Most vegetables and flowers appear to thrive in a slightly acidic to neutral pH range of 6.0 to 7.0. Use an at-home pH testing kit—available at most garden centers—to measure your soil’s current level.
If your soil reads below 6.0, mixing in ground limestone may help raise the pH. If it’s above 7.5, sulfur or peat moss could bring it back toward neutral. Always follow the product instructions for application rates. Adding too much can swing the pH in the wrong direction entirely, which creates a different set of problems.
Step 5: Treat the Soil for Pests and Pathogens
Soil can harbor harmful fungi, bacteria, and pests that damage or kill young plants. One effective method to address this is solarization—a natural approach that uses heat from the sun to eliminate soil-borne problems.
After moistening the soil, cover it tightly with a clear plastic sheet and leave it in place for four to six weeks during the warmest part of the year. The trapped heat raises soil temperature high enough to kill off many pathogens and weed seeds. For faster results, or where contamination appears more severe, a biological fungicide or neem-oil-based treatment can also be worked into the soil.
Step 6: Add Organic Matter and Compost
Clean soil alone isn’t enough. Nutrient-rich soil is what plants truly need to thrive. Once your soil has been sieved and treated, mix in a generous layer of compost, aged manure, or other organic matter.
Aim to incorporate about two to four inches of compost into the top 8 to 10 inches of soil. This improves drainage in heavy clay soils, increases water retention in sandy soils, and introduces beneficial microorganisms that support healthy plant growth. Work the compost in evenly using your garden fork to ensure consistent distribution throughout the planting zone.
Step 7: Let the Soil Rest Before Planting
After all that work, your soil needs time to settle and stabilize. Allow it to rest for at least one to two weeks before adding seeds or transplants.
During this period, water it lightly every few days to help the organic matter integrate and encourage beneficial microbial activity to establish itself. This resting phase also gives any remaining weed seeds a chance to germinate—so you can remove them before they compete with your plants. After resting, give the surface a light rake, and your soil is ready for planting.
Following these steps on how to clean soil for planting, you can ensure a healthy and productive garden. But aside from preparing the soil, there are other important factors to consider for successful planting.
Common Mistakes to Avoid
Cleaning soil isn’t complicated, but a few missteps can undermine your efforts. Watch out for these:
- Skipping the pH test – Planting in soil with the wrong pH leads to nutrient deficiencies, even in otherwise healthy soil.
- Over-tilling – Excessive digging destroys the natural soil structure and harms beneficial organisms living within it.
- Adding uncomposted material – Fresh organic matter like raw kitchen scraps can introduce pests and disrupt the soil’s nitrogen balance.
- Ignoring drainage – If water pools after rain, your soil may need additional organic matter or raised-bed adjustments to prevent root rot.
- Planting too soon after treatment – Rushing past the resting phase can expose young plants to residual stress or unstable soil conditions.
How Much Will It Cost?
Cleaning soil for planting is one of the more affordable garden tasks, especially if you already own basic tools. Here’s a rough breakdown of what you might spend:
- Soil sieve: $15–$40 depending on size and mesh quality
- pH testing kit: $10–$25 for a reliable home kit; digital meters run $30–$60
- Compost or bagged organic matter: $10–$30 per bag, depending on brand and volume
- Soil treatments (lime, sulfur, or neem oil): $8–$20 per application
- Plastic sheeting for solarization: $10–$20 for a standard roll
A first-time soil cleaning setup typically costs somewhere between $50 and $150. If you’re reusing tools from a previous season, recurring costs drop significantly—mainly compost and any amendments your pH test indicates are needed. For gardeners working with larger plots, buying compost in bulk or starting your own compost bin can reduce long-term costs considerably.
Frequently Asked Questions
How Often Should You Clean Soil Before Planting?
Cleaning your soil at least once a year—ideally at the start of each growing season—is considered best practice by most experienced gardeners. If you grow the same crops in the same spot repeatedly, annual cleaning may help prevent the buildup of disease, pests, and nutrient imbalances. Gardens that rotate crops may need less intensive cleaning, but a basic inspection and amendment refresh is always worthwhile.
Can You Clean Contaminated or Chemically Treated Soil at Home?
Mildly contaminated soil—such as soil that has had pesticide or fertilizer residue—can sometimes be improved through repeated watering, compost addition, and solarization. However, heavily contaminated soil, such as soil exposed to industrial chemicals, heavy metals, or sewage, typically requires professional testing and remediation. If you suspect serious contamination, have the soil tested by a certified lab before attempting to plant in it.
What Is the Difference Between Cleaning Soil and Sterilizing Soil?
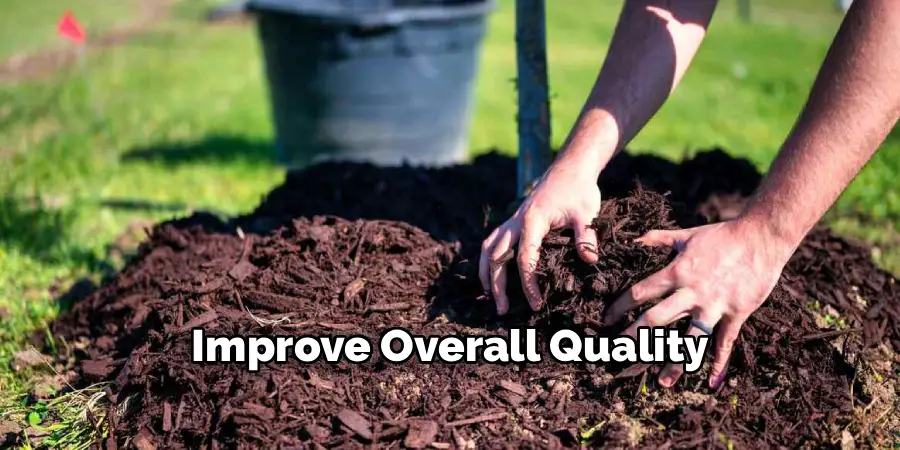
Cleaning soil refers to the physical and biological process of removing debris, adjusting pH, and improving overall quality for planting. Sterilizing soil, on the other hand, involves killing all microorganisms—both harmful and beneficial—through heat or chemical treatment. Sterilized soil is typically used for seed starting or propagation, where a pathogen-free environment appears critical. For general garden beds, cleaning is preferred over sterilization, as beneficial microbes are essential to long-term soil health.
Your Soil Is Ready—Now Let It Work for You
Healthy plants begin with healthy soil. By taking the time to clean, test, and amend your soil before planting, you set the stage for a more productive and resilient garden. The seven steps on how to clean soil for planting outlined here aren’t just chores—they’re an investment in every seed and seedling that follows.
Start with what you have, move through the steps at your own pace, and don’t be discouraged if your soil needs significant work. Even the most depleted soil can be rehabilitated with consistent care. Clean soil isn’t a one-time task; it’s an ongoing relationship between you and the ground beneath your garden.

About
Outdoor Fixes is a distinguished figure in the world of Diy design, with a decade of expertise creating innovative and sustainable Diy solutions.
His professional focus lies in merging traditional craftsmanship with modern manufacturing techniques,
fostering designs that are both practical and environmentally conscious. As the author of diy,
outdoorfixes delves into the art and science of outdoorfixes-making, inspiring artisans and industry professionals alike.
Education RMIT University
(Melbourne, Australia) Associate Degree in Design (Outdoor Fixes) Focus on sustainable design, industry-driven projects,
and practical craftsmanship. Gained hands-on experience with traditional and digital manufacturing tools, such as CAD and CNC software.
Nottingham Trent University
(United Kingdom) Bachelor’s in outdoorfixes.com and Product Design (Honors) Specialized in product design with a focus on blending creativity with production
techniques. Participated in industry projects, working with companies like John Lewis and Vitsoe to gain real-world insights.
Publications and Impact
In diy, Outdoor Fixes his insights on indoor design processes, materials, and strategies for efficient production.
His writing bridges the gap between artisan knowledge and modern industry needs, making it a must-read for both budding designers and seasoned professionals.