
Losing the key to your riding lawn mower can feel like a small disaster, especially when the grass is knee-high and the weekend is slipping away. Maybe the key snapped off in the ignition. Maybe it vanished into the same mysterious place your other lost items go.
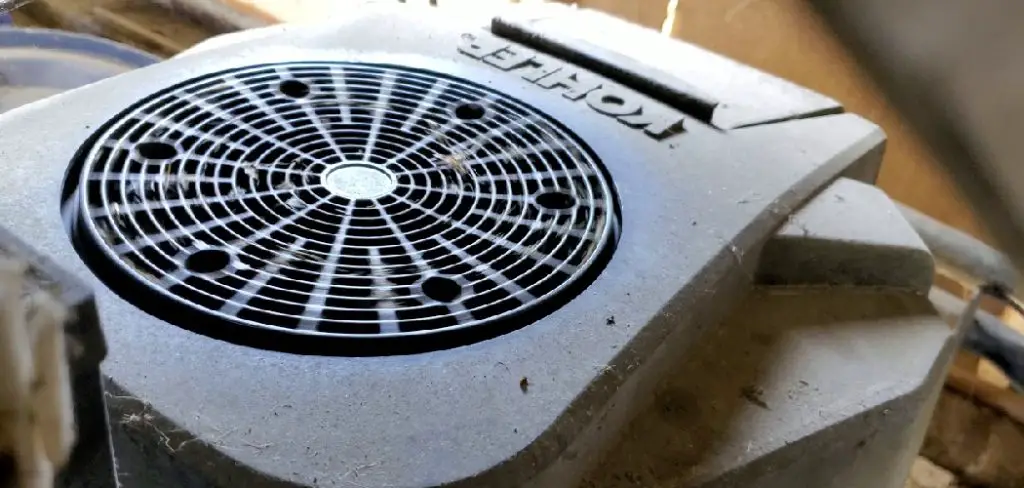
The good news? You don’t always need that little metal key to get your mower running. With a bit of know-how and the right tools, you can start a riding lawn mower without a key safely and effectively. This skill is handy for emergencies, useful for older or second-hand mowers, and surprisingly simple once you understand how the ignition system works.
In this guide on how to start a riding lawn mower without a key, we’ll walk you through everything from the benefits of learning this trick to the exact tools you’ll need. Let’s get your lawn back under control.
What are the Benefits?
Knowing how to start your riding lawn mower without a key isn’t just a party trick. It’s a practical skill that can save you time, money, and frustration. Here are the main reasons it’s worth learning.
- You save money on locksmiths and dealers. Calling a professional or ordering a replacement key from a dealership can cost more than you’d expect. Learning to bypass the ignition yourself keeps cash in your pocket.
- You avoid downtime. When the grass is growing fast, waiting days for a new key isn’t ideal. Starting the mower yourself means you can finish the job today instead of next week.
- It’s perfect for used or older mowers. Many second-hand mowers come without keys, or the original key has worn down over the years. This knowledge lets you use a machine that might otherwise sit idle.
- You understand your machine better. Learning how the ignition system works gives you insight into how your mower runs. That understanding can help you troubleshoot other problems down the road.
- It builds self-reliance. There’s real satisfaction in fixing a problem with your own two hands. Once you master this, you’ll feel more comfortable tackling other small repairs.
- It works in emergencies. If you’re in the middle of mowing and the key breaks, you won’t be stranded. You’ll know exactly what to do.
What Will You Need?
Before you start, gather the right tools. Having everything ready makes the process smoother and safer. Here’s your checklist:
- A flathead screwdriver
- A Phillips screwdriver
- Insulated gloves
- Wire strippers
- Electrical tape
- A pair of jumper wires
- A multimeter (optional)
- Safety glasses
- A flashlight or work light
- The mower’s manual (if available)
Take your time collecting these items. Working with the right gear keeps the job efficient and reduces the chance of damaging your mower.
10 Easy Steps on How to Start a Riding Lawn Mower Without a Key
Step 1: Prioritize Safety First
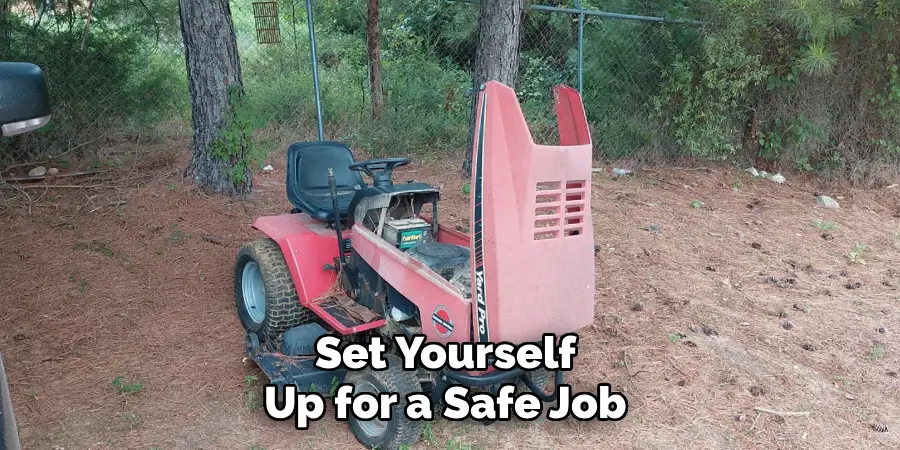
Before you touch a single wire, set yourself up for a safe job. Park the mower on flat, stable ground and engage the parking brake. Put on your insulated gloves and safety glasses. Make sure the blade engagement lever is in the “off” position so the mower won’t lurch forward or spin the blades when it starts. If your mower has been running, give the engine time to cool. Working calmly and carefully now prevents accidents later. Never rush this part, because electricity and engines deserve respect.
Step 2: Disconnect the Battery
Start by disconnecting the negative battery terminal. This simple move protects you from accidental shocks and short circuits while you work around the ignition wiring. Locate the battery, usually under the seat or beneath a hood panel. Use a wrench to loosen the bolt on the negative (black) terminal, then carefully lift the cable away from the post. Tuck it somewhere it won’t accidentally touch the terminal again. You’ll reconnect it once you’re ready to start the engine. This step keeps the whole process safe.
Step 3: Locate the Ignition Switch
Find the ignition switch, which is the spot where the key normally goes. It’s typically mounted on the dashboard or the steering column. Behind this switch sits a small cluster of wires that carry power to different parts of the mower. Take a good look so you understand the layout. The switch usually connects three or more wires: one for the battery, one for the starter, and one for the ignition. Knowing where everything sits makes the next steps far easier and less confusing.
Step 4: Remove the Ignition Panel
Now expose the wiring behind the switch. Use your Phillips and flathead screwdrivers to remove the screws holding the dashboard panel or steering column cover in place. Set the screws aside in a small container so they don’t roll away. Gently pull the panel free, being careful not to yank on any attached wires. Once the panel is off, you’ll see the back of the ignition switch and the wires running to it. Take a photo with your phone so you can remember how everything connects.
Step 5: Identify the Wires
This is the most important step. You need to find the right wires before you connect anything. Most riding mowers use color-coded wiring. The battery wire is often red, the ignition wire is usually a different color, and the starter wire connects to the solenoid. If you have your manual, check the wiring diagram. If not, use a multimeter to test which wire carries power from the battery. Identifying the correct wires prevents damage and keeps the bypass working as it should.
Step 6: Locate the Power and Ignition Terminals
On the back of the ignition switch, the terminals are usually labeled with letters. Look for “B” or “BATT” for the battery terminal, “S” for the starter, and “M” or “IGN” for the magneto or ignition. These labels tell you exactly where each wire should connect. Spend a moment matching the wires to their terminals. Understanding this layout is the key to creating the right connection. If the labels are worn, your multimeter and the wiring diagram will help you confirm each one.
Step 7: Connect the Battery and Ignition Wires
Reconnect the battery’s negative terminal first to restore power. Then take a jumper wire and connect the battery terminal (B) to the ignition terminal (M or IGN). This sends power to the ignition system, just as turning the key would. Make sure the connection is firm and won’t slip loose. If your jumper wire has clips, attach them securely. This connection “turns on” the mower’s electrical system and prepares it for starting. Double-check that the wire isn’t touching anything it shouldn’t.
Step 8: Engage the Starter
With the ignition powered, you now need to crank the starter. Briefly touch a jumper wire between the battery terminal (B) and the starter terminal (S). This sends a jolt of power to the starter motor, which turns the engine over. You should hear the engine crank and, hopefully, roar to life. Only touch the starter terminal for a second or two at a time. Holding it too long can drain the battery or overheat the starter. Once the engine catches, remove the starter wire immediately.
Step 9: Let the Engine Stabilize
Once the mower starts, let it idle for a minute or two. This gives the engine time to warm up and run smoothly. Listen for any unusual sounds and watch for warning lights if your mower has them. Make sure your ignition jumper wire stays connected, because removing it will shut the engine off. A steady idle means your bypass worked correctly. Take a breath and enjoy the win, but stay alert and ready to shut things down if anything seems off.

Step 10: Secure the Connections and Begin Mowing
Before you drive off, tidy up the wiring. Use electrical tape to secure any exposed connections and tuck loose wires away from moving parts. You don’t want a wire catching on something while you mow. If you plan to use this bypass temporarily, that’s fine, but consider installing a proper replacement switch or key soon. For now, ease the mower into gear, engage the blades when you’re ready, and get back to the task at hand. You did it.
5 Things You Should Avoid
- Avoid skipping safety steps. Never work on the wiring without disconnecting the battery first and wearing protective gear. Electrical shocks and accidental blade movement are real dangers.
- Avoid guessing which wires to connect. Touching the wrong wires can fry your mower’s electrical system or blow a fuse. Always identify wires with a diagram or multimeter before connecting.
- Avoid holding the starter wire too long. Cranking the starter for more than a few seconds at a time can overheat the motor and drain your battery. Use short bursts.
- Avoid leaving wires exposed. Bare connections can spark, short out, or get caught in moving parts. Always insulate them with electrical tape once you’re done.
- Avoid making this a permanent fix. Bypassing the ignition is great for emergencies, but it’s not a long-term solution. It removes a safety layer, so replace the key or switch as soon as you can.
Conclusion
Starting a riding lawn mower without a key might sound intimidating at first, but as you’ve seen, it’s a manageable task when you break it down into clear steps. The trick lies in working safely, identifying the right wires, and making firm, insulated connections.
Remember the big picture. This skill saves you money, cuts down on downtime, and gives you a deeper understanding of how your machine works. It’s especially valuable for older or second-hand mowers and for those frustrating moments when a key breaks mid-job.
With this guide on how to start a riding lawn mower without a key in your back pocket, a missing key no longer means a missed mowing day. Take your time, follow the steps, and you’ll be back to a tidy lawn in no time. Happy mowing.

About
Outdoor Fixes is a distinguished figure in the world of Diy design, with a decade of expertise creating innovative and sustainable Diy solutions.
His professional focus lies in merging traditional craftsmanship with modern manufacturing techniques,
fostering designs that are both practical and environmentally conscious. As the author of diy,
outdoorfixes delves into the art and science of outdoorfixes-making, inspiring artisans and industry professionals alike.
Education RMIT University
(Melbourne, Australia) Associate Degree in Design (Outdoor Fixes) Focus on sustainable design, industry-driven projects,
and practical craftsmanship. Gained hands-on experience with traditional and digital manufacturing tools, such as CAD and CNC software.
Nottingham Trent University
(United Kingdom) Bachelor’s in outdoorfixes.com and Product Design (Honors) Specialized in product design with a focus on blending creativity with production
techniques. Participated in industry projects, working with companies like John Lewis and Vitsoe to gain real-world insights.
Publications and Impact
In diy, Outdoor Fixes his insights on indoor design processes, materials, and strategies for efficient production.
His writing bridges the gap between artisan knowledge and modern industry needs, making it a must-read for both budding designers and seasoned professionals.