
A clean, well-kept lawn says a lot about your home. But anyone who has spent a Saturday morning mowing knows the real work begins after the engine stops. Loose grass clippings scattered across your yard can smother healthy growth, clog your mower, and leave your lawn looking patchy and unkempt.
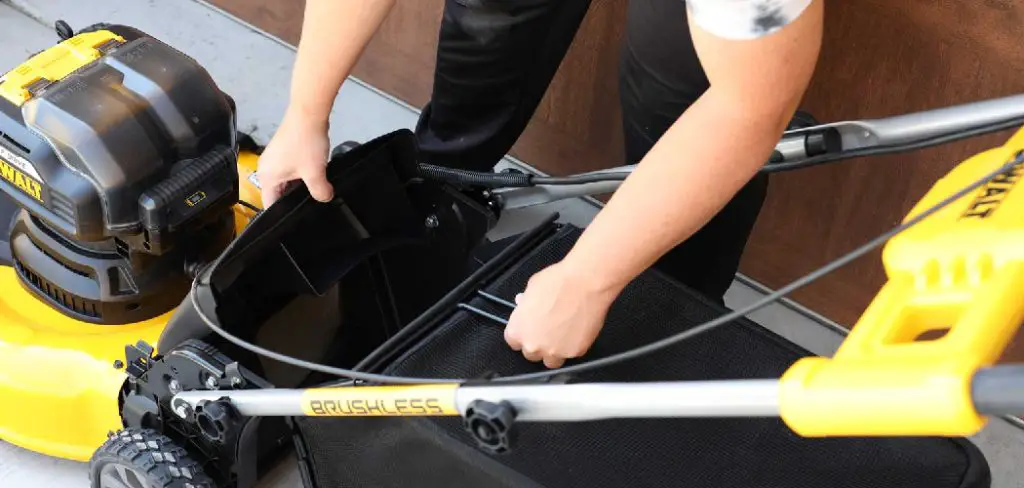
Attaching a bag to your lawn mower is one of the simplest upgrades you can make to your yard care routine. It collects clippings as you mow, so you spend less time raking and more time enjoying the results. Yet many homeowners feel unsure about how to install one correctly. Maybe the bag came separately, or perhaps your mower didn’t have one to begin with.
This guide on how to attach a bag to a lawn mower walks you through everything you need to know, from the benefits and tools to a clear step-by-step process. Let’s get started.
What Are the Benefits?
Before you grab your tools, it helps to understand why a grass bag is worth the effort. The advantages go well beyond simple convenience.
- A cleaner lawn instantly. A bag catches clippings as you mow, leaving behind a tidy, polished surface. You won’t have to deal with messy clumps drying out and turning brown across your grass.
- Less time spent raking. Without a bag, you often have to circle back with a rake or leaf blower. Bagging saves you that extra chore, freeing up your weekend for things you actually enjoy.
- Healthier grass growth. Thick layers of clippings can block sunlight and trap moisture against your lawn. This creates the perfect conditions for fungus, mold, and disease. Collecting clippings helps your grass breathe and thrive.
- Better for allergies. Loose grass and pollen floating around your yard can trigger sneezing and itchy eyes. A bag keeps much of that debris contained, making your time outdoors more comfortable.
- Useful clippings. Grass collected in a bag isn’t wasted. You can add it to a compost pile, use it as mulch around garden beds, or bag it for green waste pickup. It’s a small step toward a more sustainable yard.
- Protects your mower. Excess clippings can build up under the deck and around the blade, causing strain on the engine. Bagging reduces this buildup and helps your mower run smoothly for years.
What Will You Need?
You don’t need a workshop full of equipment to get this done. In most cases, the parts and tools are minimal. Here’s a quick checklist to gather before you begin:
- Your lawn mower
- The grass bag
- The bag frame
- The mower’s owner manual
- Work gloves
- A clean cloth or brush
- A flathead screwdriver
Having everything within reach before you start saves time and keeps the process frustration-free.
10 Easy Steps on How to Attach a Bag to a Lawn Mower
Step 1: Turn Off and Disconnect the Mower
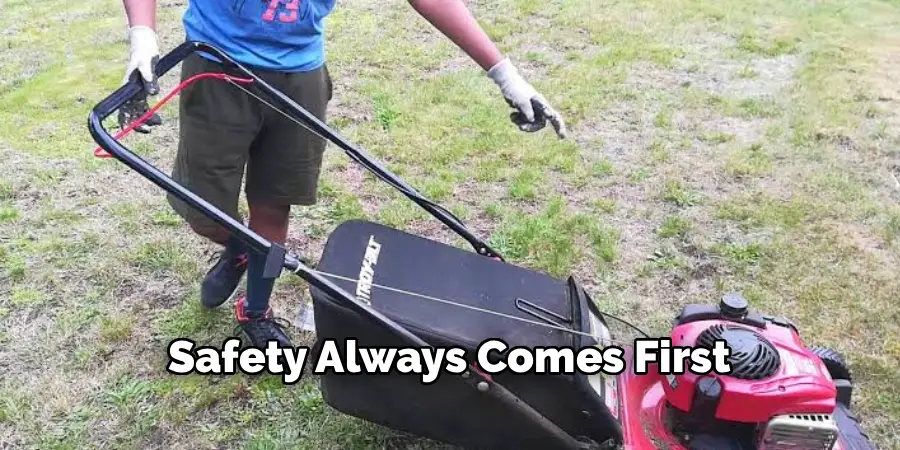
Safety always comes first. Before touching any part of your mower, switch off the engine and let it cool. For gas mowers, disconnect the spark plug wire to prevent any accidental start. For electric or battery models, unplug the unit or remove the battery completely. This single step protects you from injury while you work around the blade and discharge area. Never skip it, even if you only plan to spend a minute attaching the bag.
Step 2: Read Your Owner’s Manual
Every mower model is slightly different. Some have rear-mounted bags, while others use side attachments. Take a moment to flip through your owner’s manual and locate the section on bagging. It will show you the exact attachment points and any special clips your model uses. If you’ve lost the paper copy, most manufacturers offer free downloads on their websites. A quick read saves you from guessing and helps you avoid forcing parts that don’t fit.
Step 3: Assemble the Bag Frame
Most grass bags come in two parts: a sturdy frame and a fabric or plastic catcher. Start by sliding the fabric bag over the frame. Line up the open mouth of the bag with the frame’s mounting end. Many bags have plastic edges or hooks that snap onto the frame for a secure fit. Make sure every corner is pulled tight so the bag holds its shape. A loose or sagging bag won’t collect clippings properly and may even fall off mid-mow.
Step 4: Locate the Discharge Chute
Your mower sends cut grass out through a discharge chute. Find this opening, usually located at the rear or side of the mowing deck. This is where your bag will connect. Wipe away any dried grass or debris around the chute with a cloth or brush. A clean opening ensures a snug seal between the chute and the bag, so clippings flow directly into the catcher instead of spilling onto your lawn.
Step 5: Remove the Discharge Cover or Mulch Plug
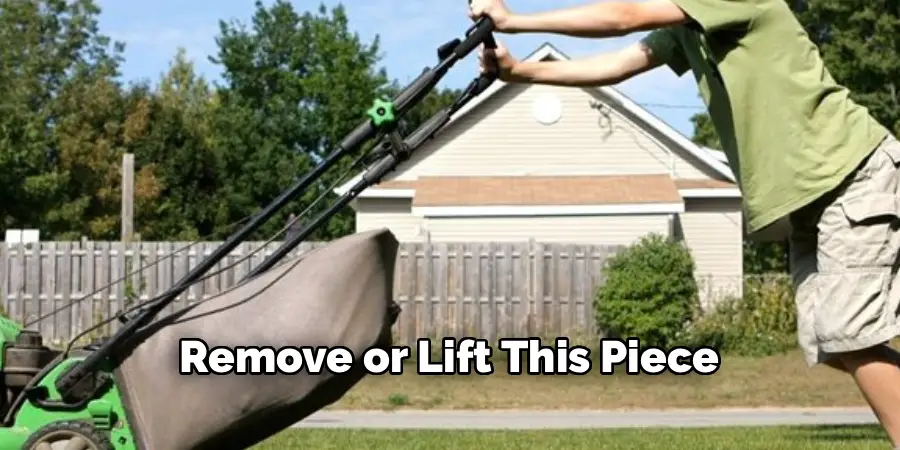
Many mowers come with a discharge cover or a mulching plug installed by default. To attach a bag, you’ll need to remove or lift this piece. Look for a spring-loaded door at the rear or a plug you can pull out. Some require pressing a small release tab or using a flathead screwdriver. Set the removed part somewhere safe so you can swap it back later if you decide to mulch instead of bag.
Step 6: Lift the Rear Deflector Door
For rear-bagging mowers, there’s usually a hinged door at the back of the deck. Lift this deflector door upward and hold it open. This door normally drops clippings onto the ground, but with a bag attached, it directs them straight into the catcher. Keep it raised with one hand while you position the bag frame with the other. Some models let you prop it open, making the next step easier.
Step 7: Align the Bag with the Mounting Points
Now bring your assembled bag toward the mower. Line up the frame’s hooks or tabs with the mounting points on the deck. These are often small slots, notches, or hooks built into the chassis near the discharge area. Take your time to position the bag correctly. Rushing this step can lead to a poor fit, which means clippings end up on the ground instead of in the bag.
Step 8: Secure the Bag in Place
Once aligned, push the frame firmly onto the mounting points. You should hear or feel a click as the hooks lock into place. Lower the rear deflector door so it rests against the top of the bag frame, sealing the connection. Give the bag a gentle tug to confirm it’s locked on tight. A properly attached bag should stay put even when the mower vibrates during use.
Step 9: Inspect for a Proper Seal
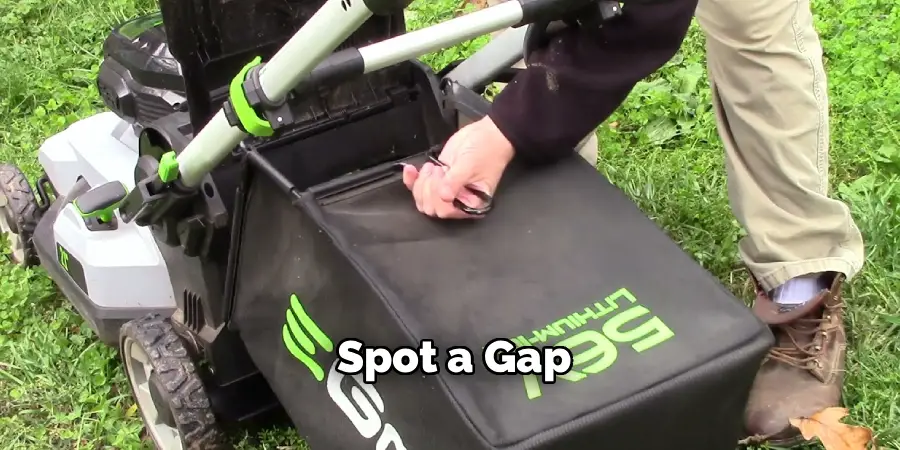
Before you start mowing, walk around your mower and check the connection. Look for any gaps between the chute and the bag opening. Make sure the deflector door sits flush against the frame. A poor seal lets clippings escape, defeating the purpose of bagging. If you spot a gap, detach the bag and reseat it until everything fits snugly. This quick inspection prevents mid-mow surprises.
Step 10: Reconnect Power and Test
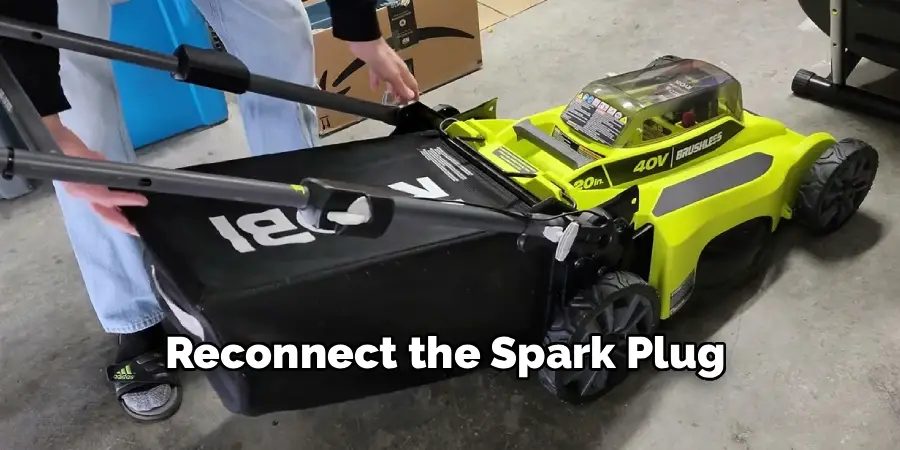
With the bag secured, reconnect the spark plug wire or reinstall the battery. Start the mower and run it over a small patch of grass. Watch how the clippings flow into the bag. If the bag fills evenly and no grass spills out, you’ve done it right. If you notice clogging or leaks, shut off the mower and recheck the attachment. Once everything works smoothly, you’re ready to tackle the whole lawn.
5 Things You Should Avoid
Even a simple task like this has a few common pitfalls. Steer clear of these mistakes to keep your mowing safe and effective.
1. Skipping the safety steps. Never attach a bag with the engine running or the spark plug connected. The blade can cause serious injury. Always disconnect power first, no exceptions.
2. Forcing parts that don’t fit. If the bag frame won’t slide on, don’t push harder. You may have the wrong attachment or a missing step. Check your manual instead of forcing it, which can crack plastic parts.
3. Mowing with an overfilled bag. A full bag won’t collect more grass and can clog the chute. Empty it regularly to keep clippings flowing and protect your engine from strain.
4. Ignoring the seal. A loose connection lets clippings escape everywhere. Always inspect the fit before mowing so you don’t end up doing the job twice.
5. Mowing wet grass. Damp clippings clump together and clog both the chute and the bag. Wait until your lawn is dry for the cleanest, smoothest bagging experience.
Conclusion
How to attach a bag to a lawn mower is a small task with big rewards. It transforms your mowing routine from messy and time-consuming into clean and efficient. With clippings collected as you go, your lawn looks better, grows healthier, and stays free of unsightly clumps.
The process really comes down to a handful of simple steps: stay safe, assemble the bag, find the discharge chute, secure the attachment, and test it before you mow. Once you’ve done it once, it becomes second nature. You’ll wonder why you ever spent hours raking afterward.
So grab your gloves, follow these steps, and give it a try. Your lawn, your back, and your weekend will thank you. Happy mowing.

About
Outdoor Fixes is a distinguished figure in the world of Diy design, with a decade of expertise creating innovative and sustainable Diy solutions.
His professional focus lies in merging traditional craftsmanship with modern manufacturing techniques,
fostering designs that are both practical and environmentally conscious. As the author of diy,
outdoorfixes delves into the art and science of outdoorfixes-making, inspiring artisans and industry professionals alike.
Education RMIT University
(Melbourne, Australia) Associate Degree in Design (Outdoor Fixes) Focus on sustainable design, industry-driven projects,
and practical craftsmanship. Gained hands-on experience with traditional and digital manufacturing tools, such as CAD and CNC software.
Nottingham Trent University
(United Kingdom) Bachelor’s in outdoorfixes.com and Product Design (Honors) Specialized in product design with a focus on blending creativity with production
techniques. Participated in industry projects, working with companies like John Lewis and Vitsoe to gain real-world insights.
Publications and Impact
In diy, Outdoor Fixes his insights on indoor design processes, materials, and strategies for efficient production.
His writing bridges the gap between artisan knowledge and modern industry needs, making it a must-read for both budding designers and seasoned professionals.