
Trenching is a common part of many home projects, from installing irrigation lines to running electrical cable or fixing drainage. The trouble is that once the work is done, you are often left with a long scar of torn-up grass and bare soil cutting across your yard. If you have ever stared at that muddy strip and wondered how do i repair my lawn after trenching, you are far from alone. The good news is that fixing it is completely doable, even if you have never reseeded a single patch of grass before.
This guide walks you through the whole process in clear, manageable steps designed for every skill level. You will learn how to prepare the soil, choose between seed and sod, water correctly, and protect your new grass while it takes root. With a little patience and the right approach, that trench line will blend back into a healthy, green lawn. Let’s get your yard looking whole again.
Why Repairing Your Lawn After Trenching Matters
Leaving a trench scar untreated invites a string of problems you would rather avoid. Bare soil quickly becomes a magnet for weeds, which spread fast and compete with any grass trying to grow. Exposed dirt also erodes when it rains, washing away topsoil and creating uneven dips that collect water and turn muddy.
Beyond appearance, prompt repair protects the health and value of your whole yard. Compacted trench soil drains poorly and stays soggy, which can stress nearby plants and make the area unstable to walk on. Acting quickly helps you reestablish strong roots, restore an even surface, and keep your lawn looking unified. A well-handled repair saves you time and money down the road, since small problems left alone tend to grow into much bigger, costlier ones.
Step-by-Step Guide to How Do I Repair My Lawn After Trenching
Step 1: Backfill And Settle The Trench
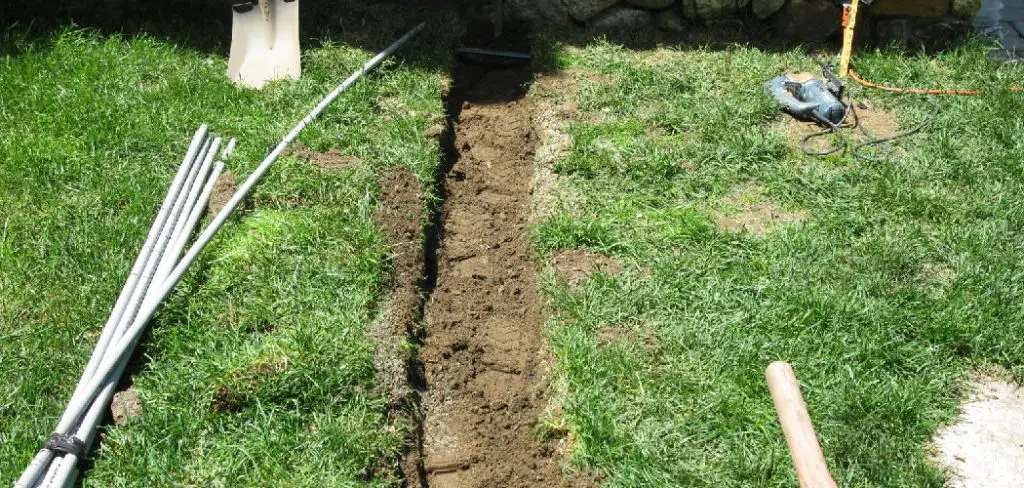
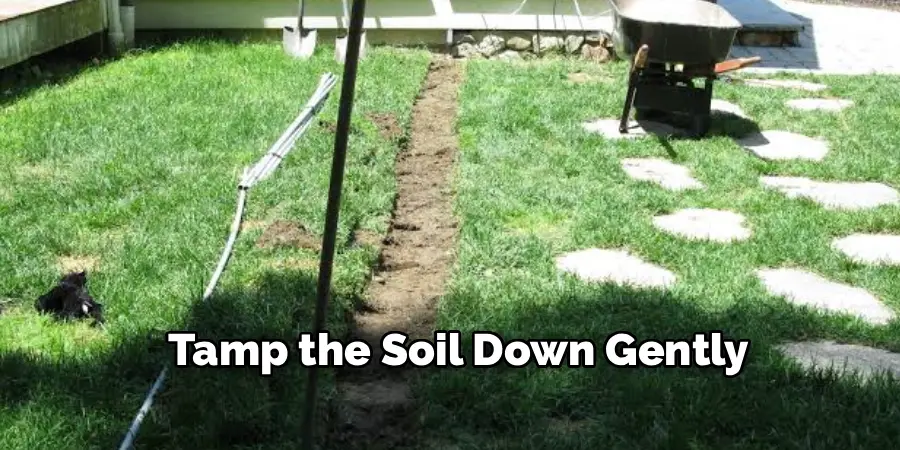
Start by filling the trench back in with the soil you removed during digging. Add it in layers rather than dumping it all at once, since loose fill settles unevenly and leaves you with sunken spots later. After each layer, tamp the soil down gently with your foot or a hand tamper to remove air pockets.
Once the trench is filled, water the soil lightly and let it settle for a day or two. You will likely notice the surface drop a little as the dirt compacts. Top it off with extra soil until the trench line sits slightly above the surrounding grade, because fresh fill almost always sinks a bit more over the following weeks.
Step 2: Preparing The Soil
With the trench backfilled, turn your attention to the top few inches where new grass will grow. Break up any compacted clumps with a rake or hand cultivator until the surface feels loose and crumbly. Roots struggle to push through hard, packed dirt, so this loosening step makes a real difference in how quickly your grass fills in.
Next, mix in a thin layer of quality topsoil or compost to give seeds or sod a nutrient-rich foundation. Rake the area smooth and level it with the surrounding lawn, removing rocks, sticks, and debris as you go. A clean, even seedbed sets you up for strong, uniform growth and prevents bumpy patches once everything establishes.
Step 3: Choose Between Seed And Sod
Now decide how you want to fill in that bare strip. Grass seed is budget-friendly and lets you match your existing lawn variety, but it takes longer to establish and needs consistent care. Sod costs more upfront yet delivers instant green coverage and roots quickly, which is ideal if you want fast results or worry about erosion.
Think about your timeline, budget, and how visible the trench line is. For a narrow trench in a low-traffic area, seed often works beautifully. For a prominent strip across your front yard, sod may be worth the extra expense. Whichever you choose, pick a grass type that matches the rest of your lawn so the repair blends in naturally.
Step 4: Lay Down Seed Or Sod Correctly
If you are seeding, spread the seed evenly across the prepared soil at the rate listed on the bag. Rake it in lightly so the seeds make good contact with the dirt, then press the area down gently with a roller or the back of a rake. Good seed-to-soil contact is the single biggest factor in strong germination.
If you are laying sod, unroll each piece snugly against the next without overlapping or leaving gaps. Stagger the seams like brickwork for a seamless look, and press the edges firmly into the soil. Trim any excess with a sharp knife so the sod meets your existing grass cleanly. Either way, work carefully to keep everything flat and well connected.
Step 5: Apply A Starter Fertilizer
Young grass needs the right nutrients to develop deep, healthy roots, and a starter fertilizer gives it exactly that boost. Choose a product labeled for new lawns, since these blends are higher in phosphorus to encourage root growth rather than just leafy top growth. Apply it evenly across the repaired strip following the package directions.
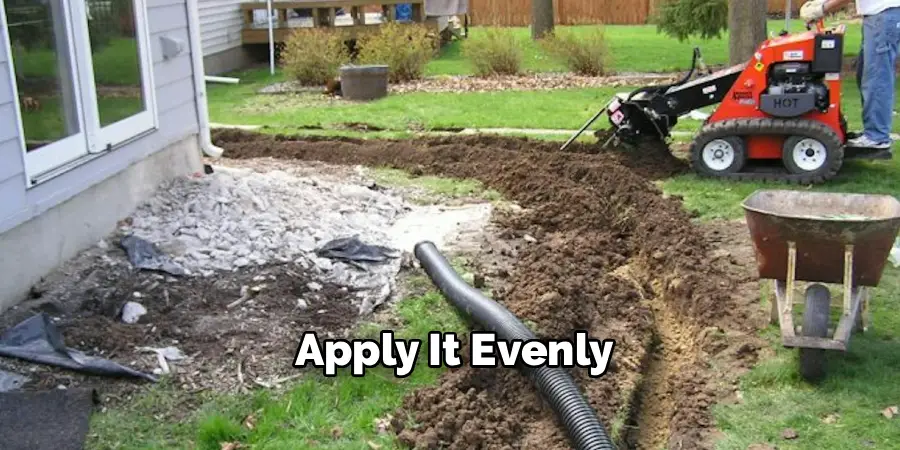
Be careful not to overdo it, because too much fertilizer can burn tender new grass and do more harm than good. Spread it lightly and water it in afterward to help the nutrients reach the root zone. This single step often makes the difference between grass that struggles and grass that fills in thick and strong within just a few weeks.
Step 6: Water Consistently To Establish Roots
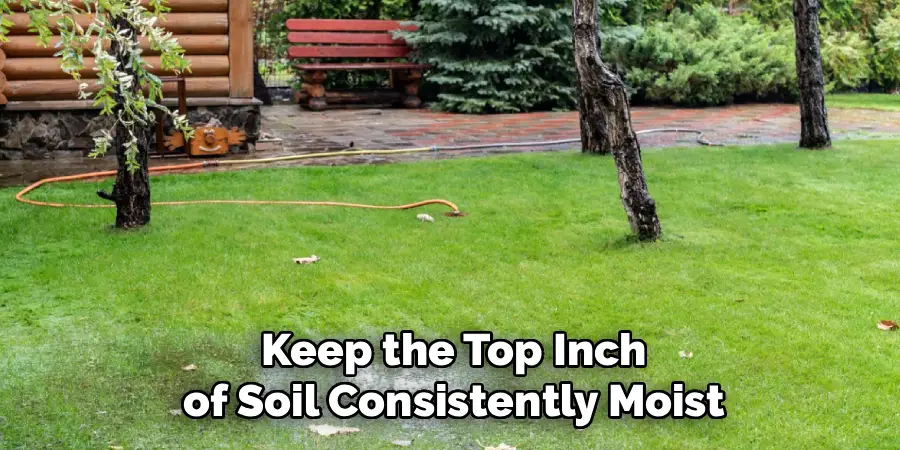
Watering is where many repairs succeed or fail, so give it your full attention. Keep the top inch of soil consistently moist but never soggy. For new seed, that usually means light watering two or three times a day until germination, since drying out even once can kill sprouting seeds. For sod, water deeply each day so moisture reaches the roots beneath.
As the grass establishes over the next couple of weeks, gradually reduce watering frequency while increasing the depth. This trains roots to grow deeper in search of moisture, building a tougher, more drought-resistant lawn. Early mornings are the best time to water, because cooler temperatures reduce evaporation and help prevent fungal problems.
Step 7: Protect And Maintain The New Grass
Fresh grass is fragile, so keep foot traffic, pets, and mowers off the repaired strip until it roots firmly. Marking the area with small stakes and string is a simple way to remind everyone to steer clear. If birds are eating your seed, a light layer of straw mulch protects it while still letting sunlight through.
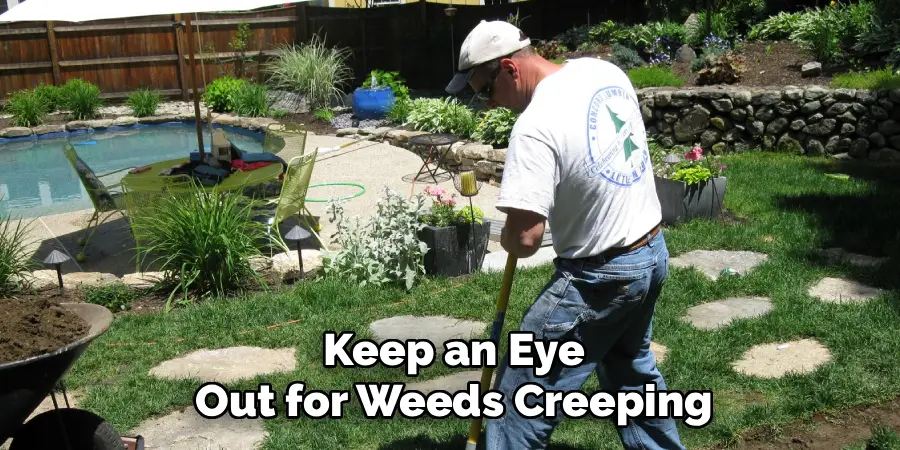
Wait until the new grass reaches about three inches tall before its first mow, and never cut more than a third of the blade height at once. Continue regular watering and feeding as recommended, and keep an eye out for weeds creeping in. With steady care over the first month, your repaired section will thicken up and blend right into the rest of your yard.
Frequently Asked Questions
How Long Does It Take For Grass To Grow Back After Trenching?
It depends on your method. Seeded areas usually sprout within seven to fourteen days, then take six to eight weeks to fully establish. Sod roots faster, often gripping the soil within two to three weeks and looking mature in about a month. Warm-season grasses grow quickest in summer, while cool-season types do best in spring and fall, so timing your repair with the season speeds things up.
Should I Use Seed Or Sod For A Trench Line?
Both work well, so the right choice comes down to your priorities. Seed is more affordable and lets you match your existing grass exactly, though it requires patience and steady watering. Sod gives instant coverage, resists erosion, and roots quickly, making it ideal for visible or sloped areas. For a narrow, low-traffic trench, seed is usually plenty. For prominent spots, sod offers faster, more reliable results.
Why Does My Trench Keep Sinking After I Fill It?
Sinking happens because loose backfill soil settles and compacts over time as air pockets collapse and rain pushes the dirt down. To minimize it, fill the trench in thin layers and tamp each one firmly before adding the next. Even with careful packing, expect some settling in the first few weeks. Mound the soil slightly above grade so it levels out naturally once everything fully settles.
How Often Should I Water New Grass Seed?
Keep the top inch of soil consistently moist by watering lightly two or three times daily until the seeds germinate. Short, frequent sessions work better than one heavy soak, which can wash seeds away. Once sprouts appear, gradually shift to deeper, less frequent watering to encourage strong roots. Early morning is ideal, since it reduces evaporation and lowers the risk of fungal disease taking hold.
Can I Walk On The Repaired Area Right Away?
It is best to stay off the area until the new grass roots firmly, which takes roughly two to four weeks. Walking on fresh seed disturbs germination, while early foot traffic on sod can shift pieces and create gaps. Mark the spot with stakes and string to keep people and pets away. Once the grass withstands a gentle tug without lifting, it is ready for normal use.
Conclusion
Bringing your yard back to life after digging does not have to feel overwhelming. Once you understand how do i repair my lawn after trenching, the process breaks down into clear, manageable stages that anyone can follow. Backfill and settle the trench, prepare a loose seedbed, choose seed or sod, feed with a starter fertilizer, water consistently, and protect the new growth while it takes root. Each step builds on the last to give you an even, healthy strip that blends seamlessly into the rest of your lawn.
The key is patience paired with steady care during those first few weeks, when young grass needs the most attention. Stick with the watering schedule, keep traffic off the area, and watch the bare line slowly disappear. So grab your rake, pick your method, and get started. Your green, unified lawn is well within reach.

About
Outdoor Fixes is a distinguished figure in the world of Diy design, with a decade of expertise creating innovative and sustainable Diy solutions.
His professional focus lies in merging traditional craftsmanship with modern manufacturing techniques,
fostering designs that are both practical and environmentally conscious. As the author of diy,
outdoorfixes delves into the art and science of outdoorfixes-making, inspiring artisans and industry professionals alike.
Education RMIT University
(Melbourne, Australia) Associate Degree in Design (Outdoor Fixes) Focus on sustainable design, industry-driven projects,
and practical craftsmanship. Gained hands-on experience with traditional and digital manufacturing tools, such as CAD and CNC software.
Nottingham Trent University
(United Kingdom) Bachelor’s in outdoorfixes.com and Product Design (Honors) Specialized in product design with a focus on blending creativity with production
techniques. Participated in industry projects, working with companies like John Lewis and Vitsoe to gain real-world insights.
Publications and Impact
In diy, Outdoor Fixes his insights on indoor design processes, materials, and strategies for efficient production.
His writing bridges the gap between artisan knowledge and modern industry needs, making it a must-read for both budding designers and seasoned professionals.