
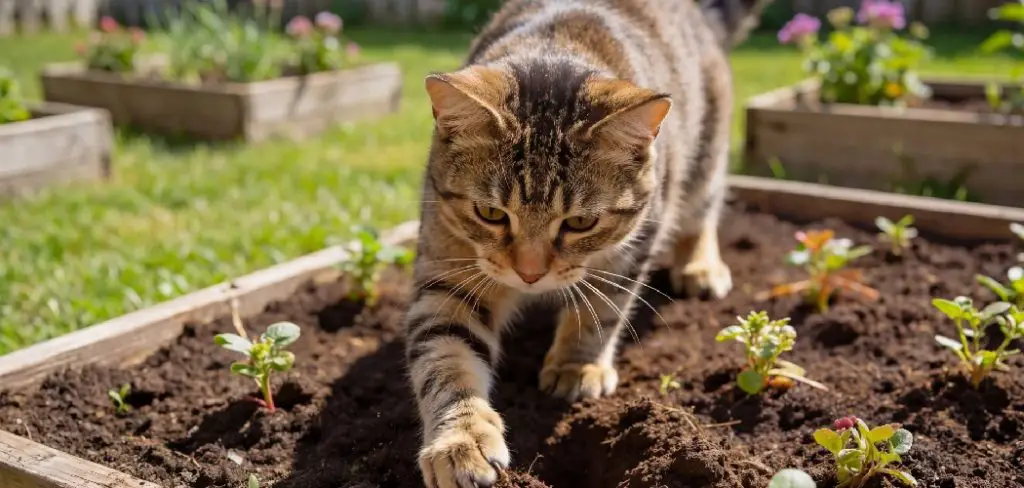
Cats are wonderful companions, but their bathroom habits can cause real trouble in your garden. When cats use your flower beds or vegetable patches as a litter box, they leave behind waste that can harm plants, spread harmful bacteria, and make your soil unsafe to touch. If you grow food in that soil, the risk grows even bigger. Learning how to neutralize cat feces in soil helps you protect your plants, your family, and your pets from hidden dangers.
The good news is that fixing this problem does not require special training or expensive products. With a few simple tools and a clear plan, you can clean up the mess and restore healthy, safe soil. This guide breaks the whole process into easy steps that anyone can follow, no matter your gardening experience.
We will walk through why this matters, share a seven-step method, and answer the questions people ask most. By the end, you will feel confident handling the problem and keeping your garden fresh, clean, and ready to thrive.
Why Neutralizing Cat Feces in Soil Matters
Cat waste is more than an unpleasant surprise in your garden. It often carries parasites like Toxoplasma gondii, along with harmful bacteria that can linger in soil for months. These pathogens pose a real health risk, especially for children, pregnant women, and people with weak immune systems. Leaving the waste untreated also lowers your soil quality and can damage nearby plant roots.
Taking action quickly protects everyone who uses your outdoor space. Clean soil supports stronger plants, better harvests, and safer play areas. You also stop the smell that attracts more cats to repeat the behavior. By treating the problem early, you save yourself bigger headaches later and keep your garden a place you actually want to spend time in.
Step-by-Step Guide to How To Neutralize Cat Feces in Soil
Step 1: Gather Your Tools And Protective Gear
Before you start, set yourself up with the right supplies. You will want disposable gloves, a small trowel or scoop, a sealable bag, and a face mask if you are sensitive to smells. Keep a bucket nearby for any contaminated soil you remove. Having everything ready means you never have to stop halfway with messy hands.
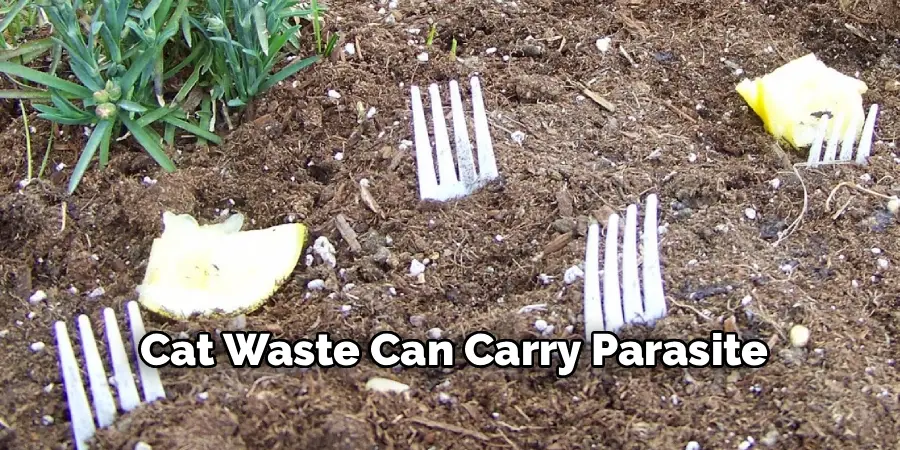
Safety comes first here, so do not skip the gloves and mask. Cat waste can carry parasites that pass through skin contact or breathing in dust. Choose a calm, dry day for the job too, since wet conditions make handling waste harder and can spread contamination across a wider area of your garden.
Step 2: Remove The Visible Waste First
Start by scooping up all the solid waste you can see. Use your trowel to lift each piece gently, placing it directly into your sealable bag. Work slowly so you do not crush the waste or push it deeper into the soil. Removing the bulk of the material is the most important first move, since it cuts down the source of bacteria right away.
Once the visible mess is gone, seal the bag tightly and set it aside for disposal. Never add cat waste to your compost pile, because home compost rarely gets hot enough to kill the parasites. Toss the sealed bag in your regular trash instead.
Step 3: Dig Out The Contaminated Soil
Even after the waste is gone, the surrounding soil still holds harmful germs. Use your trowel to dig out the top two to three inches of soil where the waste sat. Place this contaminated soil into your bucket, and try to remove a slightly wider area than the visible spot to catch any spread.
Be thorough but careful here. The goal is to take out the most affected layer without digging up healthy roots from nearby plants. If the waste was near edible crops, remove a little extra soil to stay safe. Dispose of the removed soil in a sealed bag, keeping it far from your garden and play areas.
Step 4: Affordable Option That Raises Soil pH
Now it is time to treat the area directly. Garden lime is a trusted, affordable option that raises soil pH and helps kill lingering bacteria and parasites. Sprinkle a thin, even layer of agricultural lime over the affected spot, following the dosage on the package for your soil size.
Work the lime gently into the top layer of soil with your trowel. The higher pH creates conditions that many harmful organisms cannot survive. Lime also helps reduce the smell that draws cats back to the same spot. Give the treated area a few days to work before planting or letting pets and children near it again.
Step 5: Apply A Natural Disinfecting Treatment
For extra protection, follow the lime with a natural disinfecting boost. A diluted hydrogen peroxide solution works well, since it breaks down organic matter and kills germs without leaving harsh chemical residue. Mix one part peroxide with several parts water, then pour it evenly over the treated soil.
You can also use beneficial enzyme cleaners made for pet waste, which digest the remaining organic material safely. These options refresh the soil while staying gentle on your garden. Let the treatment soak in fully and allow the area to dry. This step adds a strong layer of defense against anything the lime might have missed.
Step 6: Cat Feces in Soil Naturally With Compost Refresh
After disinfecting, your soil needs fresh nutrients to recover. Bring in clean, healthy topsoil or finished compost to replace what you removed earlier. Spread it over the treated area and mix it lightly into the existing soil. This restores structure and feeds the helpful microbes that keep your garden balanced.
A compost refresh does double duty by improving fertility and diluting any traces left behind. Choose quality compost from a trusted source, not from a pile that may have touched cat waste. Within a short time, this renewed soil will support plant growth again. The fresh layer also helps mask old odors that might tempt cats to return.
Step 7: Prevent Future Contamination
Cleaning up is only half the battle, so take steps to keep cats away for good. Cats dislike certain textures and smells, so try laying chicken wire just below the soil surface or scattering citrus peels and coffee grounds around the area. Motion-activated sprinklers also work as a friendly deterrent.
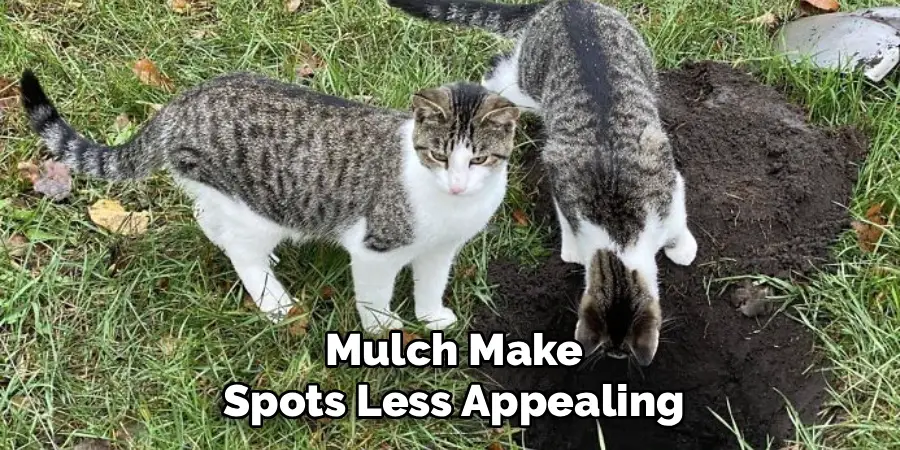
Covering bare soil with mulch or planting dense ground cover makes the spot less inviting for digging. You can also create a separate sandy area elsewhere to give roaming cats a more appealing option. A little prevention saves you from repeating this whole process. Stay consistent, and your garden will stay clean and welcoming for the long term.
Frequently Asked Questions
Is Cat Poop Really Dangerous In Garden Soil?
Yes, it can be. Cat waste often carries a parasite called Toxoplasma gondii, plus bacteria like E. coli and roundworm eggs. These can survive in soil for over a year and pose serious health risks, especially to pregnant women, young children, and people with weakened immune systems. Always handle it with gloves and clean the area thoroughly to keep your family and pets safe.
Can I Just Bury The Cat Waste Instead Of Removing It?
Burying the waste is not a safe solution. The parasites and bacteria can survive underground for months and may still contaminate roots, water, and nearby crops. Burying also does nothing to stop the smell that attracts more cats. It is far safer to scoop the waste, seal it in a bag, and dispose of it in your regular trash instead of leaving it in the ground.
How Long Should I Wait Before Planting In Treated Soil?
After treating the soil with lime and a disinfecting solution, wait at least one to two weeks before planting. This gives the treatments time to work and lets the soil pH settle back into a safe range. For edible crops, waiting a little longer adds extra peace of mind. Test your soil pH before planting to make sure conditions are healthy for new roots.
Will Lime Harm My Other Plants Nearby?
Used correctly, lime is safe, but too much can raise soil pH higher than some plants like. Apply it only to the contaminated area and follow the package dosage carefully. Keep it away from acid-loving plants such as blueberries, azaleas, and rhododendrons. If you are unsure, test your soil first and add lime gradually so you can monitor how nearby plants respond.
What Natural Methods Keep Cats Out Of My Garden?
Cats dislike strong scents and rough textures, so several gentle tricks work well. Scatter citrus peels, coffee grounds, or aromatic herbs like lavender around the area. Lay chicken wire just under the soil to discourage digging, or install a motion-activated sprinkler. Dense ground cover and mulch also make spots less appealing. Combining a few methods gives you the best long-term results without harming the animals.
Conclusion
Dealing with cat waste in your garden does not have to feel overwhelming. With the right tools, a careful approach, and a clear plan, you can clean up the mess and bring your soil back to full health. The main takeaways are simple. Remove the waste, dig out the affected soil, treat the area with lime and a disinfectant, then refresh with clean compost and protect against future visits.
Now that you understand how to neutralize cat feces in soil, you are ready to restore a safe, thriving garden for your family and pets. Take it one step at a time, stay consistent with prevention, and you will see real results fast. So grab your gloves, follow these steps, and reclaim your garden today. Your healthy, clean soil is well within reach.

About
Outdoor Fixes is a distinguished figure in the world of Diy design, with a decade of expertise creating innovative and sustainable Diy solutions.
His professional focus lies in merging traditional craftsmanship with modern manufacturing techniques,
fostering designs that are both practical and environmentally conscious. As the author of diy,
outdoorfixes delves into the art and science of outdoorfixes-making, inspiring artisans and industry professionals alike.
Education RMIT University
(Melbourne, Australia) Associate Degree in Design (Outdoor Fixes) Focus on sustainable design, industry-driven projects,
and practical craftsmanship. Gained hands-on experience with traditional and digital manufacturing tools, such as CAD and CNC software.
Nottingham Trent University
(United Kingdom) Bachelor’s in outdoorfixes.com and Product Design (Honors) Specialized in product design with a focus on blending creativity with production
techniques. Participated in industry projects, working with companies like John Lewis and Vitsoe to gain real-world insights.
Publications and Impact
In diy, Outdoor Fixes his insights on indoor design processes, materials, and strategies for efficient production.
His writing bridges the gap between artisan knowledge and modern industry needs, making it a must-read for both budding designers and seasoned professionals.