
Healthy grass starts with what is underneath it. Your lawn can only look as good as the ground it grows in, and that ground does so much heavy lifting. It feeds your grass, holds water, and gives roots room to spread. When the soil is tired, compacted, or low on nutrients, even the best seed struggles to thrive. That is why learning how to improve lawn soil quality is one of the smartest moves any homeowner can make.

The good news is that you do not need a science degree or fancy equipment to get started. With a few simple steps and a little patience, you can transform thin, patchy turf into a lush, green carpet. This guide breaks the whole process down into clear, beginner-friendly stages you can follow at your own pace.
We will walk through why soil health matters, share a practical seven-step plan, and answer the questions people ask most. Whether you are reviving a struggling yard or building one from scratch, you will find everything you need right here. Grab your gloves and let us dig in together.
Why Improving Lawn Soil Quality Matters
Strong soil is the foundation of every great lawn. When your ground is rich, loose, and full of life, grass roots grow deeper and pull up more water and nutrients. That means thicker turf, fewer weeds, and a yard that bounces back quickly from heat or heavy foot traffic.
Better soil also saves you money and effort over time. Healthy ground holds moisture well, so you water less often and waste less. It feeds your grass naturally, which cuts down on fertilizer bills. You will also see fewer bare patches and pest problems, since strong grass crowds out trouble before it starts. Put simply, the time you invest below the surface pays you back above it, giving you a greener, hardier lawn with far less ongoing fuss.
Step-by-Step Guide to How To Improve Lawn Soil Quality
Step 1: Test Your Soil First
Before you change anything, find out what you are working with. A simple soil test tells you the pH level and which nutrients your lawn is missing. You can grab an inexpensive kit from a garden center or send a sample to a local extension office for a detailed report.

Knowing your numbers saves you from guessing and wasting money on the wrong products. If your soil is too acidic or too alkaline, grass cannot absorb nutrients properly no matter how much you feed it. Take samples from several spots across the yard for an accurate picture. This first step gives you a clear roadmap, so every action that follows actually targets your lawn’s real needs.
Step 2: Loosen Compacted Ground With Aeration
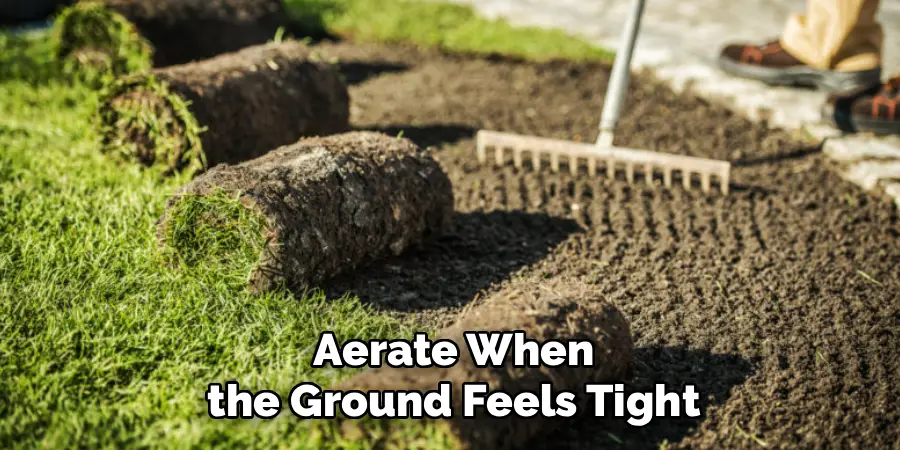
Over time, foot traffic, mowers, and rain pack soil down tight. Compacted ground squeezes out air pockets and blocks water from reaching the roots. Aeration fixes this by pulling small plugs of soil from the lawn, opening up space for air, moisture, and nutrients to flow freely.
You can rent a core aerator or use a manual tool for smaller yards. Aim to do this when the soil is slightly moist, since dry ground resists the tines. Early fall or spring works best for most grass types. After aerating, leave the soil plugs on top to break down naturally. You will quickly notice water soaking in faster instead of pooling on the surface.
Step 3: Add Organic Matter For Improve Lawn Soil Quality
Organic matter is the secret weapon for living, breathing soil. Spreading a thin layer of compost across your lawn feeds the tiny organisms that keep ground healthy. These microbes break down material into nutrients your grass can actually use, while improving texture and drainage at the same time.
Apply about a quarter inch of finished compost and rake it gently into the surface and aeration holes. This practice, called topdressing, works wonders over a single season. The compost holds moisture in sandy soil and loosens heavy clay, giving you the best of both worlds. Repeat once or twice a year, and you will build richer, darker, more fertile ground that grass absolutely loves.
Step 4: Balance The pH Level
Your soil test results guide this step. Grass grows best when the pH sits between six and seven, where nutrients stay easy to absorb. If your reading is too low, the soil is acidic, and adding garden lime will raise it. If it reads too high, the ground is alkaline, and elemental sulfur brings it back down.
Spread amendments evenly using a broadcast spreader and water them in well. Changes happen gradually, so do not expect overnight results. Recheck your pH after a few months to track progress and avoid overcorrecting. Getting this balance right unlocks the full value of every fertilizer and nutrient you add, making the rest of your effort far more effective.
Step 5: Feed The Soil With The Right Nutrients
Once your pH is balanced, focus on filling the nutrient gaps your test revealed. Most lawns need a steady supply of nitrogen, phosphorus, and potassium to flourish. Choose a quality fertilizer that matches your findings, and lean toward slow-release or organic options that feed the ground gradually rather than all at once.
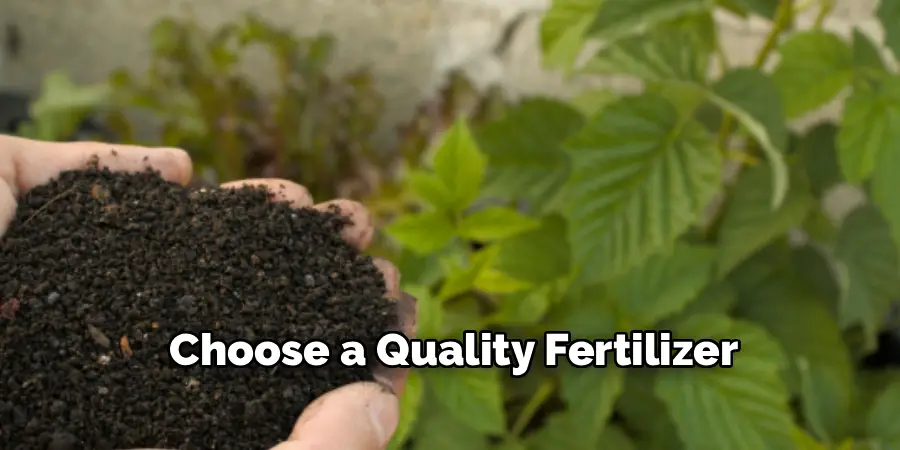
Apply fertilizer evenly and follow the rate on the label, since too much can burn grass and harm soil life. Timing matters too, so feed during your grass’s active growing season for the best results. Pairing nutrients with the organic matter you already added creates a rich environment where roots can access exactly what they need to grow strong.
Step 6: Improve Drainage And Watering Habits
Even great soil fails if water cannot move through it properly. Pooling water drowns roots, while ground that dries too fast starves them. Watch your lawn after rain to spot soggy low areas, then fill and level them so water spreads evenly across the surface.
Adjust your watering routine to encourage deep, healthy roots. Water deeply but less often, giving the soil a good soak rather than frequent light sprinkles. Early morning is ideal, since less moisture evaporates and grass blades dry before nightfall. These habits push roots downward in search of moisture, building a tougher lawn that handles dry spells with ease and keeps your soil structure intact.
Step 7: Maintain Your Soil Year-Round
Soil care is not a one-time project but an ongoing rhythm. Mowing at the right height, leaving grass clippings to decompose, and reseeding bare patches all keep your ground productive season after season. Tall mowing shades the soil, locks in moisture, and helps grass outcompete weeds naturally.
Schedule a quick check-in each season to monitor how your lawn responds. Reapply compost in spring or fall, aerate when the ground feels tight, and retest your soil every couple of years. Small, consistent habits prevent big problems down the road. By treating maintenance as part of your routine, you protect the rich foundation you worked hard to create and enjoy a thriving lawn long term.
Frequently Asked Questions
How Long Does It Take To See Results?
Most homeowners notice early changes within a few weeks, especially after aeration and watering adjustments. However, building truly rich soil is a gradual process that unfolds over one to two growing seasons. Compost, balanced pH, and steady nutrients work slowly but deeply. Stay patient and consistent, and you will see thicker, greener grass that keeps improving with each passing month.
Can I Fix Poor Soil Without Replacing It?
Absolutely, and you usually should. Replacing soil is expensive and rarely necessary for a typical lawn. Aerating, adding compost, balancing pH, and feeding nutrients can revive even tired, compacted ground over time. These methods rebuild structure and life naturally, working with what you already have. Only severe contamination or extreme conditions might call for fresh soil, which is quite rare.
How Often Should I Test My Soil?
Testing every two to three years is plenty for most lawns. Soil chemistry shifts slowly, so frequent testing is not needed once you establish a healthy baseline. That said, test sooner if you notice sudden problems like yellowing grass, poor growth, or stubborn weeds. Regular checks help you adjust your care plan and keep your lawn on the right track without guesswork.
Is Compost Or Fertilizer Better For My Lawn?
They serve different roles, so the best results come from using both. Compost improves soil structure, feeds microbes, and boosts moisture retention over the long term. Fertilizer delivers a quicker, targeted dose of specific nutrients your grass needs right now. Think of compost as building the foundation and fertilizer as filling immediate gaps. Together, they create balanced, thriving ground.
What Time Of Year Is Best To Start?
Early fall is ideal for most cool-season grasses, while late spring suits warm-season types. These windows give grass the mild temperatures and steady moisture it needs to recover and root deeply. Starting during active growth helps your lawn absorb nutrients and bounce back faster. That said, soil testing and planning can happen anytime, so there is no wrong moment to begin preparing.
Conclusion
A beautiful lawn truly begins from the ground up. When you take care of the soil, everything above it falls into place, giving you greener grass, fewer weeds, and a yard that stays strong through tough weather. The key takeaways are simple. Test your soil, loosen compacted ground, add organic matter, balance your pH, feed the right nutrients, manage watering, and keep up with steady maintenance.
Now that you know how to improve lawn soil quality, you have a clear and practical plan to follow at your own pace. Remember that progress builds over time, so small, consistent steps matter more than rushing for instant results. Start with a simple soil test this week, then tackle one step at a time. Your effort below the surface will reward you with a healthier, more vibrant lawn you can enjoy for years to come. Grab your tools and get growing.

About
Outdoor Fixes is a distinguished figure in the world of Diy design, with a decade of expertise creating innovative and sustainable Diy solutions.
His professional focus lies in merging traditional craftsmanship with modern manufacturing techniques,
fostering designs that are both practical and environmentally conscious. As the author of diy,
outdoorfixes delves into the art and science of outdoorfixes-making, inspiring artisans and industry professionals alike.
Education RMIT University
(Melbourne, Australia) Associate Degree in Design (Outdoor Fixes) Focus on sustainable design, industry-driven projects,
and practical craftsmanship. Gained hands-on experience with traditional and digital manufacturing tools, such as CAD and CNC software.
Nottingham Trent University
(United Kingdom) Bachelor’s in outdoorfixes.com and Product Design (Honors) Specialized in product design with a focus on blending creativity with production
techniques. Participated in industry projects, working with companies like John Lewis and Vitsoe to gain real-world insights.
Publications and Impact
In diy, Outdoor Fixes his insights on indoor design processes, materials, and strategies for efficient production.
His writing bridges the gap between artisan knowledge and modern industry needs, making it a must-read for both budding designers and seasoned professionals.