
Clay soil is one of the trickiest surfaces a homeowner can deal with when growing a healthy lawn. It feels dense, sticky when wet, and rock-hard when dry. Water tends to pool on top instead of soaking in, and grass roots struggle to push through the compacted ground. If your turf looks patchy, drains poorly, or turns to mud after every rain, your soil is likely the culprit. Knowing how to improve clay soil lawn conditions can completely transform a frustrating yard into a lush, green space you actually enjoy.
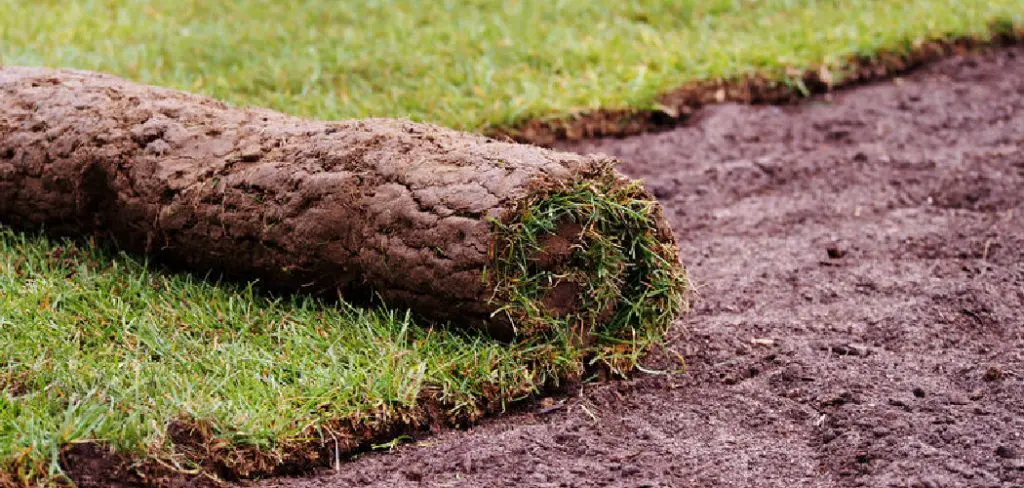
The good news is that you do not need to dig up your entire yard or hire expensive crews. With the right steps and a little patience, you can loosen heavy ground, boost drainage, and give your grass the foundation it craves. This guide breaks everything down into clear, beginner-friendly steps. Whether you are a first-time gardener or a seasoned weekend warrior, you will find practical tips that work for any skill level and deliver real, lasting results.
Why Improving Clay Soil Lawn Matters
Healthy soil is the backbone of every great lawn, and clay presents unique challenges worth solving. When you fix compaction and drainage problems, your grass develops deeper roots, resists drought better, and stays greener through tough seasons. You also reduce common headaches like standing water, fungal disease, and bare patches that never seem to fill in.
Improving your ground pays off in time and money too. A balanced, well-aerated lawn needs less frequent watering and fewer chemical treatments to thrive. Nutrients move more freely to the roots, so your grass grows thicker and more resilient. Beyond curb appeal, a properly conditioned yard becomes a comfortable space for kids, pets, and gatherings. Put simply, the effort you invest now creates a stronger, lower-maintenance lawn for years to come.
Step-by-Step Guide to How To Improve Clay Soil Lawn
Step 1: Test Your Soil First
Before you change anything, get to know what you are working with. A simple soil test reveals your pH level, nutrient balance, and how much clay you are truly dealing with. You can buy an affordable home kit or send a sample to a local extension office for detailed results.
Understanding your starting point saves you from guesswork and wasted effort. If your soil is too acidic or alkaline, grass will struggle no matter how much you water or fertilize. The test also tells you which amendments your yard actually needs. Think of it as a roadmap that guides every decision you make, helping you target problems precisely instead of treating symptoms blindly.

Step 2: Aerate To Break Up Compaction
Clay soil compacts easily, squeezing out the air pockets that roots need to breathe. Core aeration solves this by pulling small plugs of soil from the ground, creating channels for air, water, and nutrients to reach deeper. Rent a core aerator or hire a service for larger yards, and run it across the lawn in two directions for full coverage.
The best time to aerate is during your grass’s active growing season, when it can recover quickly. Leave the soil plugs on the surface to break down naturally. This single step relieves pressure on the roots and immediately improves how water moves through your heavy ground.
Step 3: Add Organic Matter Generously
Organic matter is the secret weapon for transforming dense clay into workable soil. Spreading compost, aged manure, or leaf mold across your lawn introduces helpful microbes and earthworms that loosen the ground over time. These living organisms tunnel through the clay, creating natural pathways for drainage and root growth.
Apply a half-inch layer of quality compost and work it into the aeration holes you created earlier. Consistency matters here, so repeat this process each season for steady, lasting change. Knowing how to improve clay soil lawn structure really comes down to feeding the soil rather than fighting it. Over time, you will notice the ground becoming softer, darker, and far easier for grass to thrive in.
Step 4: Apply Gypsum For Better Texture
Gypsum is a popular amendment that helps break apart tight clay particles without changing your soil’s pH. It works by encouraging clay to clump into larger crumbs, which opens up space for water and air to flow. This makes a noticeable difference in how quickly puddles drain after rain.
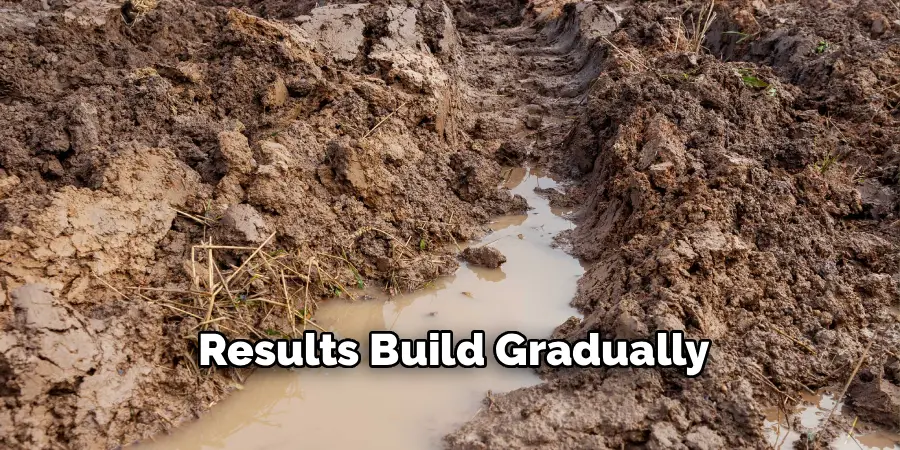
Spread gypsum according to the package directions, then water it in well so it can start working below the surface. Results build gradually, so pair it with aeration and organic matter for the best outcome. While gypsum is not a magic fix on its own, it becomes a powerful ally when combined with the other steps in your overall plan.
Step 5: Top-Dress And Overseed Bare Spots
Once your ground is loosened and enriched, it is time to rebuild the grass itself. Top-dressing means spreading a thin layer of compost or quality topsoil across the lawn to level low areas and add nutrients. Follow this by overseeding with a grass variety suited to clay and your local climate.
Spread seed evenly, focusing on thin or bare patches, then lightly rake so it makes good contact with the soil. Keep the area consistently moist until the new grass establishes. This step thickens your turf, crowds out weeds, and gives you a fuller, healthier lawn. Choosing the right seed makes all the difference in long-term success.
Step 6: Water Deeply And Less Often
Watering habits matter enormously with clay soil. Because clay absorbs moisture slowly, short frequent sprinkles only wet the surface and encourage shallow roots. Instead, water deeply and less often so moisture soaks down where roots can reach it. This trains your grass to grow deeper and become more drought-resistant.
Run your sprinklers until the soil is moist several inches down, then let it dry slightly before watering again. Morning is the ideal time, since it reduces evaporation and disease risk. Watch for runoff and pause if water starts pooling, giving it time to absorb. These smart habits protect your investment and keep your lawn strong.
Step 7: Maintain With Seasonal Care
Lasting results come from steady upkeep rather than one big effort. Each season, return to the basics by aerating compacted areas, adding a light layer of compost, and overseeding where needed. This ongoing routine prevents clay from tightening back up and keeps your grass thick and vibrant year-round.
Mowing at the proper height also helps, since taller grass shades the soil and encourages deeper roots. Mastering how to improve clay soil lawn health is truly a long game, but the rewards multiply with every passing season. Keep notes on what works in your yard, adjust as you learn, and your lawn will only get better over time.
Frequently Asked Questions
How Long Does It Take To Fix Clay Soil?
Improving clay soil is a gradual process rather than an overnight fix. Most homeowners notice better drainage and softer ground within one growing season after aerating and adding organic matter. However, deep, lasting change usually takes two to three years of consistent care. The key is patience and repetition, since each round of compost and aeration builds on the last for steady, reliable improvement.
Should I Add Sand To Clay Soil?
Adding sand is a common myth that often backfires. Mixing sand with clay can actually create a dense, concrete-like surface that drains even worse than before. Instead, focus on organic matter like compost, which loosens the ground naturally and feeds beneficial soil life. If you want faster drainage, pair compost with gypsum and regular aeration for far safer, more effective results over time.
What Grass Grows Best In Clay Soil?
Several grass types handle heavy ground remarkably well. Cool-season favorites include tall fescue and Kentucky bluegrass, both known for strong, deep roots. For warm climates, Bermuda grass and zoysia tolerate clay nicely once established. Always choose a variety suited to your region and sunlight conditions. Picking the right grass from the start gives your lawn a major advantage and reduces ongoing maintenance headaches.
Can I Improve Clay Soil Without Aerating?
You can make some progress without aeration, but it works far slower. Spreading compost and encouraging earthworms will gradually loosen the surface over time. That said, aeration dramatically speeds up the process by opening channels deep into compacted ground. For the fastest, most noticeable improvement, combining aeration with organic matter remains the gold standard. Skipping it simply means waiting longer for visible results.
Is Clay Soil Actually Good For Anything?
Clay soil has real advantages once you balance it. It holds moisture and nutrients exceptionally well, meaning your lawn needs less frequent feeding and watering once roots establish. The challenge is simply improving drainage and texture so grass can access those stored resources. With the right amendments, clay transforms from a stubborn problem into a nutrient-rich foundation that supports thick, resilient turf for years.

Conclusion
Transforming a stubborn yard into a thriving green space is absolutely within your reach. By testing your soil, aerating, adding organic matter, and watering wisely, you give your grass the strong foundation it needs to flourish. Each step builds on the last, turning dense, compacted ground into soft, healthy soil that drains well and grows thick, vibrant turf.
Remember that learning how to improve clay soil lawn conditions is a journey, not a one-time task. Small, consistent actions across the seasons deliver the biggest rewards, so be patient and trust the process. Start with a simple soil test this week, grab some compost, and take that first step toward the lawn you have always wanted. Your effort today will pay off with a healthier, more beautiful yard for years to come.

About
Outdoor Fixes is a distinguished figure in the world of Diy design, with a decade of expertise creating innovative and sustainable Diy solutions.
His professional focus lies in merging traditional craftsmanship with modern manufacturing techniques,
fostering designs that are both practical and environmentally conscious. As the author of diy,
outdoorfixes delves into the art and science of outdoorfixes-making, inspiring artisans and industry professionals alike.
Education RMIT University
(Melbourne, Australia) Associate Degree in Design (Outdoor Fixes) Focus on sustainable design, industry-driven projects,
and practical craftsmanship. Gained hands-on experience with traditional and digital manufacturing tools, such as CAD and CNC software.
Nottingham Trent University
(United Kingdom) Bachelor’s in outdoorfixes.com and Product Design (Honors) Specialized in product design with a focus on blending creativity with production
techniques. Participated in industry projects, working with companies like John Lewis and Vitsoe to gain real-world insights.
Publications and Impact
In diy, Outdoor Fixes his insights on indoor design processes, materials, and strategies for efficient production.
His writing bridges the gap between artisan knowledge and modern industry needs, making it a must-read for both budding designers and seasoned professionals.