
Plastic patio chairs are cheap, lightweight, and everywhere. But after a few seasons in the sun, they fade, look dull, and start to feel tired. The good news is you do not have to toss them out. A fresh coat of paint can bring them back to life and match them to your outdoor style. Learning how to paint plastic patio chairs is one of the easiest budget-friendly projects you can take on this weekend.
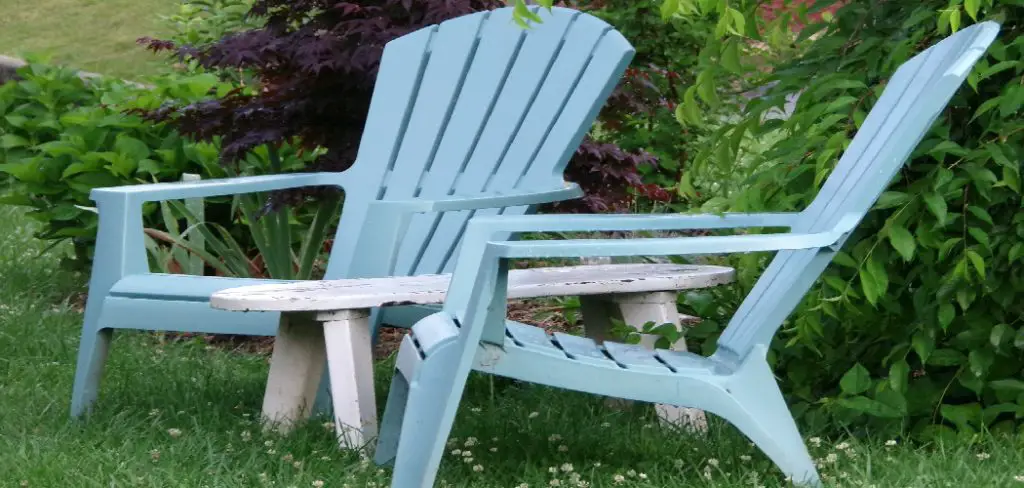
If you have ever wondered whether paint really sticks to slippery plastic, you are not alone. With the right prep and products, the finish can last for years. This guide breaks everything down into clear, simple steps that work for any skill level.
We will cover why this project is worth your time, a detailed seven-step walkthrough, and answers to the questions beginners ask most. By the end, you will feel ready to grab a brush or spray can and refresh your outdoor seating with confidence. No experience needed, just a little patience and the right approach.
Why Painting Plastic Patio Chairs Matters
Repainting your chairs saves money and keeps usable furniture out of the landfill. A new set can cost a lot, while a can of paint costs very little and gives you the same fresh look. That is a smart trade for your wallet and the planet.
Paint also protects the plastic. A quality coat shields the surface from harsh UV rays, which slows fading and stops that brittle, chalky texture old chairs develop. Beyond protection, a custom color lets you match your patio, deck, or garden theme exactly. You get to control the style instead of settling for whatever the store had in stock. With a few hours of effort, you transform faded seating into something that looks brand new and lasts longer too.
Step-by-Step Guide to How To Paint Plastic Patio Chairs
Step 1: Gather Your Supplies
Before you begin, set yourself up for an easy job. You will want spray paint made for plastic, a plastic primer, fine-grit sandpaper, mild soap, a bucket, a clean cloth, painter’s tape, and drop cloths. Having everything ready means you never pause mid-project with sticky hands or wet paint.
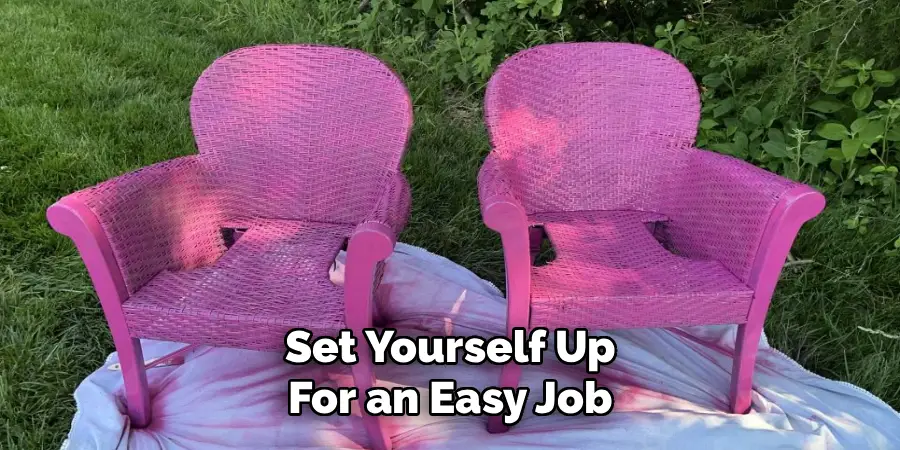
Pick a spot to work too. A garage, covered patio, or shaded outdoor area with good airflow is ideal. You want protection from direct sun and wind, since both can ruin a smooth finish. Lay down your drop cloths to catch overspray and keep your workspace clean. A little preparation now keeps the whole process calm, controlled, and far less messy later on.
Step 2: Clean Each Chair Thoroughly
Plastic chairs collect more grime than you might think. Dust, pollen, grease, and old sunscreen all sit on the surface and block paint from sticking. Mix mild soap with warm water, then scrub every part of the chair with a sponge or soft brush. Pay close attention to grooves, armrests, and any textured areas where dirt hides.
Once scrubbed, rinse the chair well and let it dry completely. This step matters more than people expect, because even a thin layer of residue can cause peeling later. Give it plenty of time to air dry, ideally a few hours in a shaded, breezy spot. A clean, dry surface is the foundation of a finish that truly lasts.
Step 3: Sand For Better Adhesion
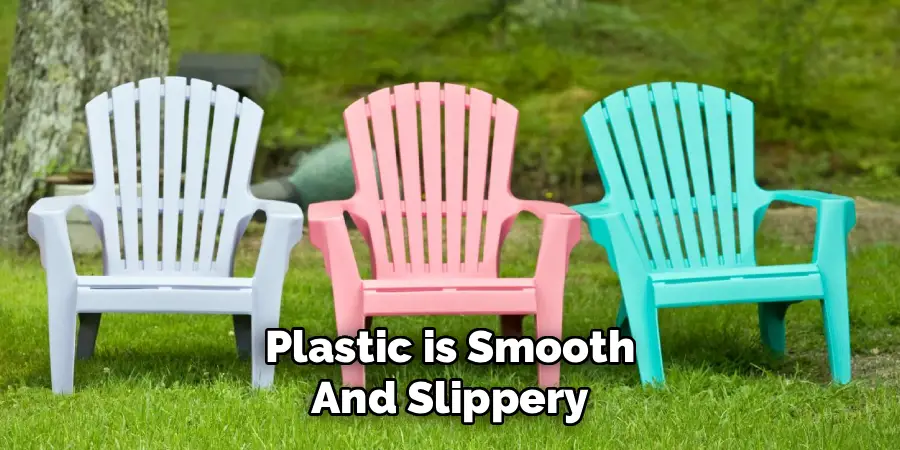
Plastic is smooth and slippery, which is exactly why paint struggles to grip it. A light sanding fixes that. Use fine-grit sandpaper, around 200 grit, and gently scuff the entire surface. You are not trying to remove material, just create a slightly rough texture that gives the primer something to hold onto.
Work in small sections and keep your pressure light and even. After sanding, wipe the chair down with a damp cloth to remove every speck of dust. Let it dry again before moving on. This quick step makes a huge difference in how well your paint bonds, and it is the secret many beginners skip and later regret. Take your time here.
Step 4: The Right Way For Patio Chairs With Primer
Primer is the bridge between slippery plastic and your color coat. Choose a primer labeled for plastic or multi-surface use, since these are designed to grip where regular primers fail. Shake the can well, then hold it about ten inches from the surface and spray in light, even passes.
Avoid the urge to coat it thick in one go. Thin layers dry faster and resist drips, so two light passes beat one heavy one every time. Let each coat dry according to the label, usually around fifteen to thirty minutes. Once the primer feels dry to the touch and looks even, you are ready for the fun part. A solid primer base ensures your color goes on smooth and stays put.
Step 5: Apply Your First Color Coat
Now for the rewarding step. Grab your plastic-friendly spray paint, shake it for a full minute, and start spraying in smooth, sweeping motions. Keep the can moving the whole time and overlap each pass slightly so you avoid blotchy patches. Hold a steady distance, the same ten inches you used for primer, for even coverage.
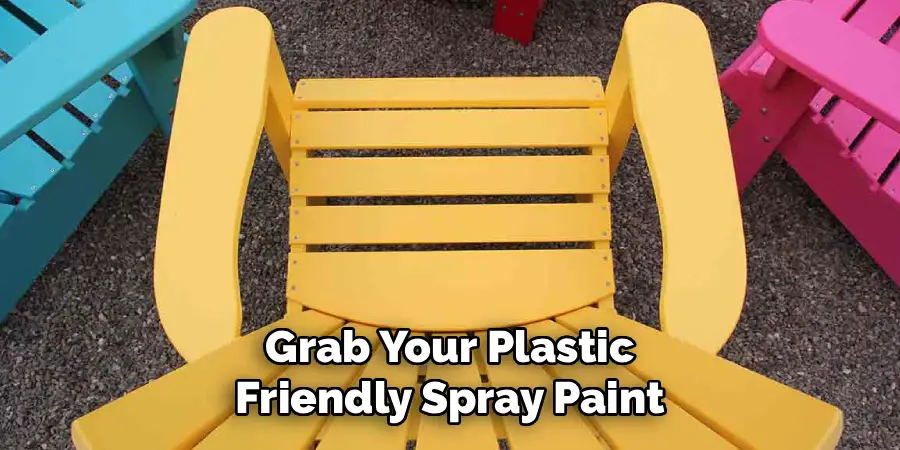
Resist the temptation to drench the chair. Light, controlled coats give a far better result than one heavy layer that drips and pools. Cover the legs, seat, back, and arms, then step back and check for missed spots. Let this first coat dry fully before adding more. Patience between coats is what separates a smooth, professional finish from a streaky, frustrating one.
Step 6: Add A Second Coat And Build Coverage
One coat rarely delivers a rich, even color, especially over darker plastic. After the first layer dries completely, apply a second coat using the same light, sweeping technique. This builds depth, hides any thin areas, and gives the finish that solid, factory-fresh look you want.
Inspect the chair closely as you go and touch up any spots that still show the old color underneath. Depending on your paint and the original shade, you may even want a light third coat. Just remember to keep every layer thin and let each one dry fully. Building coverage slowly prevents drips and creates a tough, uniform surface that will hold up beautifully through season after season of outdoor use.
Step 7: Seal And Let It Cure
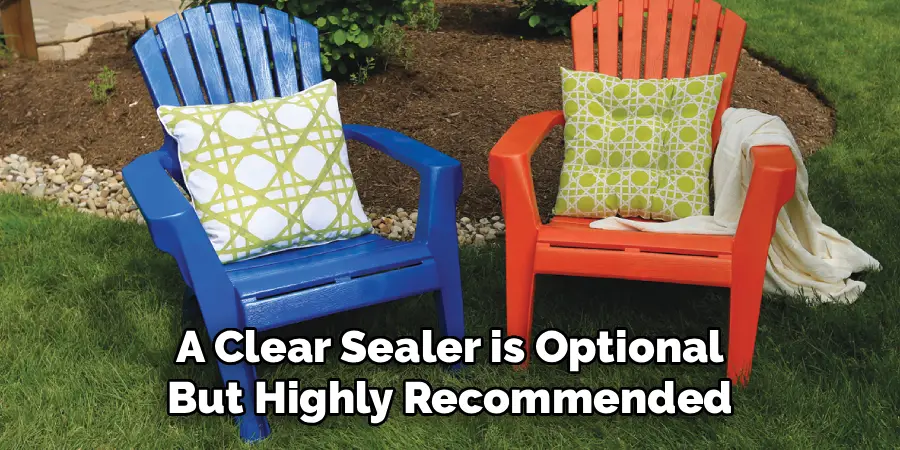
A clear sealer is optional but highly recommended for outdoor furniture. A protective topcoat adds an extra shield against rain, UV rays, and daily scuffs, helping your hard work last much longer. Apply it the same way, with light, even passes, and let it dry as directed.
Now comes the hardest part, waiting. Curing is different from drying. Paint may feel dry in an hour, but it needs a full day or two to harden completely. Resist sitting on your chairs too soon, since early use can leave marks or smudges. Place them in a dry, shaded spot during this time. Once fully cured, your refreshed chairs are ready to enjoy for years.
Frequently Asked Questions
What Kind Of Paint Works Best On Plastic Chairs?
Spray paint formulated specifically for plastic is your best choice. Brands designed for plastic bond directly to the surface and often skip the need for separate primer. Look for products labeled for outdoor or multi-surface use, since these resist fading and weather. Regular wall or craft paint will peel quickly, so always check the label before you buy.
Do I Really Need To Sand The Chairs First?
Sanding is not strictly required if you use a paint made for plastic, but it strongly improves results. A light scuff with fine-grit sandpaper gives the surface texture, helping primer and paint grip far better. Skipping it raises the risk of peeling down the road. For a finish that lasts through many seasons, those few extra minutes of sanding are well worth the effort.
How Long Should The Paint Dry Before I Sit Down?
Paint usually feels dry to the touch within an hour, but that is not the same as cured. For the toughest, longest-lasting finish, wait at least 24 to 48 hours before using the chairs. Curing lets the paint fully harden and bond to the plastic. Sitting too soon can leave smudges, dents, or fingerprints, so a little patience really pays off.
Can I Paint Chairs That Are Already Cracked Or Brittle?
You can, but manage your expectations. Paint refreshes the look but will not repair structural damage. For small cracks, a plastic epoxy filler can help before you prime and paint. If a chair is badly brittle or unsafe to sit on, painting only hides the problem. Focus your effort on chairs that are still sturdy and worth saving.
Will The New Paint Hold Up In Rain And Sun?
Yes, when you use the right products and prep properly. Plastic-specific paint paired with a clear outdoor sealer resists rain, UV fading, and daily wear remarkably well. Proper cleaning, sanding, and full curing all add to its durability. While no finish lasts forever outdoors, a careful job can easily look great for several years with minimal touch-ups.
Conclusion
Refreshing tired outdoor seating does not have to be hard or expensive. With the right supplies, a clean surface, and thin, patient coats, you can turn faded plastic into furniture that looks brand new. The key takeaways are simple. Clean thoroughly, sand for grip, prime well, build color in light layers, and let everything cure fully before use.
Now that you understand how to paint plastic patio chairs with confidence, you are ready to tackle your own set this weekend. Remember that preparation and patience make all the difference, and each chair gets easier as you go. So gather your gear, pick a color you love, and put these steps to work. Your patio makeover is well within reach, and the results will reward your effort for years to come.

About
Outdoor Fixes is a distinguished figure in the world of Diy design, with a decade of expertise creating innovative and sustainable Diy solutions.
His professional focus lies in merging traditional craftsmanship with modern manufacturing techniques,
fostering designs that are both practical and environmentally conscious. As the author of diy,
outdoorfixes delves into the art and science of outdoorfixes-making, inspiring artisans and industry professionals alike.
Education RMIT University
(Melbourne, Australia) Associate Degree in Design (Outdoor Fixes) Focus on sustainable design, industry-driven projects,
and practical craftsmanship. Gained hands-on experience with traditional and digital manufacturing tools, such as CAD and CNC software.
Nottingham Trent University
(United Kingdom) Bachelor’s in outdoorfixes.com and Product Design (Honors) Specialized in product design with a focus on blending creativity with production
techniques. Participated in industry projects, working with companies like John Lewis and Vitsoe to gain real-world insights.
Publications and Impact
In diy, Outdoor Fixes his insights on indoor design processes, materials, and strategies for efficient production.
His writing bridges the gap between artisan knowledge and modern industry needs, making it a must-read for both budding designers and seasoned professionals.