
To get rid of algae on your lawn, improve drainage, reduce shade, and apply a suitable algaecide or ferrous sulfate treatment. Aerating compacted soil and adjusting watering habits are equally important steps to prevent algae from returning once removed.
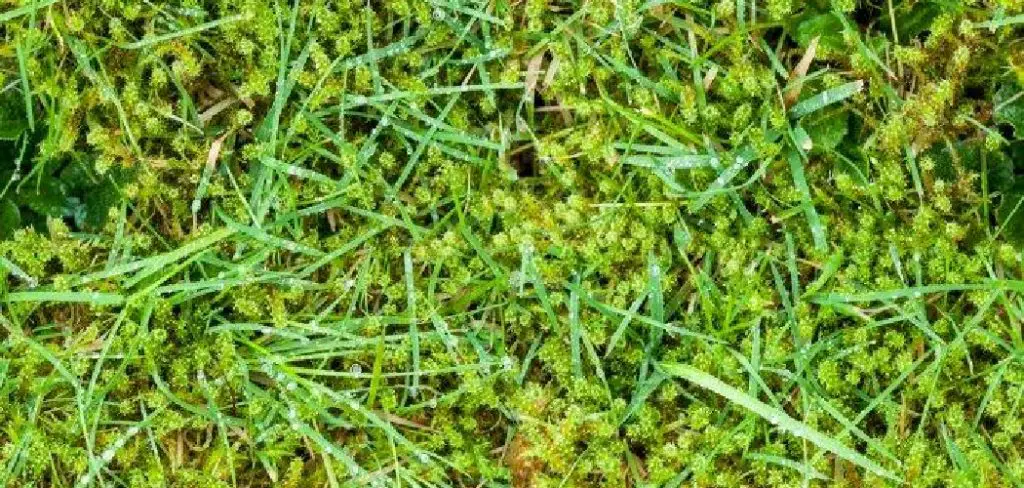
Algae on a lawn can turn a once-lush yard into a slimy, dark-patched mess almost overnight. If you’ve noticed black, green, or bluish-green crusty patches spreading across your grass, you’re dealing with a common—but fixable—problem. Left untreated, algae can suffocate grass, block sunlight, and create slippery surfaces that become a genuine safety hazard.
Getting rid of it doesn’t require professional help or expensive equipment. With the right approach and a bit of consistency, you can restore your lawn’s health and keep algae from creeping back. This guide on how to get rid of algae on lawn walks you through eight practical steps to do exactly that.
Understanding Algae on Your Lawn
Before reaching for any treatment, it helps to understand what’s actually causing the problem. Lawn algae thrive in moist, compacted, poorly drained soil—typically in areas that receive little sunlight and stay damp for long stretches. Think shaded corners, low-lying patches, or spots near downspouts.
Common types include green algae, blue-green algae (cyanobacteria), and black algae. They might look like moss or mold at first glance, but algae are primitive organisms that form a thin, slimy layer directly over the soil surface. They spread quickly when conditions favor them, which is why catching the problem early matters.
8 Simple Step-by-step Guidelines on How to Get Rid of Algae on Lawn
Step 1: Identify the Affected Areas
Walk your lawn and mark every spot where algae are visible. Look for dark, slimy, or crusty patches that feel slippery underfoot—areas near irrigation heads and low spots where water tends to pool are worth extra attention.
Taking photos as you go can help you track progress over time. Knowing exactly where the problem sits allows you to treat it precisely rather than blanket-applying products across your entire lawn unnecessarily.
Step 2: Reduce Moisture and Improve Drainage
Algae can’t survive without moisture, so addressing drainage may be the single most impactful thing you do.
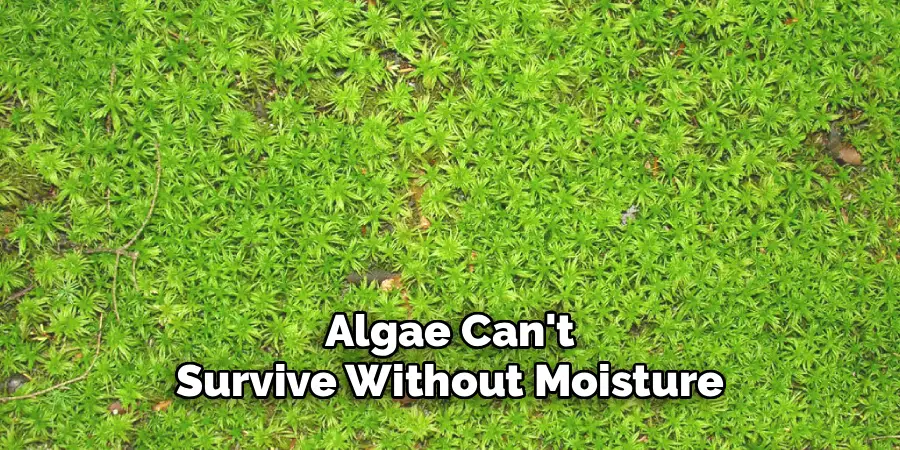
Check whether water pools in specific areas after rain or irrigation. You may need to regrade low spots, extend downspouts further from your lawn, or install a French drain in severely waterlogged sections. Also, review your watering schedule—watering early in the morning, rather than at night, gives the soil time to dry before temperatures drop. That shift alone can meaningfully reduce the conditions algae need to spread.
Step 3: Aerate Compacted Soil
Compacted soil prevents water from draining properly, and that’s a significant part of why algae take hold in the first place. Aeration loosens things up, allowing water, nutrients, and air to reach deeper into the ground.
Use a core aerator—manual or machine-powered—to remove small plugs of soil from affected areas. Work in a grid pattern for even coverage. Timing matters too: aerating during your lawn’s active growing season gives the grass the best chance to recover quickly and fill in the gaps left behind.
Step 4: Trim Back Overhanging Branches and Shrubs
Shade is one of the primary reasons algae take hold in certain patches. Even a modest reduction in shade can shift growing conditions just enough to work against them.
Trim back tree branches, hedges, and shrubs that are blocking sunlight from reaching problem areas. If heavy shade is unavoidable—say, beneath a dense tree canopy—consider replacing grass in those zones with shade-tolerant ground covers that are far less susceptible to algae.
Step 5: Apply Ferrous Sulfate or an Algaecide Treatment
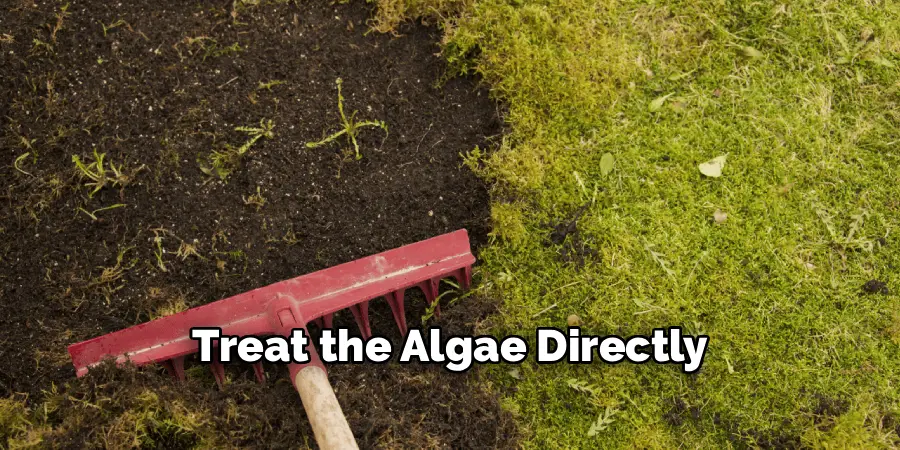
With the underlying conditions addressed, it’s time to treat the algae directly. Two of the most effective options are ferrous sulfate (iron sulfate) and commercial algaecide products formulated for lawn use.
Ferrous sulfate kills algae while simultaneously delivering iron to your lawn, which may help grass develop a deeper, richer green color. Mix it according to label instructions—typically around 3 to 5 grams per square meter—and apply with a garden sprayer. Whichever product you choose, avoid applying before rain. Rainfall can dilute the treatment before it has a chance to take effect.
Step 6: Rake and Remove Dead Algae
After treatment, the algae will begin dying off, turning brown or black as they go. Don’t leave that dead material sitting on the surface.
Rake it up thoroughly, since leaving it behind can create a barrier that slows grass recovery. Dispose of it in yard waste bags rather than a compost bin—algae composted incorrectly could potentially spread. Once cleared, lightly rake the soil surface to loosen it and give new grass growth a better foundation to work from.
Step 7: Overseed the Bare Patches
Removing algae typically leaves bare or thin patches behind. Those exposed spots are vulnerable—algae tend to return to exactly these kinds of open, weakened areas.
Choose a grass seed variety suited to your local climate and the specific light conditions in your yard. Spread it evenly over bare areas, lightly rake it into the soil, and keep it consistently moist until germination. Dense, healthy grass competes directly with algae for the same resources, making a thick lawn your best long-term defense.
Step 8: Adjust Fertilization Practices
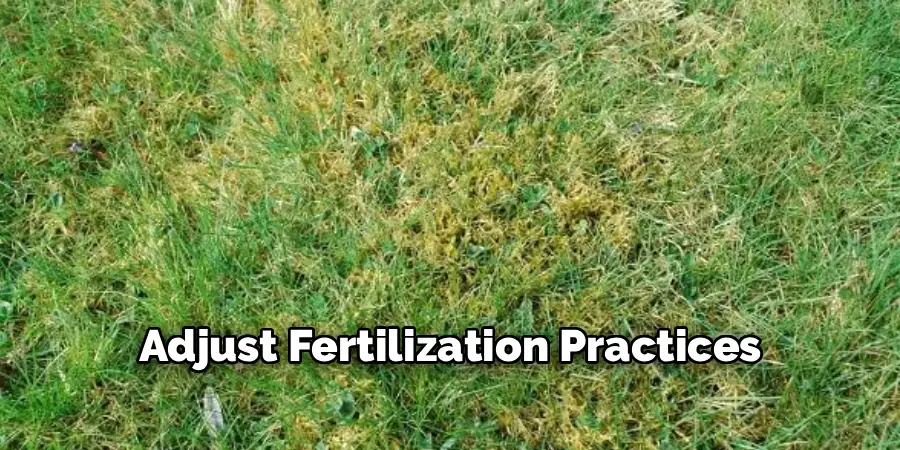
Poor soil nutrition weakens grass and leaves it less able to outcompete algae. That said, over-fertilizing—particularly with high-nitrogen products—can encourage algae growth under certain conditions.
Test your soil before applying any fertilizer. Most garden centers carry simple test kits that provide results within minutes. Based on those results, apply a balanced fertilizer that supports grass health without generating excess nutrient runoff. A well-fed lawn grows thicker and more resilient, leaving far less room for algae to establish.
Following these steps on how to get rid of algae on lawn can help you maintain a healthy, vibrant lawn all year round. However, keep in mind that prevention is key when it comes to algae growth. Regular maintenance and proper lawn care practices, such as mowing at the correct height and avoiding overwatering, can significantly reduce the chances of algae taking over your lawn.
Common Mistakes to Avoid
Even with good intentions, a few missteps can set back your progress significantly. Watering at night is one of the most frequent errors—prolonged moisture in cool temperatures creates exactly the conditions algae love. Skipping aeration is another: surface treatments alone won’t resolve a drainage problem rooted in compacted soil.
Applying too much algaecide is a common overcorrection; excess product can damage grass alongside the algae. Many homeowners also treat visible symptoms without addressing the shade that causes them, which leads to repeat outbreaks. And finally, skipping overseeding leaves bare patches exposed and vulnerable far longer than necessary.
Frequently Asked Questions
Q1: What Causes Algae to Grow on a Lawn in the First Place?
Lawn algae typically develop when several factors converge: excessive moisture, poor drainage, compacted soil, limited sunlight, and thin or weakened grass cover. Overwatering, shaded corners, and heavy clay soils appear to be the most common contributors. Because algae need little more than moisture and light to spread, addressing both drainage and sun exposure is central to any effective treatment.
Q2: How Do I Know If I Have Algae or Moss on My Lawn?
Algae and moss can look similar from a distance, but they’re distinct on closer inspection. Algae typically appear as a thin, slimy film—dark green or black—over the soil surface, often slippery when wet. Moss, by contrast, has a soft, spongy texture and grows in small leafy clusters rather than a flat film. Both thrive in similar conditions, but they require different treatments, so correct identification matters before you apply anything.
Q3: Can Lawn Algae Come Back After Treatment?
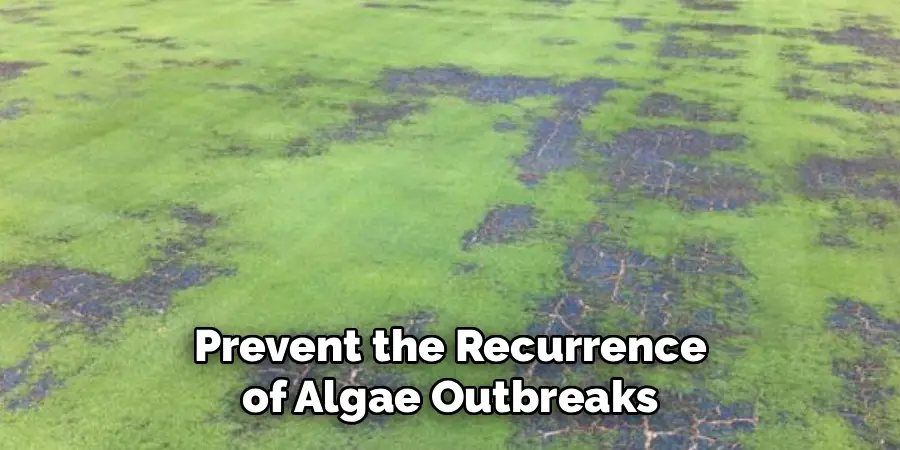
Yes, algae can return if the conditions that caused the initial outbreak aren’t fully addressed. Treating algae without fixing drainage, reducing shade, or improving soil compaction is only a temporary fix. To prevent recurrence, combine treatment with longer-term corrective habits: aerate annually, adjust your watering schedule, overseed thin areas, and keep a close eye on shaded spots throughout the growing season. Consistent care is far more effective than any single reactive treatment.
Q4: How Can Algae Return Be Prevented?
There are several steps that can be taken to prevent the return of algae in your lawn or garden. These include addressing any underlying issues such as poor drainage, excessive shade, and soil compaction. Proper maintenance practices, such as annual aeration, adjusting watering schedules, overseeding thin areas, and keeping a close eye on shaded spots, can also help prevent the recurrence of algae outbreaks. It is important to note that consistent care and addressing root causes are key to preventing algae from returning in the long term. So, it is essential to regularly monitor your lawn or garden and take proactive measures to maintain healthy conditions for plant growth.
Restore Your Lawn and Keep It That Way
Getting rid of lawn algae takes more than a quick spray and a rake. It requires identifying root causes and making targeted improvements to how your lawn drains, breathes, and grows. Follow these eight steps on how to get rid of algae on lawn, and you can eliminate existing algae while significantly reducing the chances of it returning season after season.
Start with the fundamentals—assess your drainage, aerate your soil, trim back shade where you can. Then move on to treatment and recovery. Pair those efforts with smarter watering habits and regular overseeding, and your lawn will be far better equipped to stay healthy, green, and algae-free.

About
Outdoor Fixes is a distinguished figure in the world of Diy design, with a decade of expertise creating innovative and sustainable Diy solutions.
His professional focus lies in merging traditional craftsmanship with modern manufacturing techniques,
fostering designs that are both practical and environmentally conscious. As the author of diy,
outdoorfixes delves into the art and science of outdoorfixes-making, inspiring artisans and industry professionals alike.
Education RMIT University
(Melbourne, Australia) Associate Degree in Design (Outdoor Fixes) Focus on sustainable design, industry-driven projects,
and practical craftsmanship. Gained hands-on experience with traditional and digital manufacturing tools, such as CAD and CNC software.
Nottingham Trent University
(United Kingdom) Bachelor’s in outdoorfixes.com and Product Design (Honors) Specialized in product design with a focus on blending creativity with production
techniques. Participated in industry projects, working with companies like John Lewis and Vitsoe to gain real-world insights.
Publications and Impact
In diy, Outdoor Fixes his insights on indoor design processes, materials, and strategies for efficient production.
His writing bridges the gap between artisan knowledge and modern industry needs, making it a must-read for both budding designers and seasoned professionals.