
To unclog a soaker hose, remove the end cap and flush the tubing with high-pressure water to clear loose dirt. For hard water mineral buildup, soak the affected sections in warm water and white vinegar. Gently scrub the exterior with a soft brush before retesting the water flow.
Garden irrigation systems often promise convenience, yet they require quiet vigilance. When a soaker hose stops weeping, it may suggest a slow accumulation of environmental debris rather than a sudden mechanical failure. Over months of use, groundwater leaves invisible traces of its passage. Minerals precipitate. Algae blooms in the stagnant damp. Eventually, the microscopic pores designed to deliver consistent moisture simply seal shut.
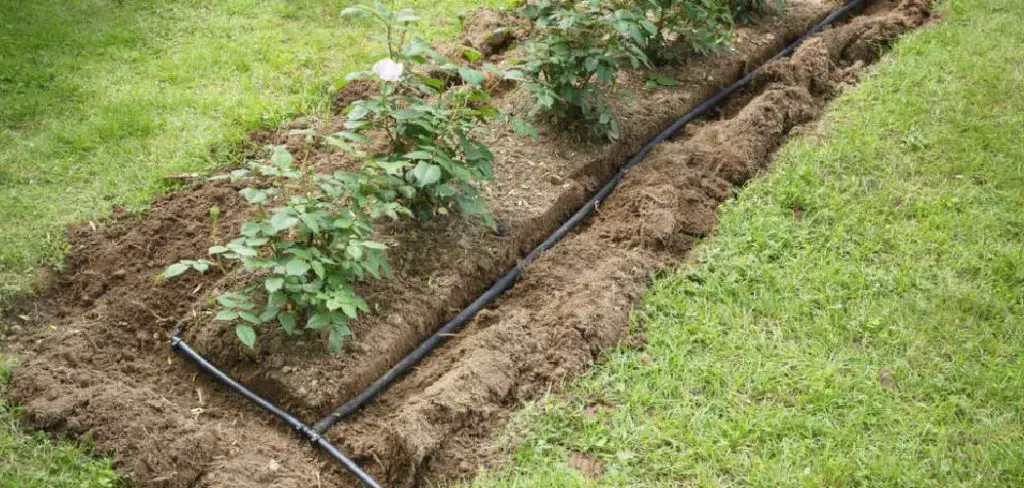
Restoring functionality does not demand professional plumbing intervention or aggressive chemical treatments. In fact, applying harsh acids could permanently degrade the synthetic rubber. A methodical approach to identifying and dissolving the specific type of blockage often yields better results.
By understanding the precise nature of the obstruction, you can apply targeted solutions. This guide on how to unclog soaker hose outlines a step-by-step methodology to flush, dissolve, and physically remove clogs. Your plants will receive the hydration they require, and you keep your equipment out of the landfill for another season.
Why Do Soaker Hoses Get Clogged in the First Place?
Most obstructions arise from a predictable intersection of water chemistry and environmental exposure. Groundwater frequently contains elevated levels of calcium and magnesium. When ambient heat evaporates the residual water trapped inside the tubing, it leaves these alkaline minerals behind as hard deposits. Over multiple watering cycles, this calcification effectively cements the weeping pores shut.
Organic matter poses an entirely different challenge. Soil particles, microscopic leaf fragments, and sand can easily bypass a failing water filter. They accumulate at the lowest points of the hose. Meanwhile, sunlight penetrating the damp interior creates a highly favorable environment for algal growth. A thick layer of algae acts as a waterproof membrane. It completely neutralizes the hose’s intended function. Identifying whether you face brittle mineral scale or slimy organic buildup helps dictate whether you need an acidic soak or a high-velocity physical flush.
7 Step-By-Step Guidelines on How to Unclog Soaker Hose
Step 1: Disconnecting and Inspecting the Hose Properly
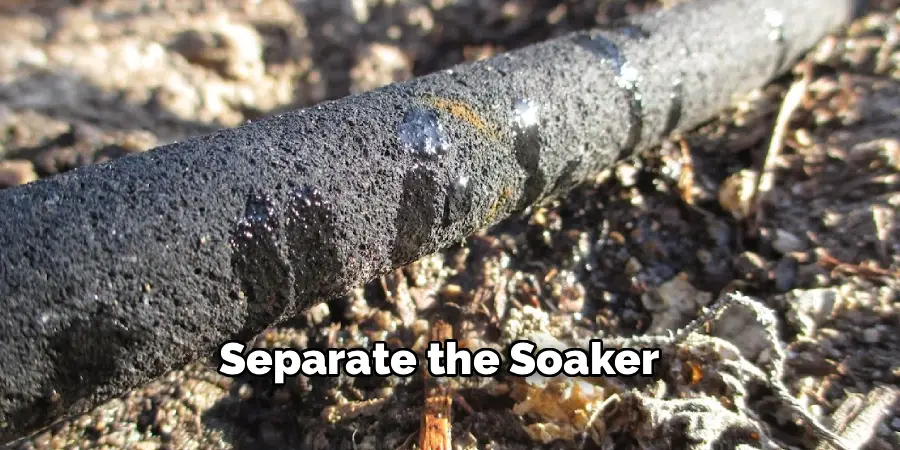
Begin by separating the soaker hose from the main outdoor spigot. Walk the entire length of the line. You should look for severe kinks or heavy patches of white scaling. Sometimes, a sharp bend restricts the flow entirely. This mimics the symptoms of an internal clog. Locating the exact point where water stops weeping allows you to concentrate your efforts. Remove any external mud or roots wrapped around the exterior by hand.
Step 2: Removing the End Cap and Flushing the Hose with Water
Unscrew the plastic or metal cap at the distal tip of the tubing. Reattach the system to your water source. Turn the faucet to maximum pressure. This sudden influx of high-velocity water rushes through the primary channel. It physically expels loose soil and dead organic matter. You will likely observe muddy water exiting the line at first. Let it flow until the discharge runs completely clear. This indicates the central passage is largely unobstructed.
Step 3: Dissolving Hard Water Scale with a Vinegar Solution
If the initial flush proves insufficient, calcium carbonate is likely the culprit. Fill a large bucket with equal parts hot water and plain white distilled vinegar. Submerge the problematic sections entirely. The acetic acid reacts gently with alkaline deposits. It breaks them down without destroying the surrounding rubber matrix. You might want to leave the tubing submerged for at least two hours. For severe calcification, an overnight soak often produces superior outcomes.
Step 4: Scrubbing the Hose Exterior Properly
Retrieve the hose from your acidic bath. Lay it flat across a paved surface. Take a soft nylon brush and agitate the exterior lightly. This mechanical action dislodges the weakened mineral crust from the micropores. Stiff wire bristles could gouge the synthetic material. That creates larger holes that destroy the slow-weeping design entirely. Methodically work down the line. Dip your brush back into the vinegar mixture to help lift away stubborn organic residues.
Step 5: Injecting Air with an Air Compressor (When It’s Needed)
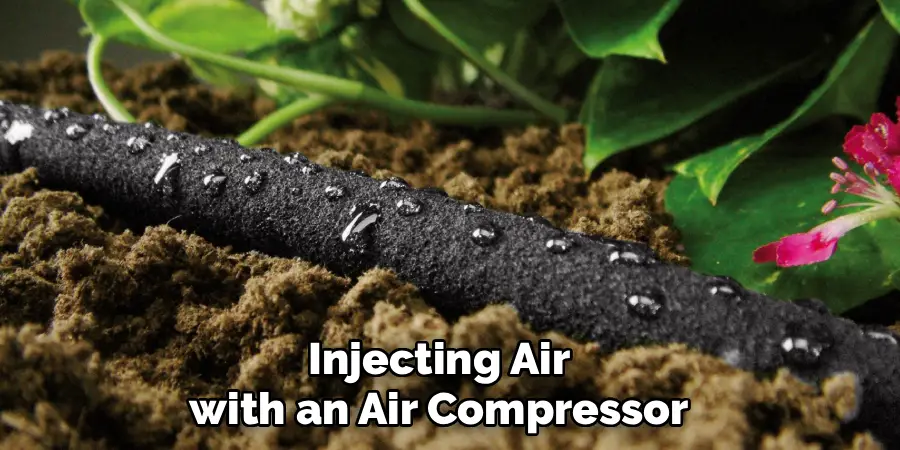
Certain blockages resist both water pressure and chemical degradation. In these instances, an air compressor might provide the necessary force. Secure a blow-gun nozzle to the spigot end. Keep the compressor dialed low, around 30 PSI. Brief, controlled bursts of air agitate the interior walls violently enough to dislodge fine particulates. Replace the end cap afterward. Apply a continuous stream of low-pressure air to force trapped dust directly out through the pores.
Step 6: Clearing Localized Blockages with Flexible Wire
Occasionally, a dense accumulation of algae forms directly behind a brass fitting. Straighten a paperclip or cut a length of thin craft wire. Insert it carefully into the opening. Wiggle the metal gently to fracture the solid mass. You must proceed with caution here. Puncturing the sidewall renders the hose useless. Once you break the clump apart, repeat the high-pressure flush from the second step. This washes the fragments away safely.
Step 7: Cleaning or Replacing the Water Filter Washer
Most premium soaker hoses include a tiny mesh filter inside the female coupling. Extract this screen using needle-nose pliers. If sand or scale coats the metal grid, water cannot enter the system at all. Rinse the mesh under an indoor faucet while scrubbing it with an old toothbrush. Should the metal appear rusted or torn, buy a replacement washer from a local hardware store. This small component serves as your primary defense against internal accumulation.
Step 8: Reassembling, Capping, and Testing Water Flow
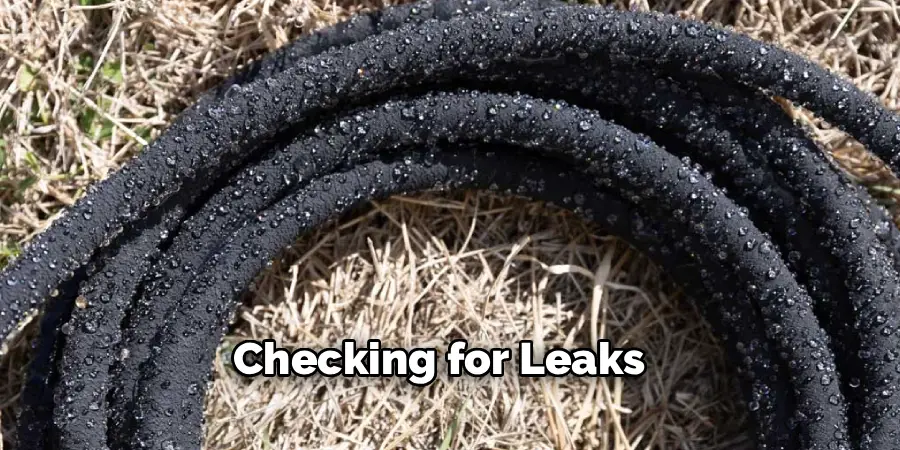
Seat the clean filter back into the coupling. Reattach the soaker hose to your outdoor faucet. Fasten the end cap tightly to build adequate backpressure. Turn the water on gradually. You should observe a uniform sweat of moisture forming along the black rubber. If certain segments remain stubbornly dry, they may require a secondary, localized vinegar treatment.
Following these steps on how to unclog soaker hose, you should now have a fully functional and efficient soaker hose for your garden.
Which Common Cleaning Mistakes Should You Avoid?
Opting for industrial drain cleaners or concentrated bleach presents significant risks. These toxic chemicals inevitably leach into the surrounding topsoil. That exposure could severely damage delicate plant root systems.
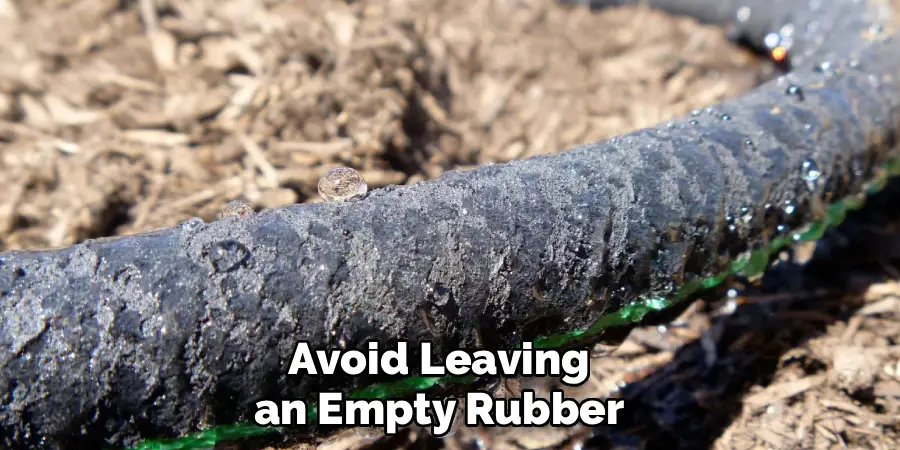
Applying excessive water pressure often blows out the end caps or splits the longitudinal seams. You should also avoid leaving an empty rubber hose exposed to blistering afternoon sunlight. Ultraviolet radiation bakes the material. It induces microscopic cracks that permanently compromise the structural integrity of the plastic.
Frequently Asked Questions About Soaker Hose Maintenance
Q1: How Often Should I Clean My Soaker Hose?
Flushing the system with clean water once a month during the growing season usually prevents catastrophic blockages. A comprehensive white vinegar soak at the end of autumn prepares the equipment for winter storage. Regular maintenance stops heavy calcification before it solidifies completely.
Q2: Can I Prevent Algae From Growing Inside the Hose?
Algae requires stagnant water and ultraviolet light to multiply. Burying the tubing under a thick layer of organic wood mulch effectively blocks the sun. Disconnecting and draining the line after each irrigation cycle removes the standing water. This denies algae the environment it needs to survive.
Q3: Why Is Water Spraying Out Rather Than Weeping?
When water shoots outward in a distinct stream, it indicates a physical puncture. Errant shovel strikes, animal bites, or pressure blowouts tear the delicate rubber. You can salvage the equipment by cutting away the damaged section entirely. Splice the two halves back together with a standard plastic hose mender.
Q4: How Can I Prevent Algae Growth in My Drip System?
Algae growth in a drip system can be prevented by properly maintaining the system and regularly cleaning it. This includes checking for leaks or tears in the tubing, removing any debris or clogs, and ensuring that the emitters are positioned correctly to avoid creating puddles of standing water.
Maintaining a Reliable and Efficient Irrigation System
A compromised soaker hose leaves garden beds vulnerable during the hottest days of summer. Fortunately, understanding the specific environmental factors that cause calcification and algal growth allows you to intervene before the damage becomes irreversible. Utilizing simple household acids like white vinegar provides an ecologically safe method for dissolving mineral scale.
Take time to inspect your filter screens. Flush the main lines at the first sign of reduced weeping. If you prioritize consistent maintenance, your watering equipment will deliver measured hydration for many seasons. Choose manual cleaning over chemical shortcuts if plant health matters more than temporary convenience. For those looking to optimize their landscape management further, attaching an automated digital timer to a freshly cleared line offers an incredibly resilient approach to gardening. Thanks for reading this guide on how to unclog soaker hose.

About
Outdoor Fixes is a distinguished figure in the world of Diy design, with a decade of expertise creating innovative and sustainable Diy solutions.
His professional focus lies in merging traditional craftsmanship with modern manufacturing techniques,
fostering designs that are both practical and environmentally conscious. As the author of diy,
outdoorfixes delves into the art and science of outdoorfixes-making, inspiring artisans and industry professionals alike.
Education RMIT University
(Melbourne, Australia) Associate Degree in Design (Outdoor Fixes) Focus on sustainable design, industry-driven projects,
and practical craftsmanship. Gained hands-on experience with traditional and digital manufacturing tools, such as CAD and CNC software.
Nottingham Trent University
(United Kingdom) Bachelor’s in outdoorfixes.com and Product Design (Honors) Specialized in product design with a focus on blending creativity with production
techniques. Participated in industry projects, working with companies like John Lewis and Vitsoe to gain real-world insights.
Publications and Impact
In diy, Outdoor Fixes his insights on indoor design processes, materials, and strategies for efficient production.
His writing bridges the gap between artisan knowledge and modern industry needs, making it a must-read for both budding designers and seasoned professionals.